
-
Maxline
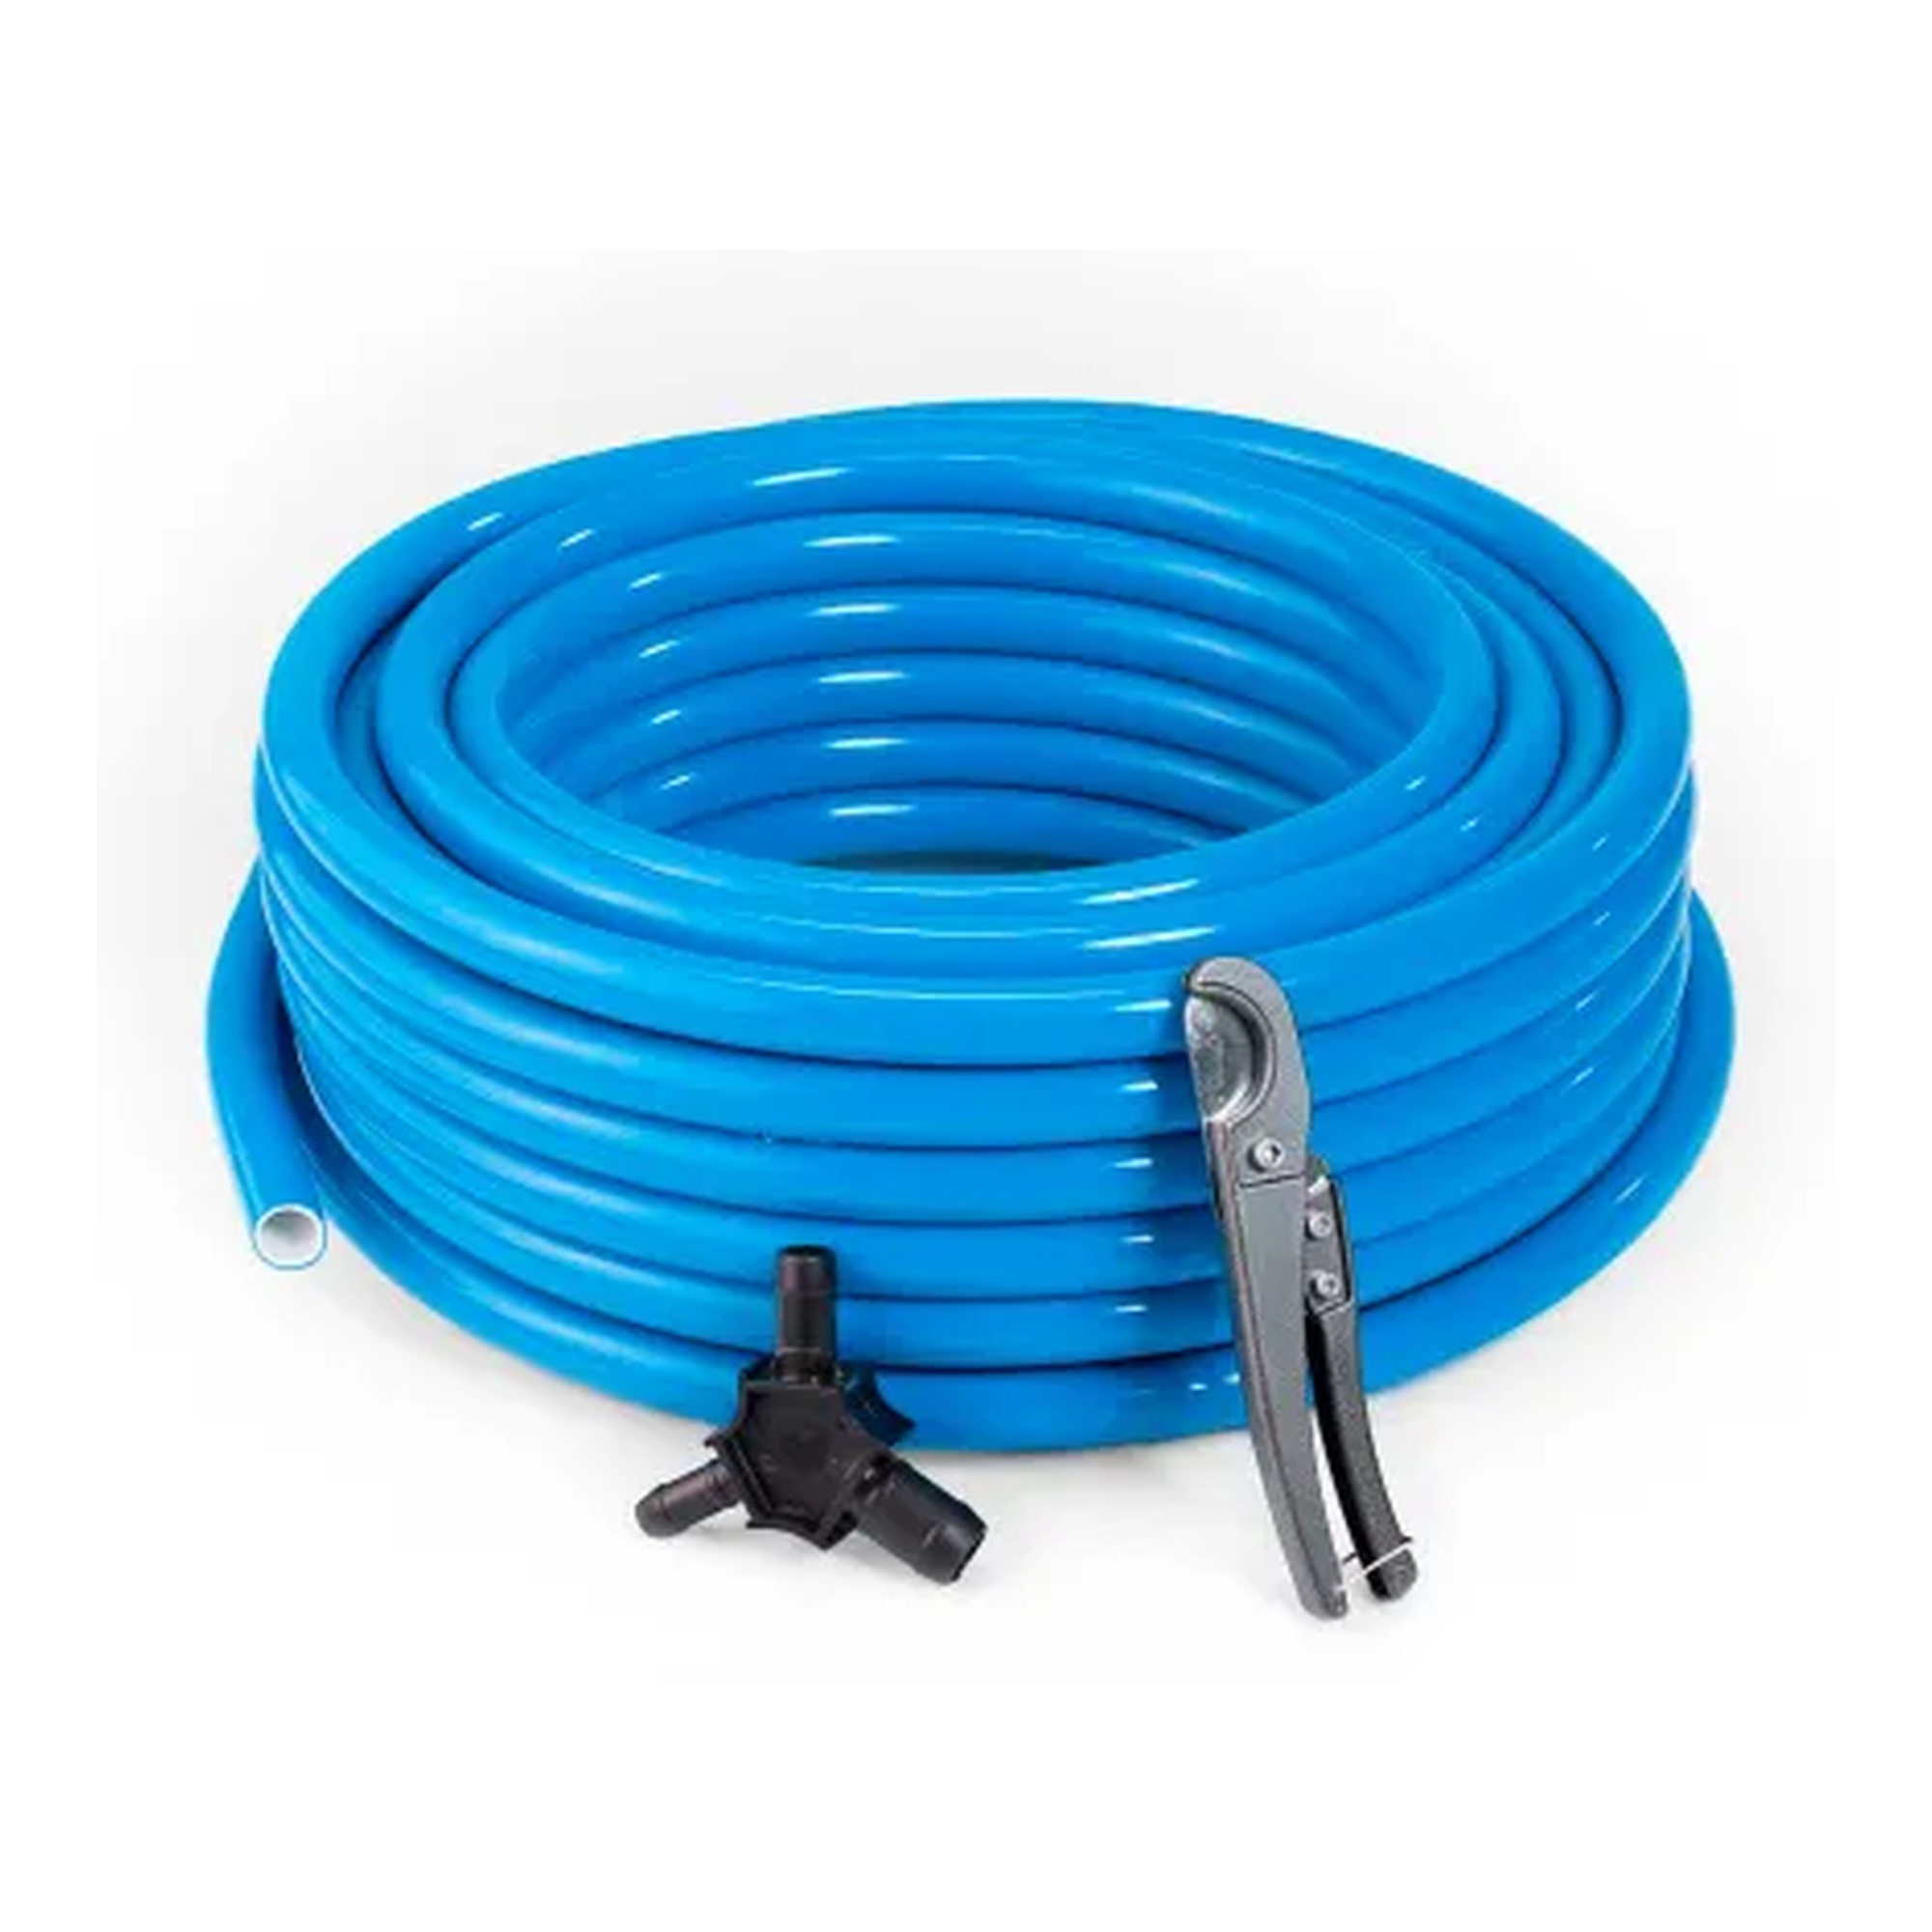
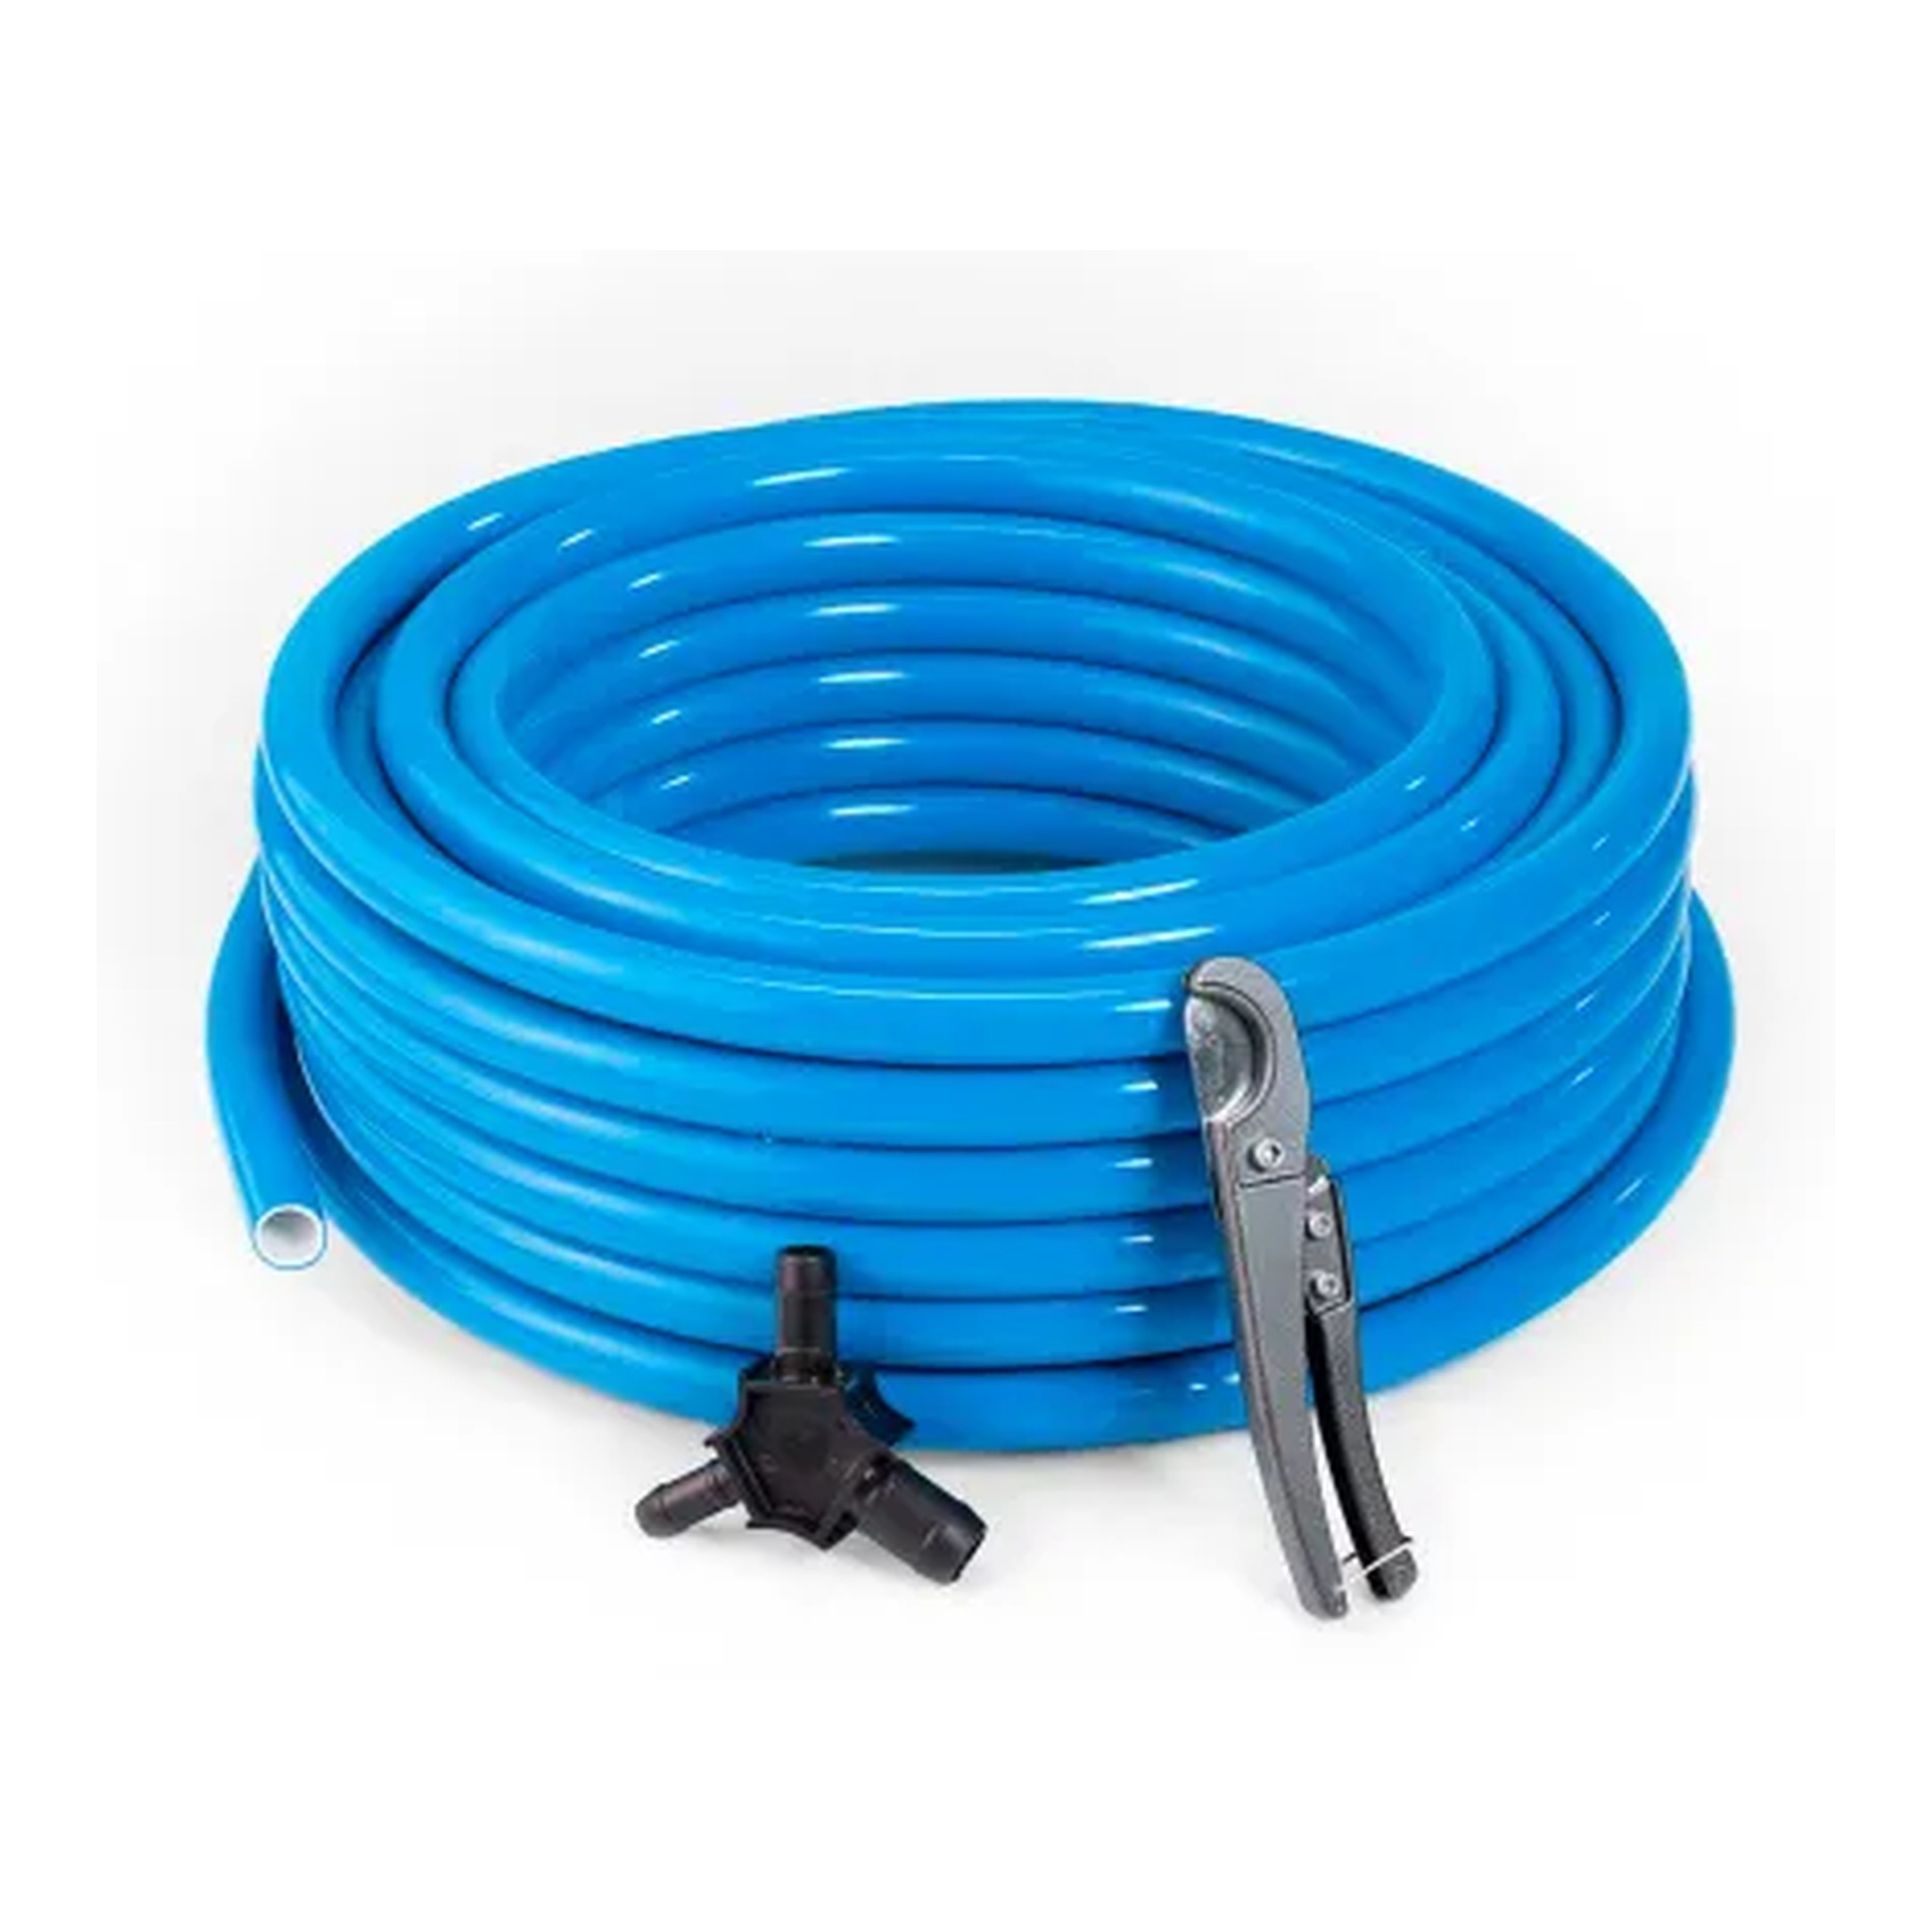
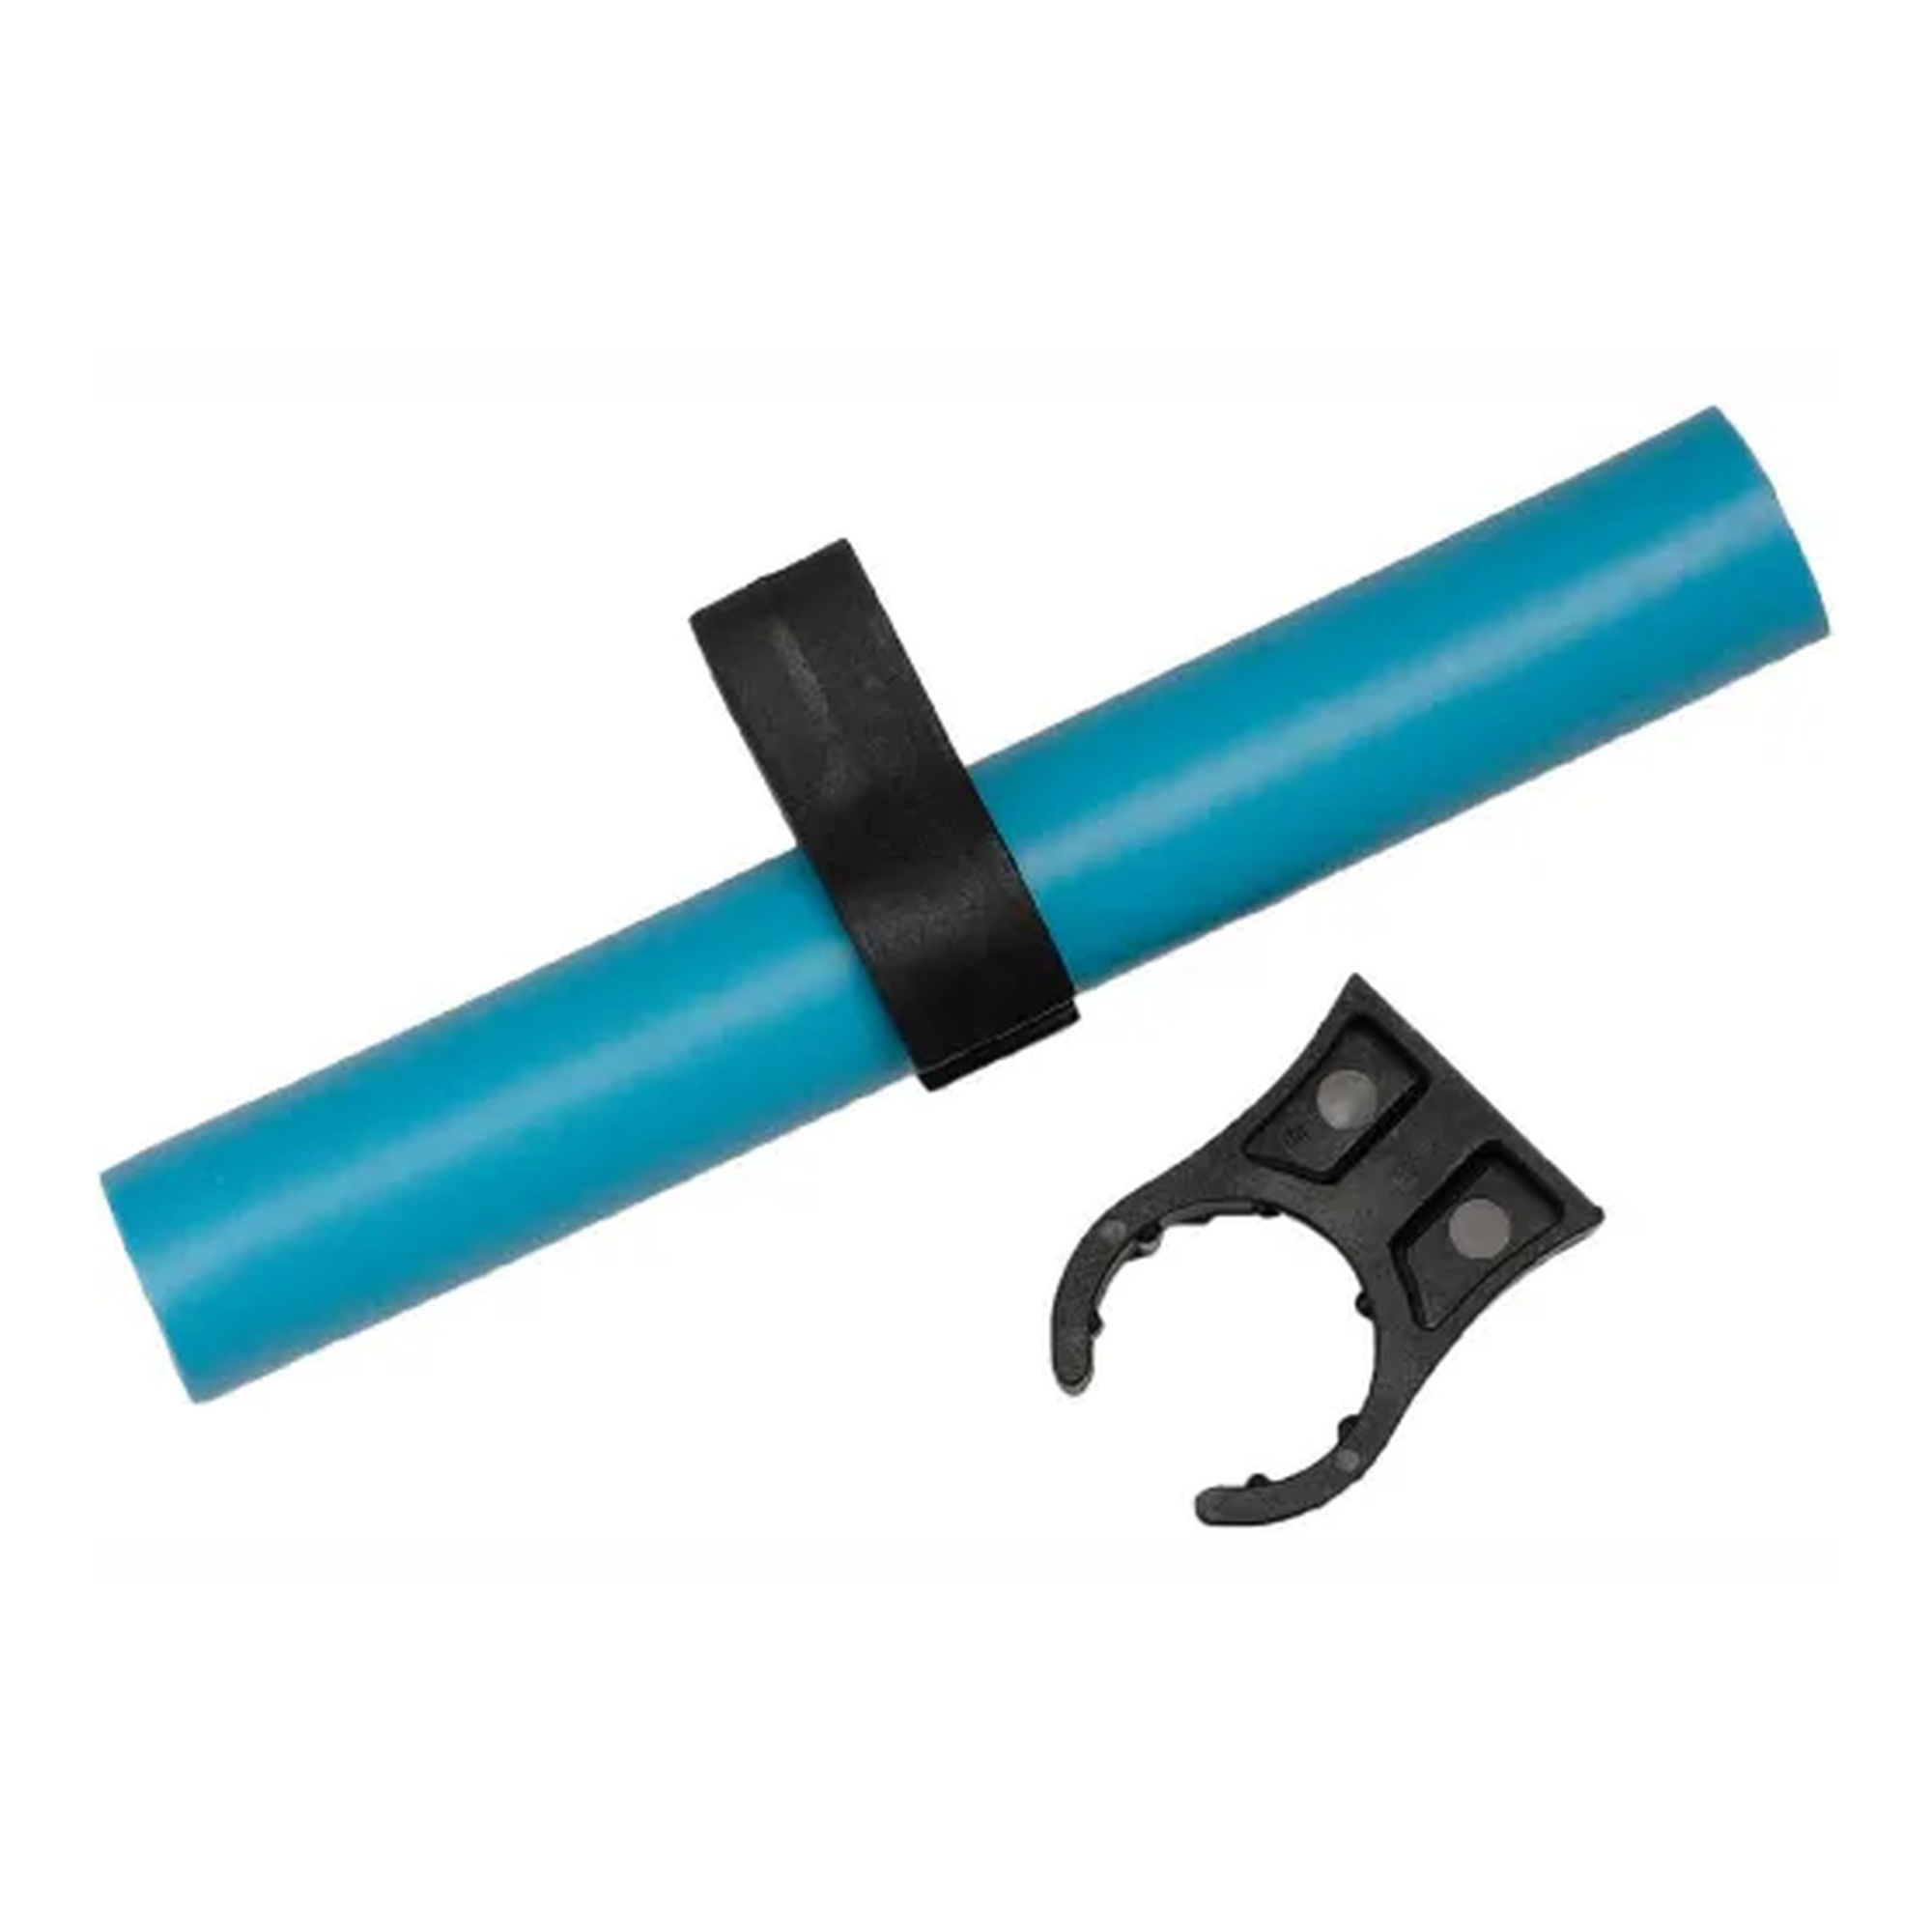
1/2 in Blue Compressed Air Tubing
Our Price:$129.94This blue compressed air tubing is designed for maintenance teams and facility operators building or routing compressed-air piping systems. It provides a flexible piping option for moving air through...
-
Maxline
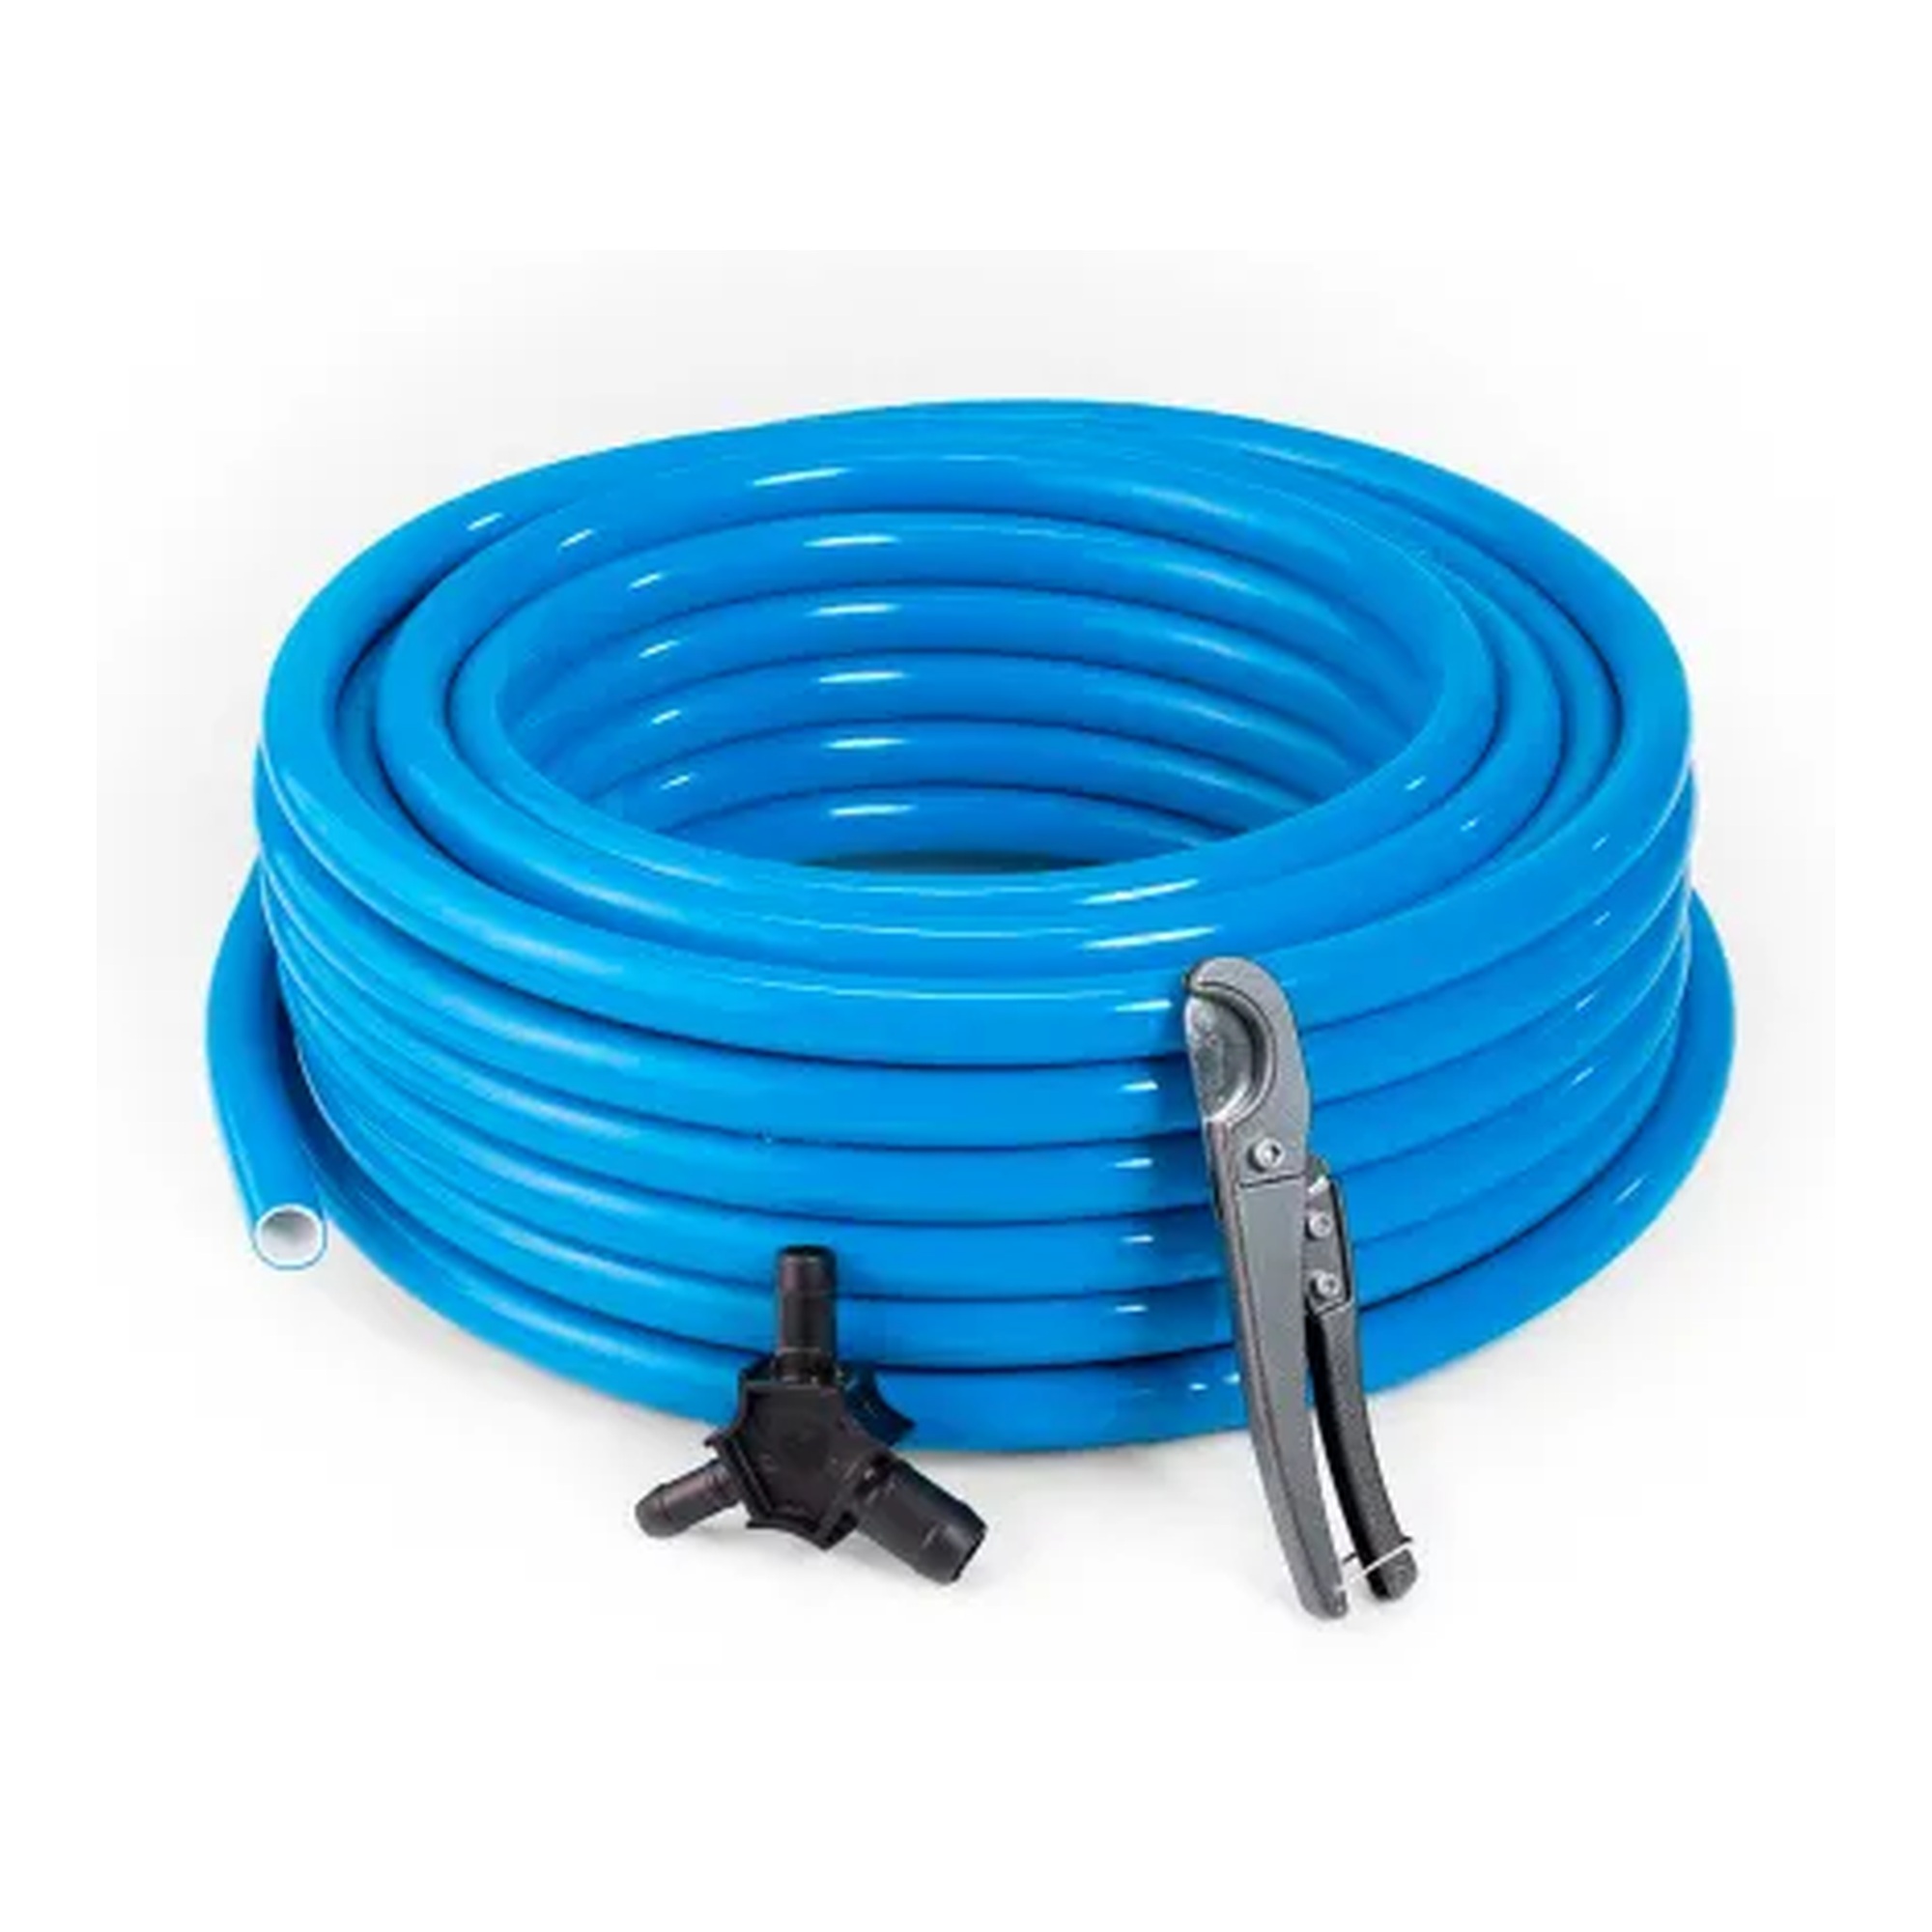
1/2 in Blue Compressed Air Tubing Kit
Our Price:$239.94This blue compressed air tubing kit is designed for buyers building or extending compressed-air piping runs. It provides tubing for routing air lines along wall surfaces, within walls, or in...
-
Maxline
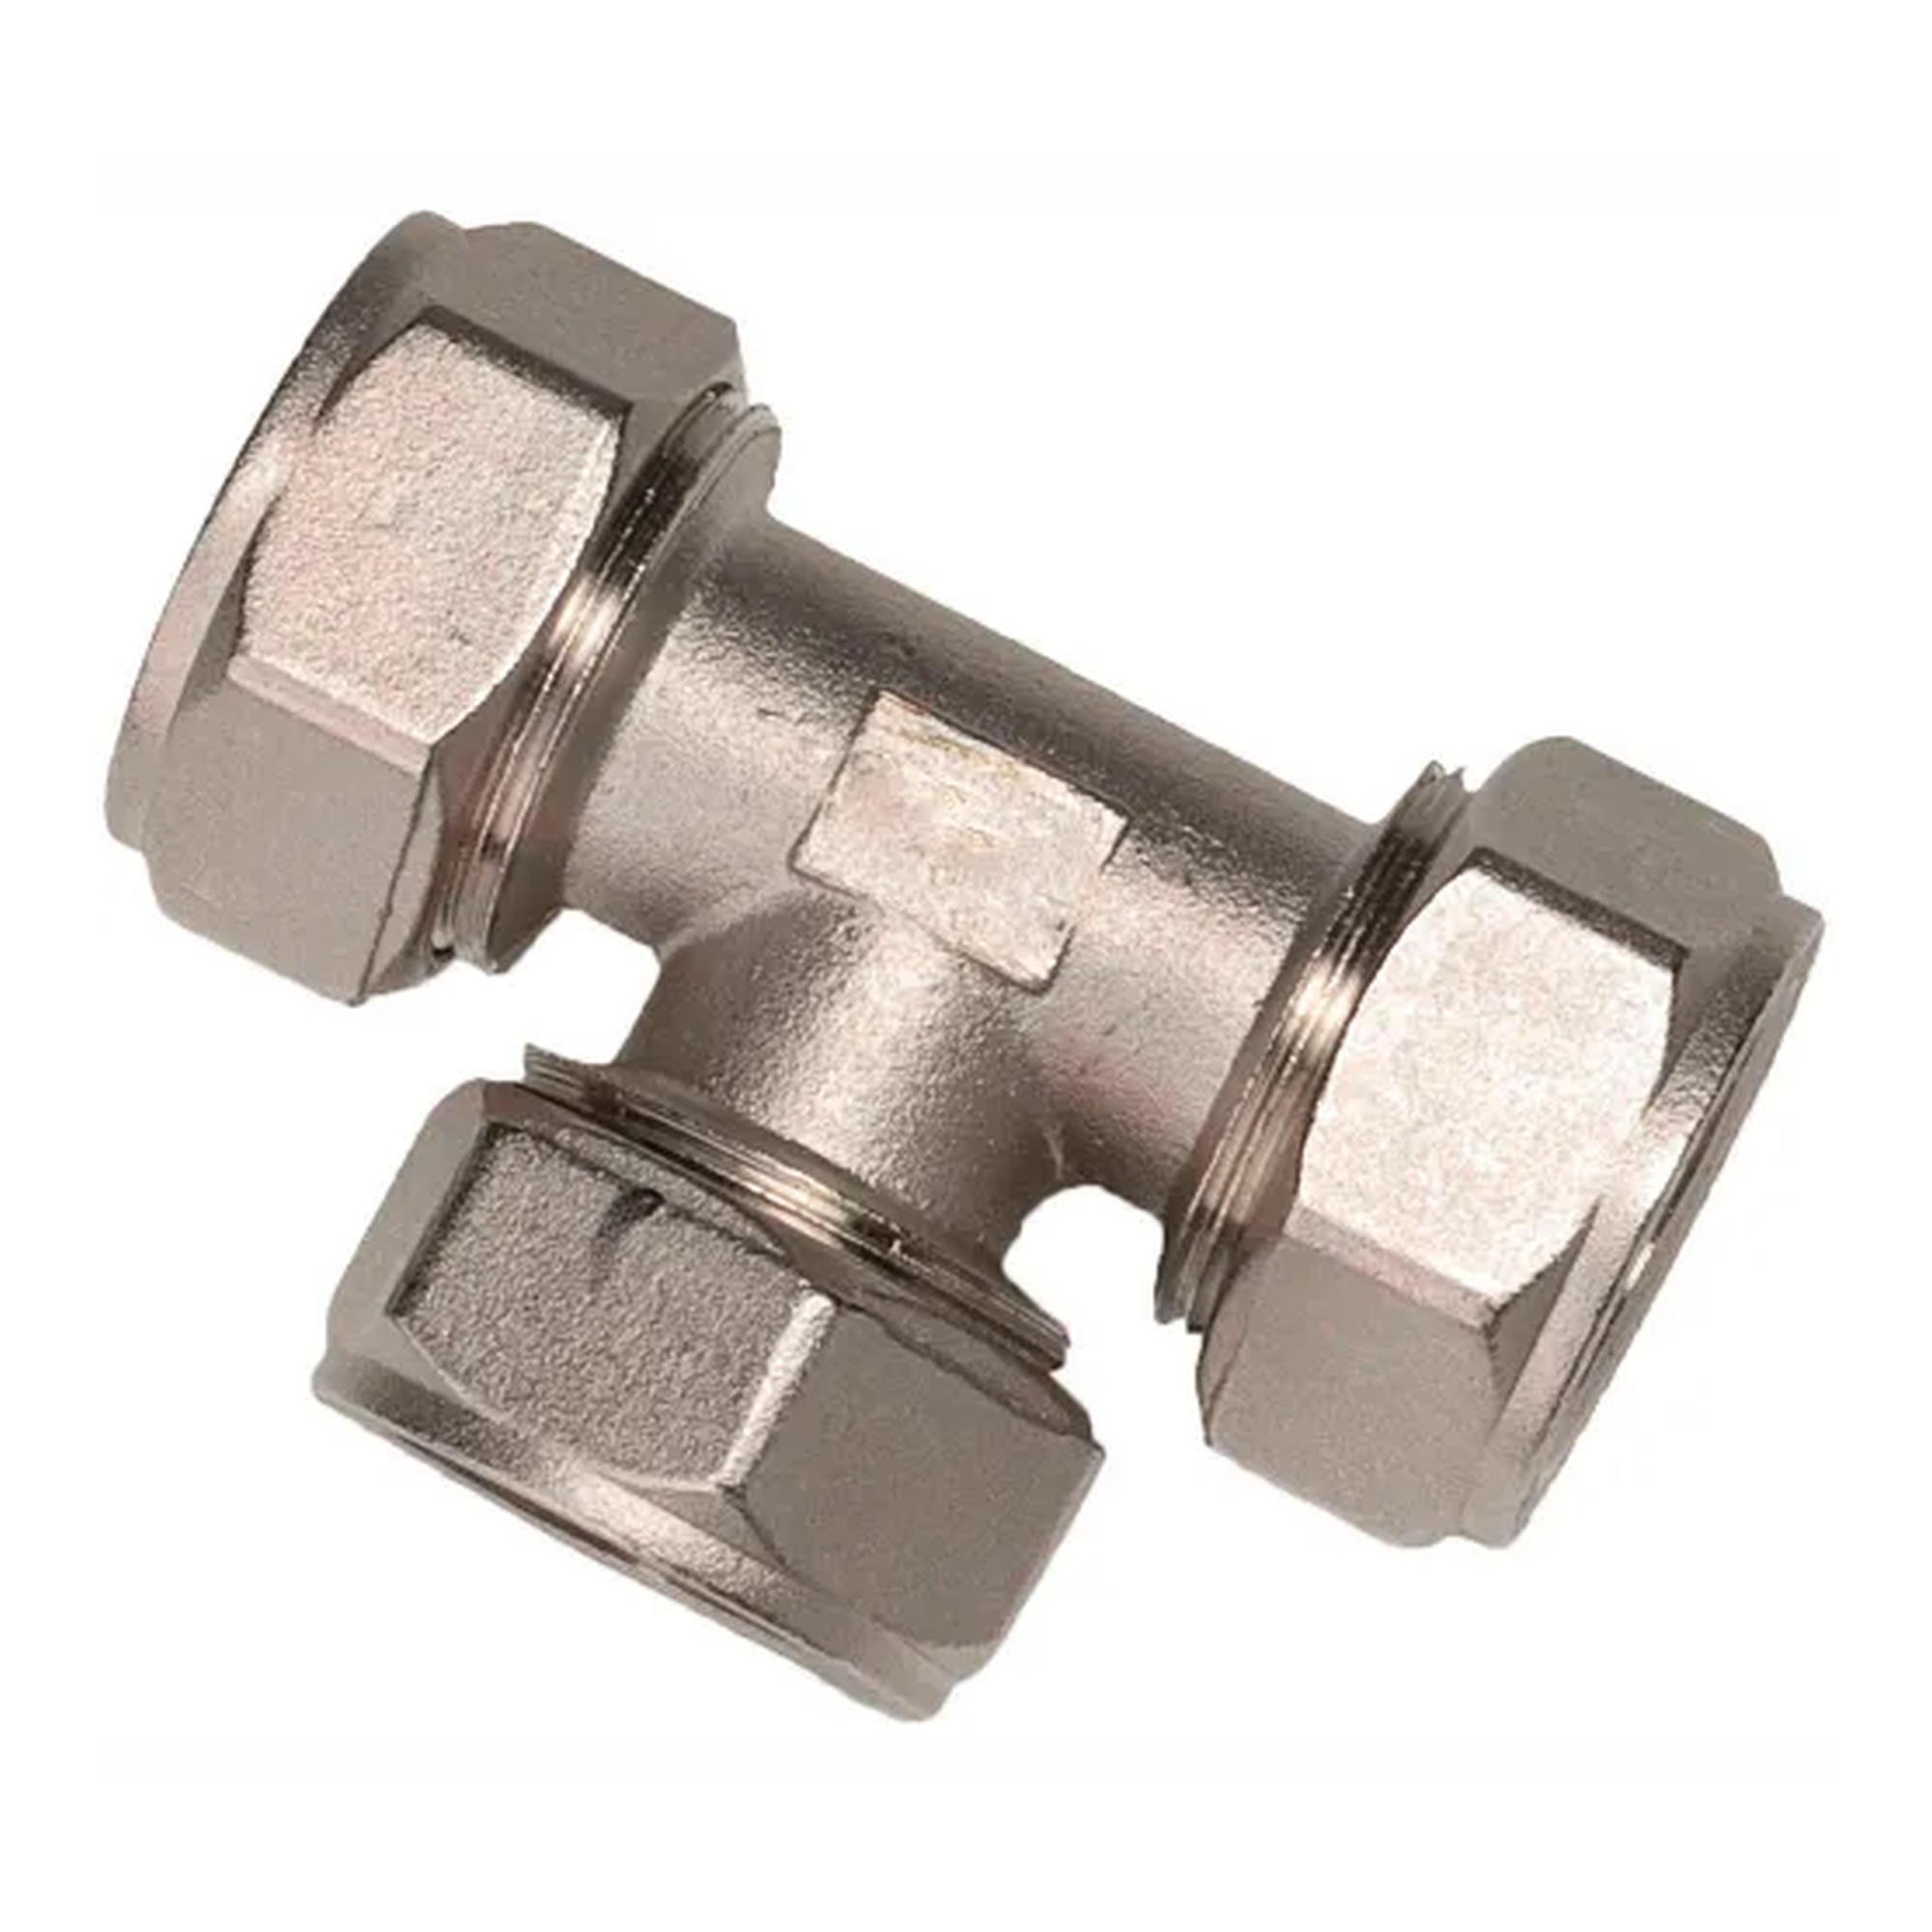
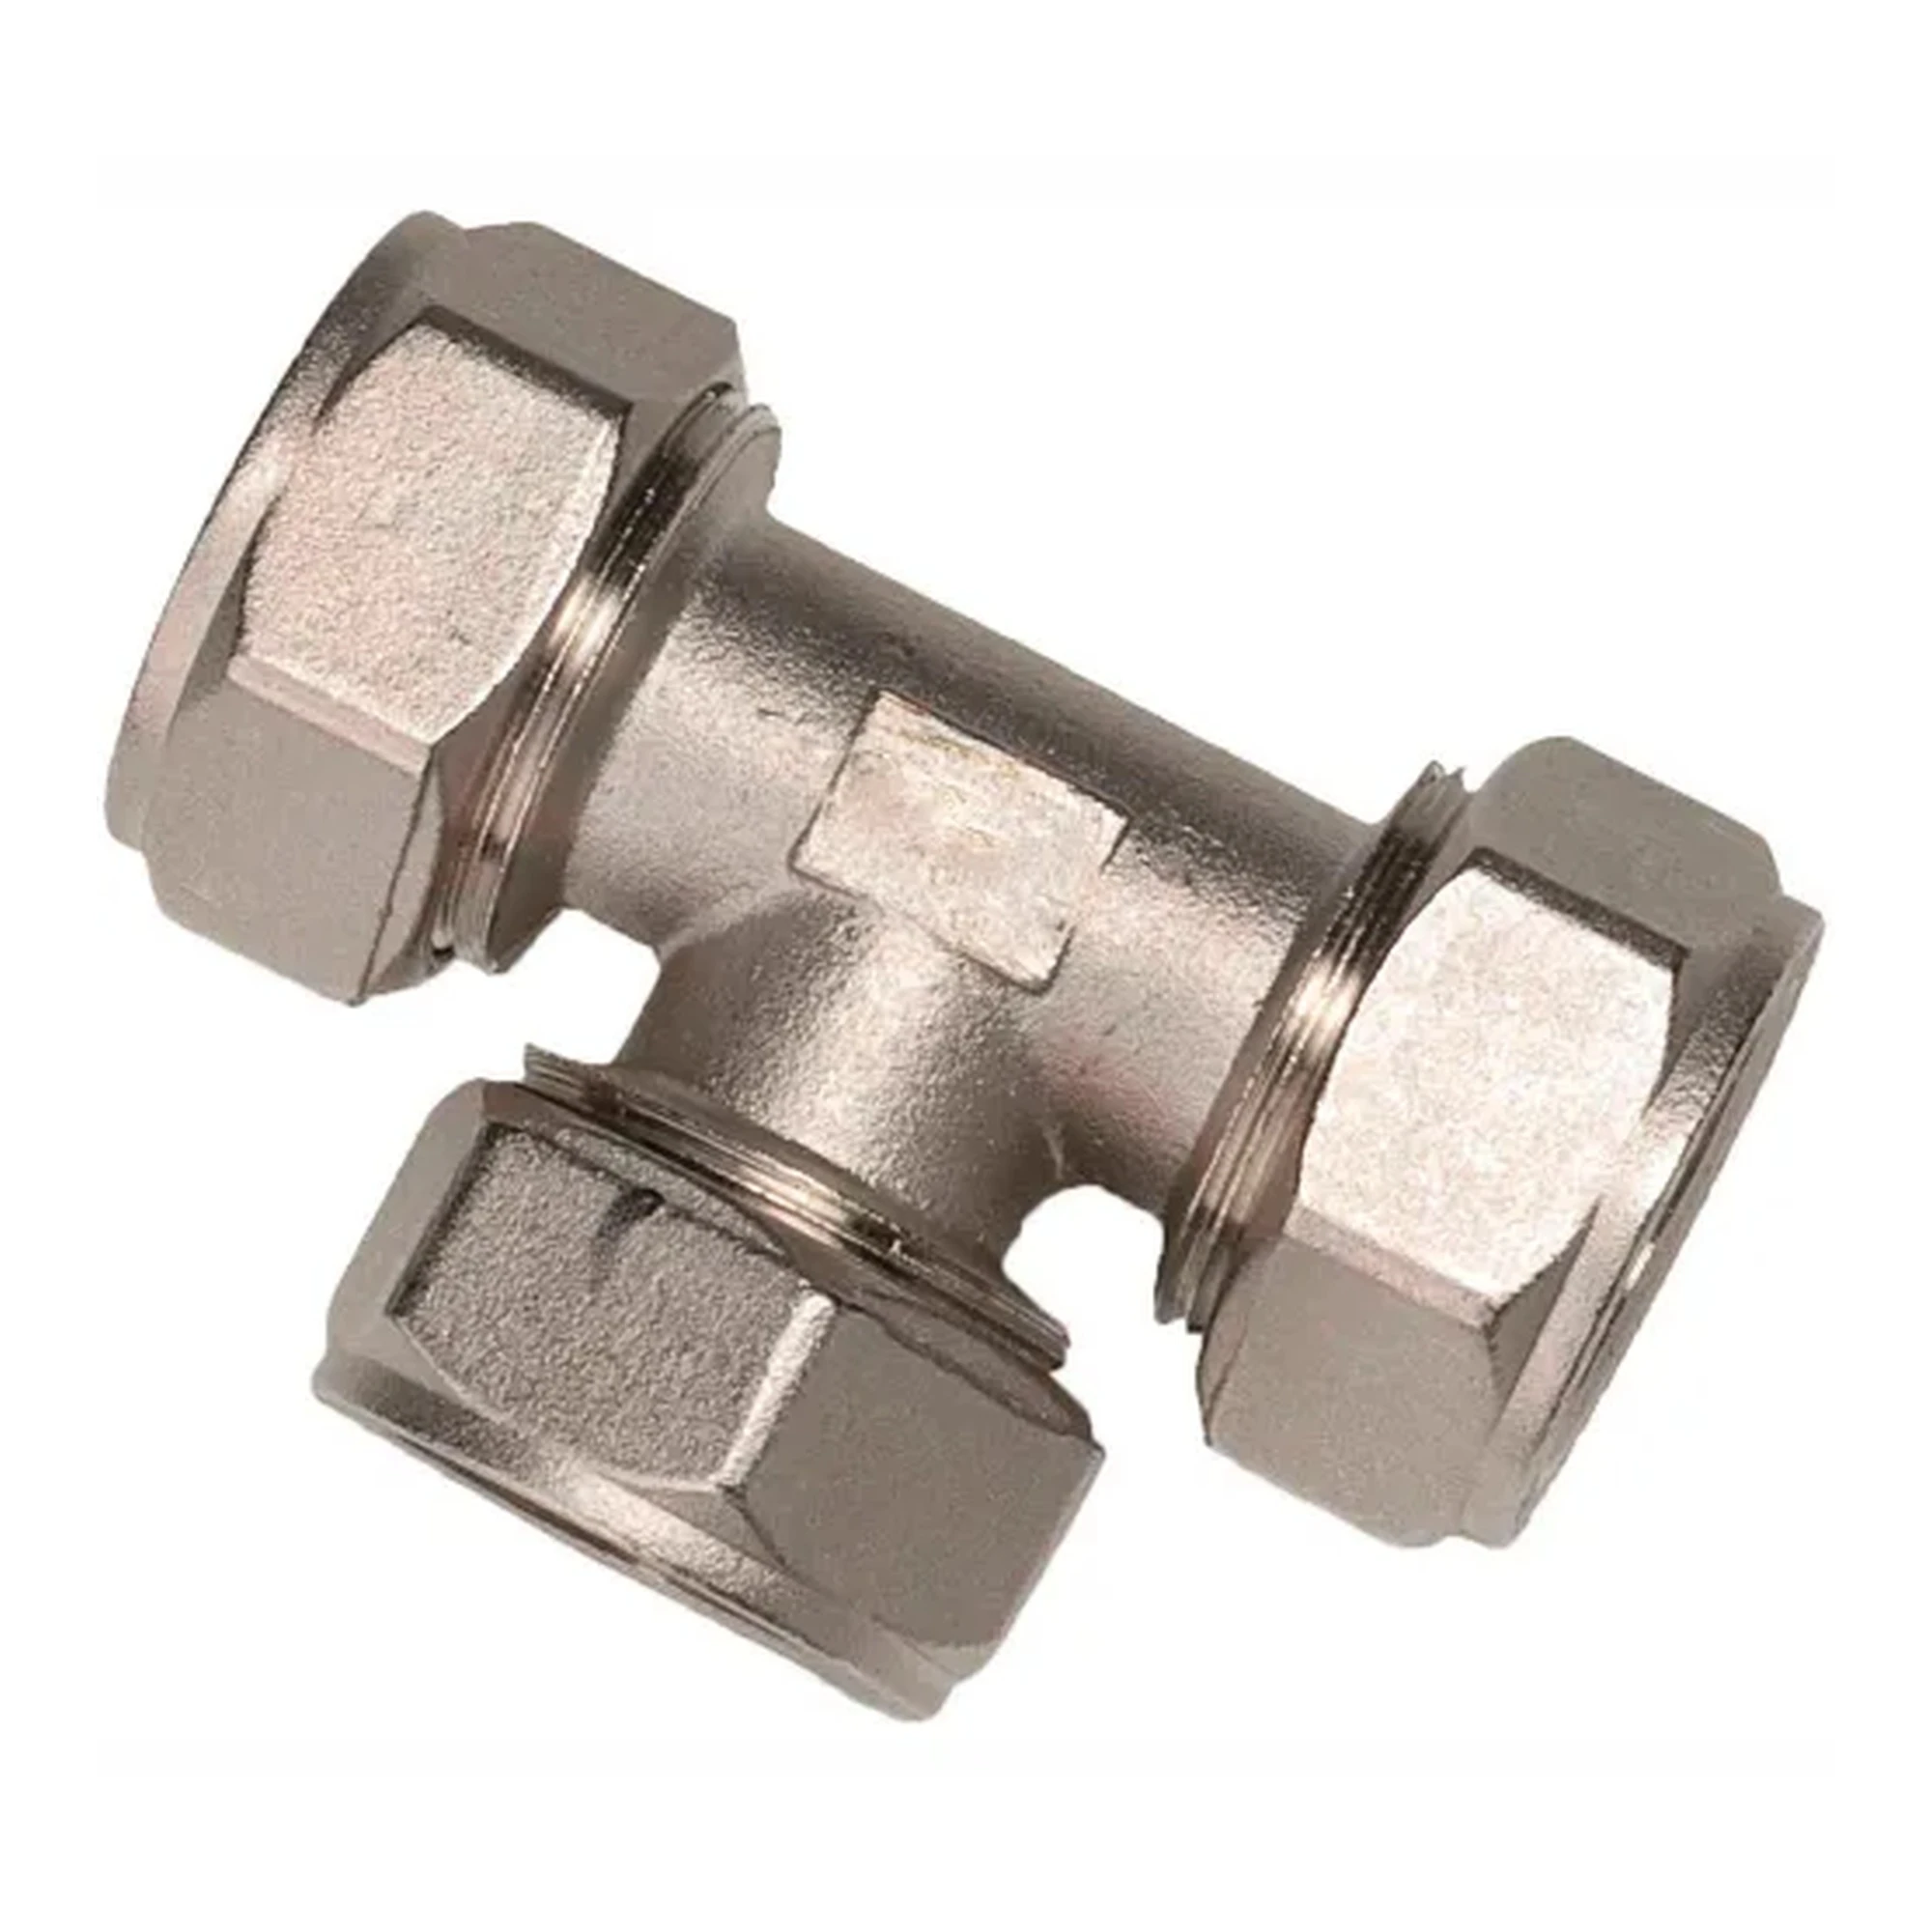
1/2 in. Tee Compression Fitting
Our Price:$17.24This 1/2 in. tee compression fitting connects three tubing runs in pneumatic piping systems. It helps commercial users create branch connections without glue, soldering, or crimping.The fitting has...
-
Maxline
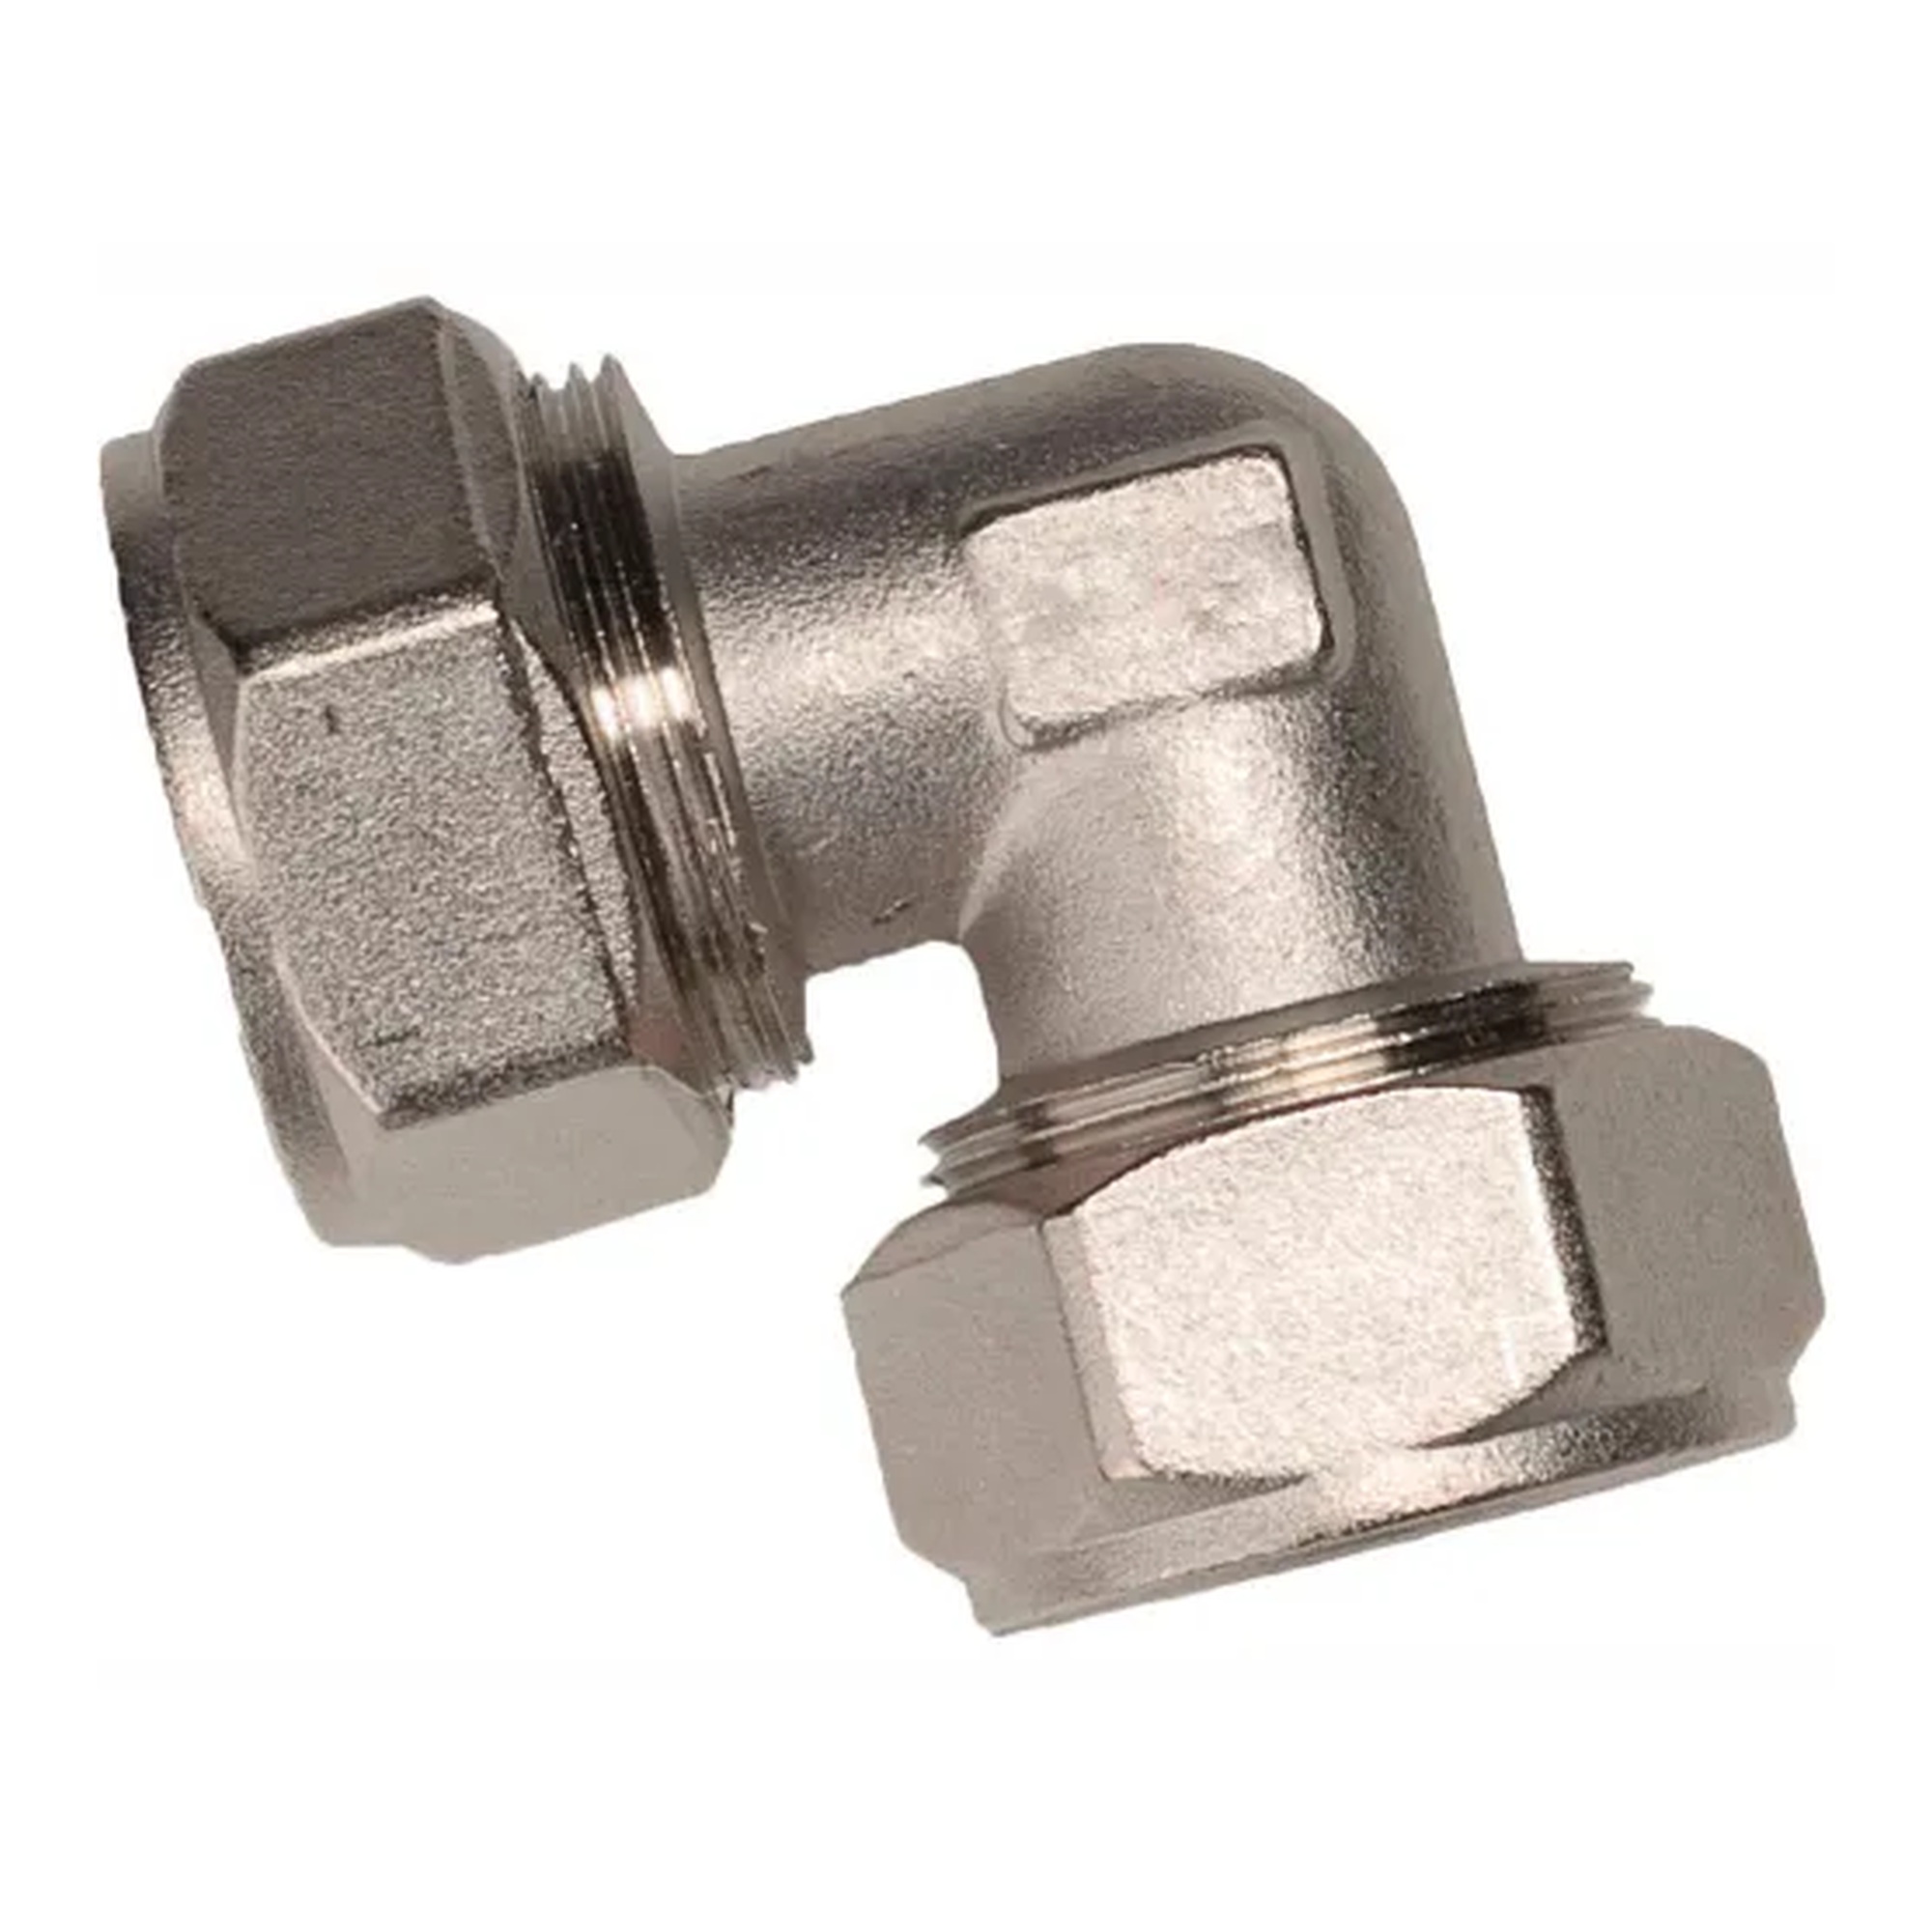
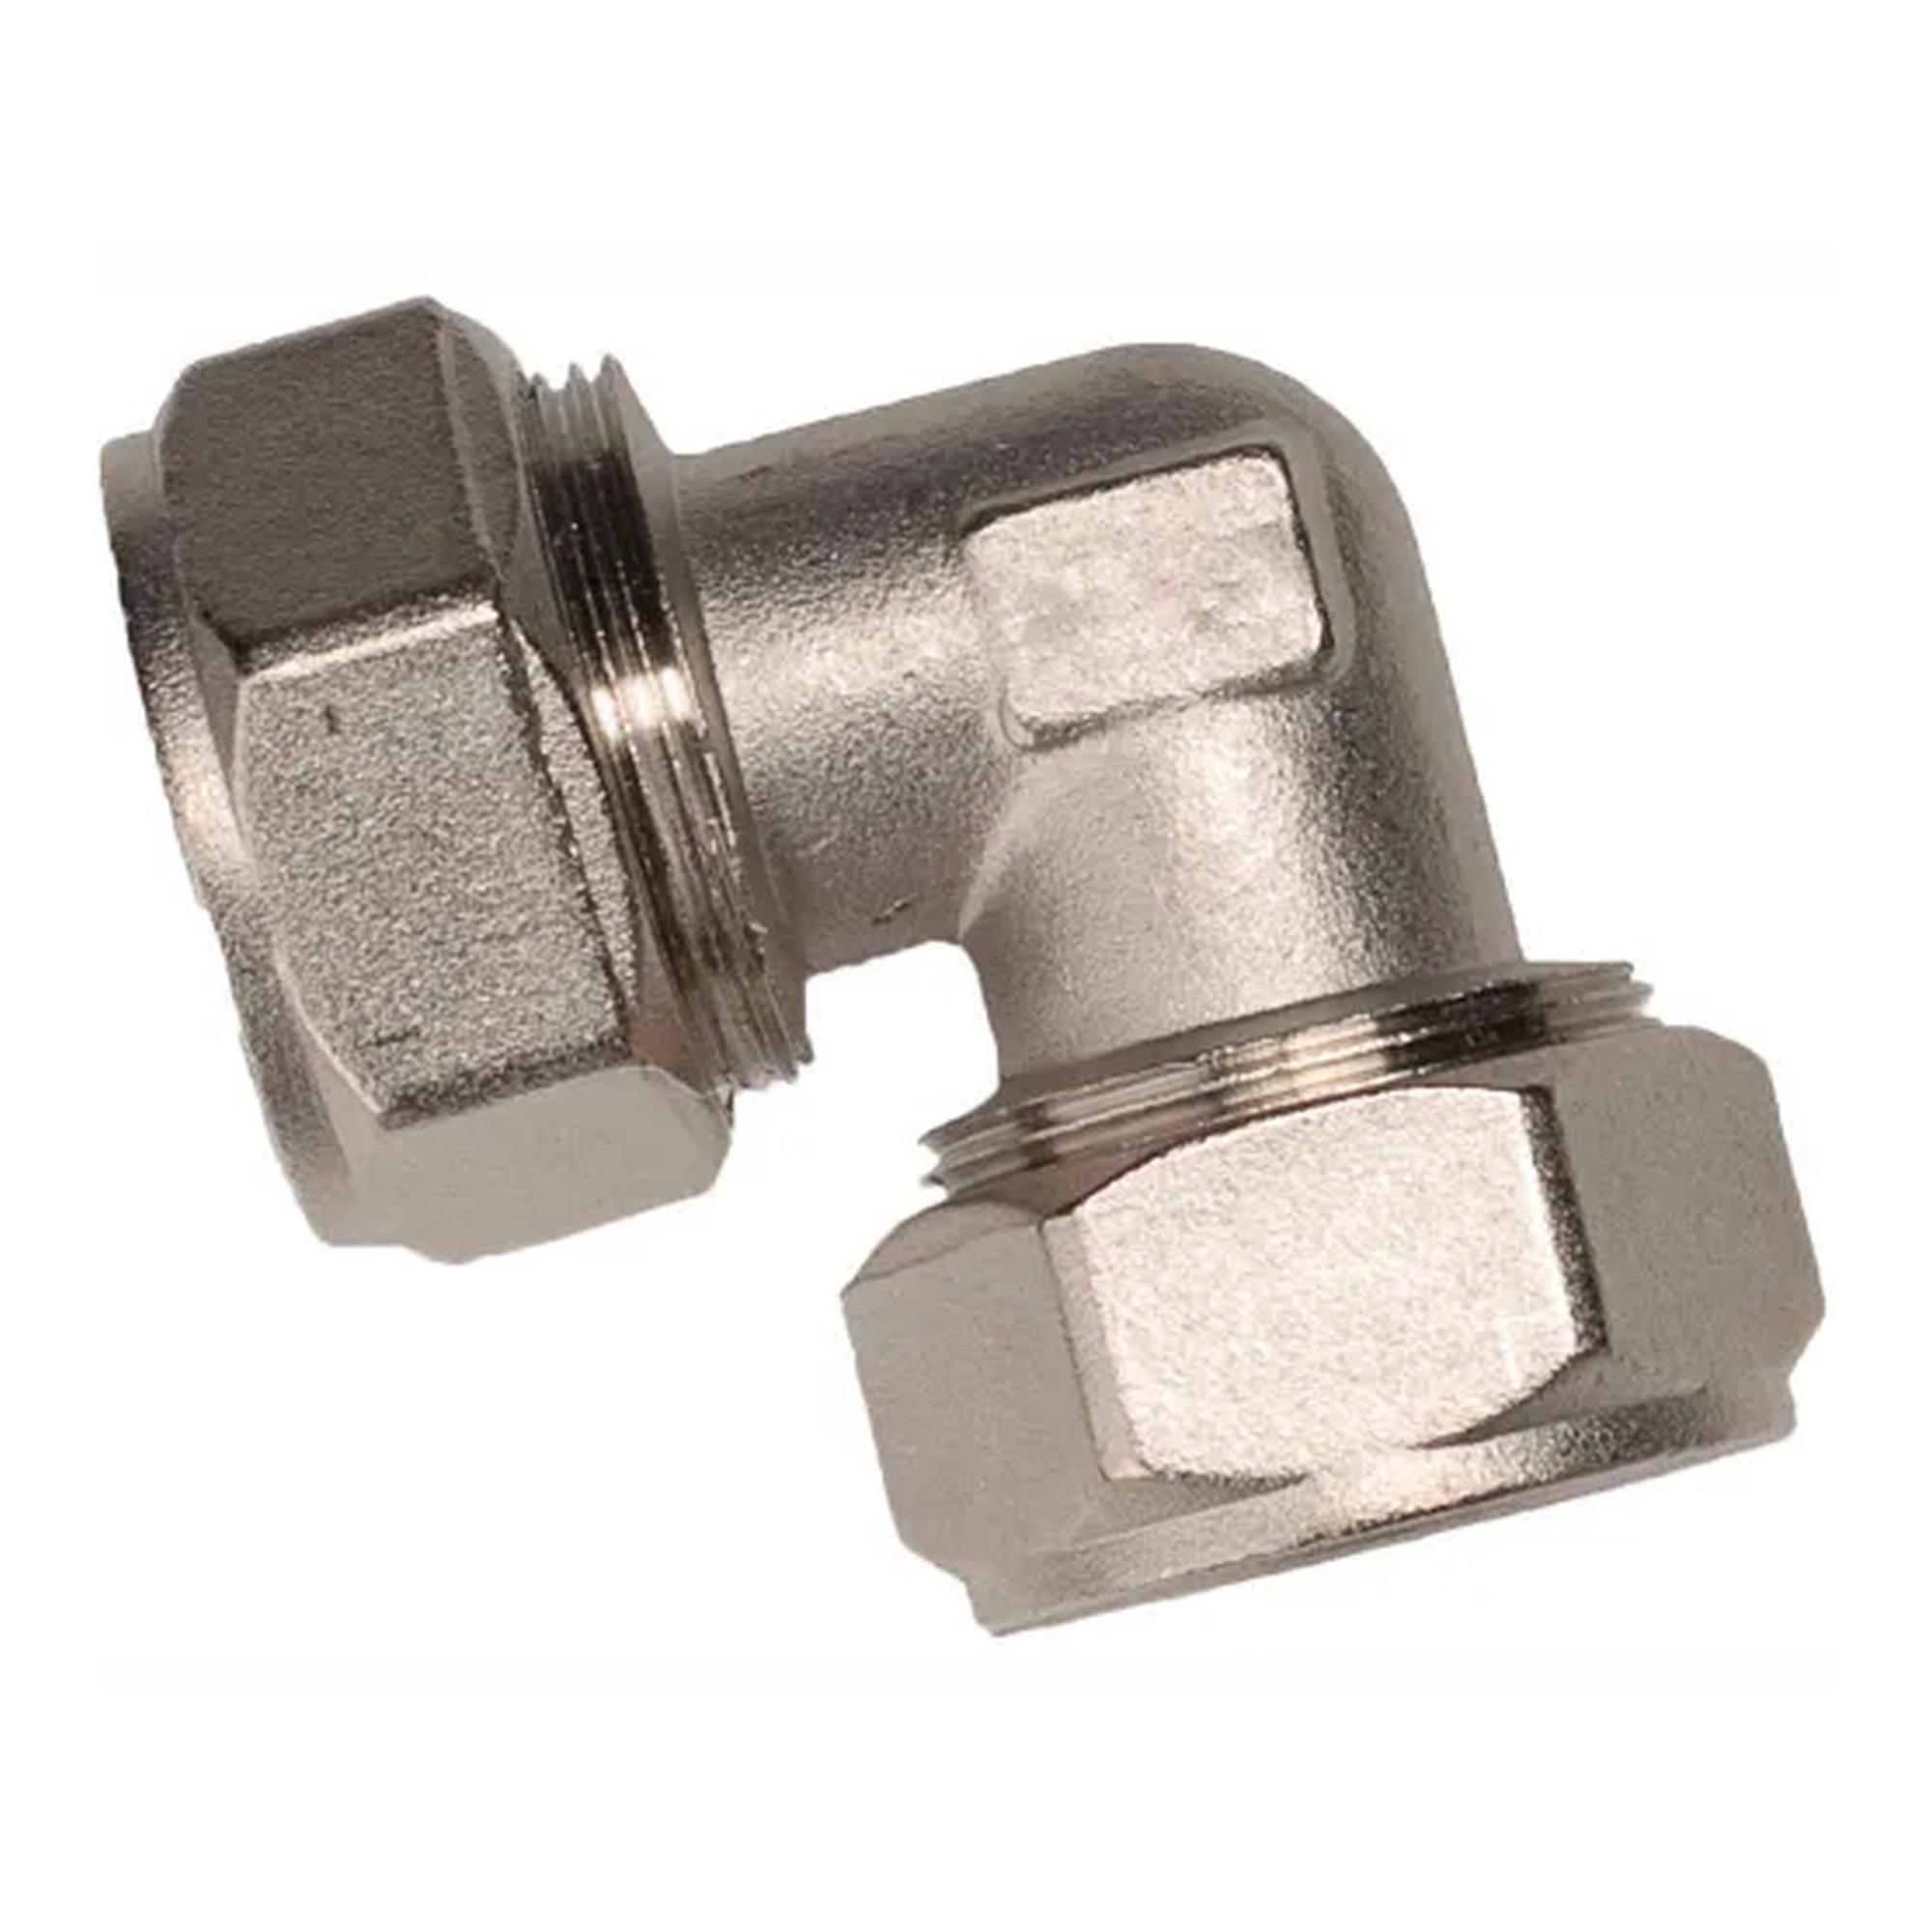
1/2 Inch Compression Elbow Fitting
Our Price:$15.49This 1/2 inch compression elbow fitting helps pneumatic system installers and maintenance teams route tubing around a corner. It creates a tubing-to-tubing connection without requiring glue,...
-
Maxline
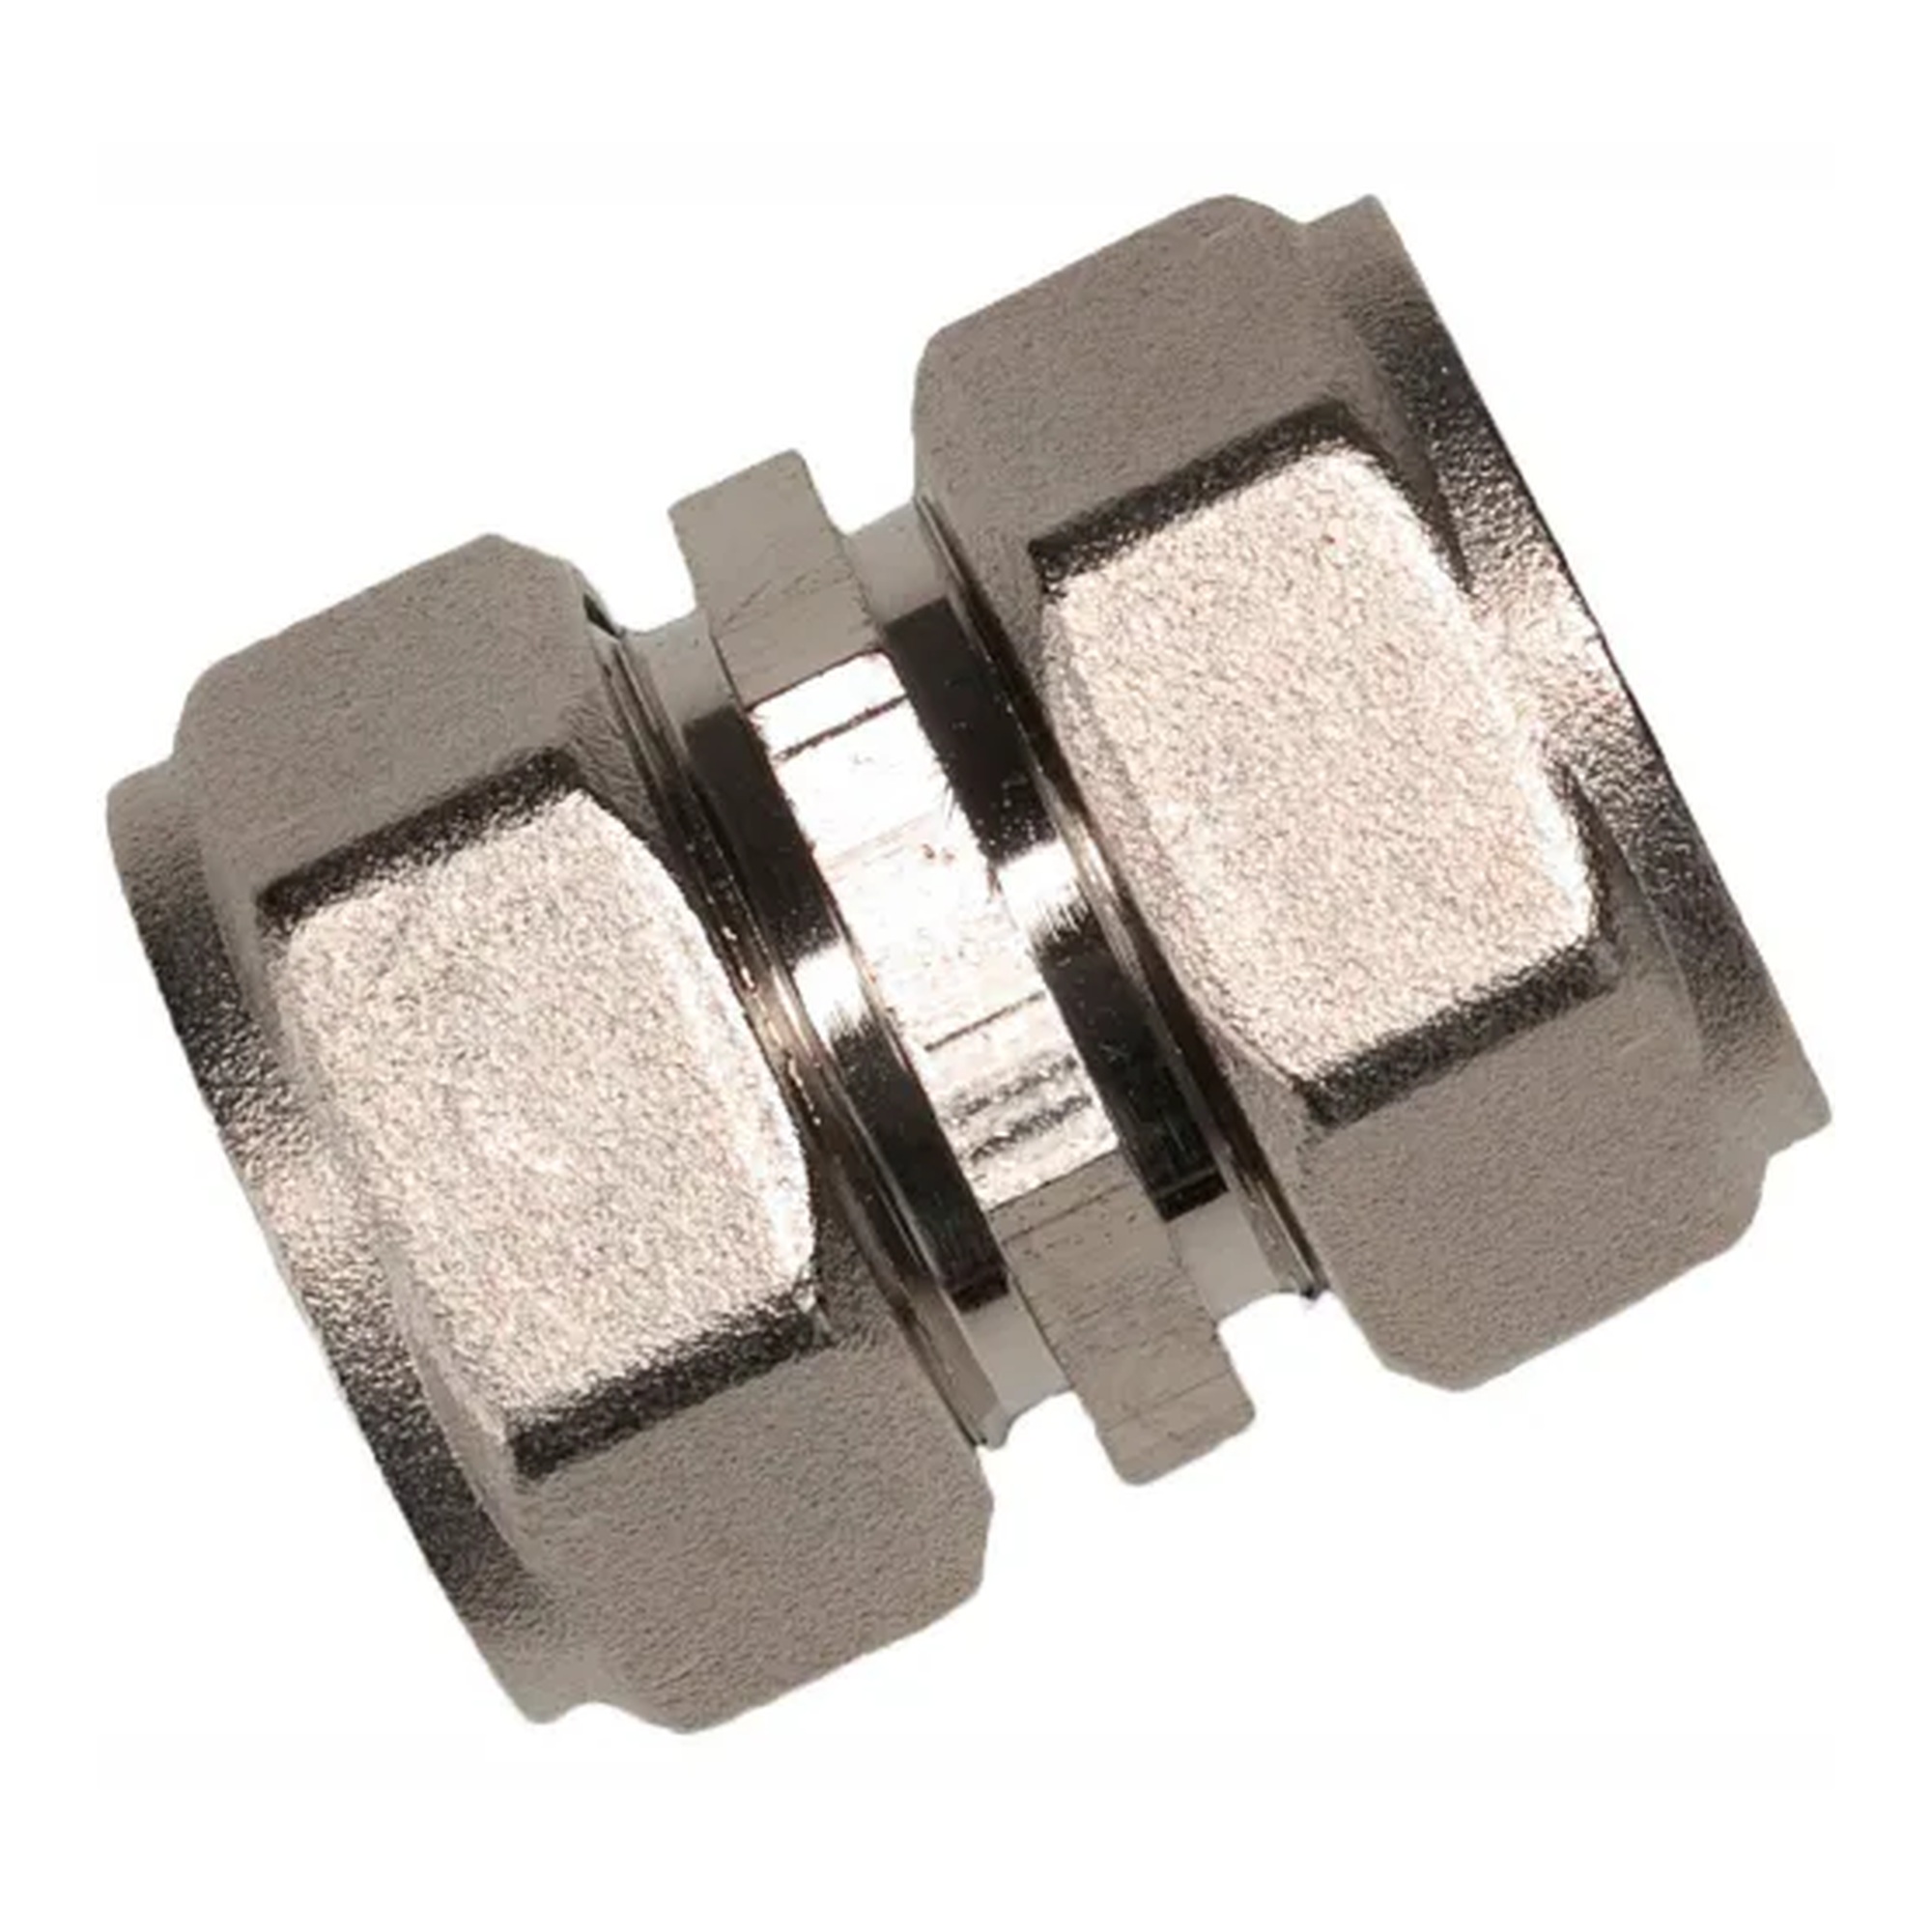
1/2 Inch Compression Union Fitting
Our Price:$13.49This 1/2 inch compression union fitting joins tubing sections for installers and maintenance teams building or repairing tubing runs. Its compression-style connection provides a straightforward way...
-
Rapidair
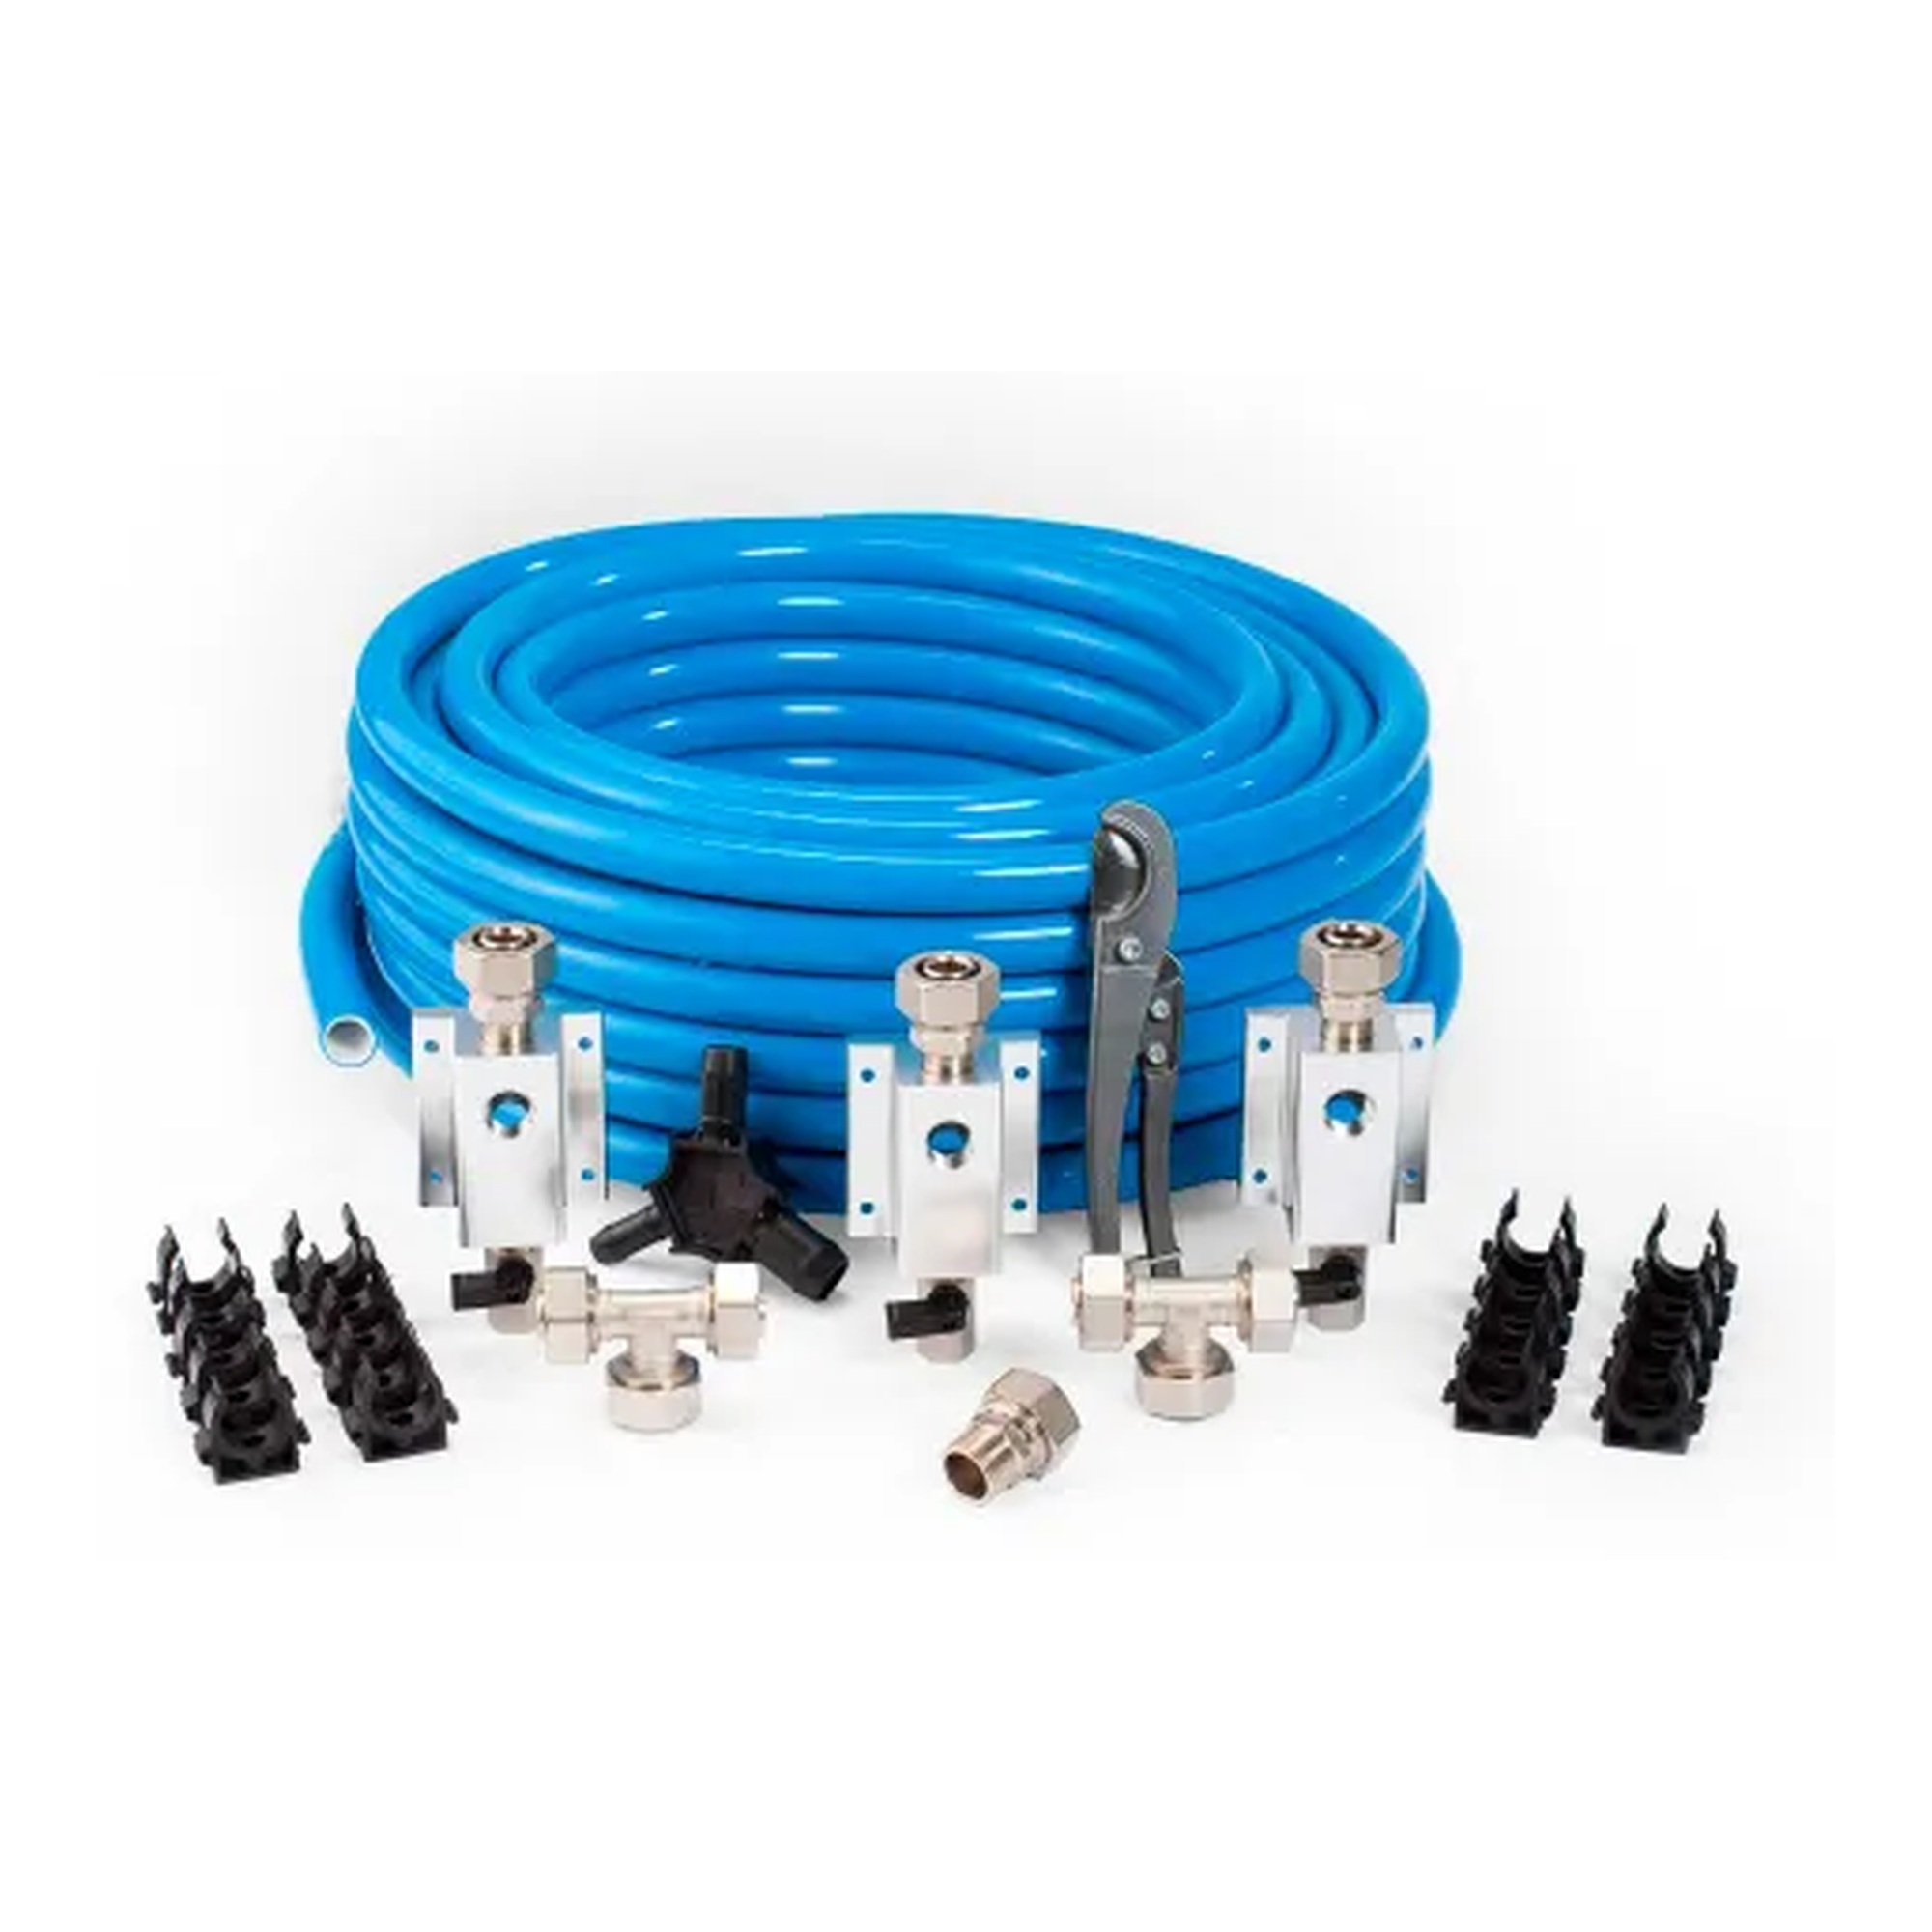
1/2-Inch Compressed Air Piping Master Kit
Our Price:$159.94This 1/2-inch compressed air piping master kit helps shop and facility users set up an organized air distribution system with two outlet locations. It is designed to route compressed air along wall...
-
Rapidair
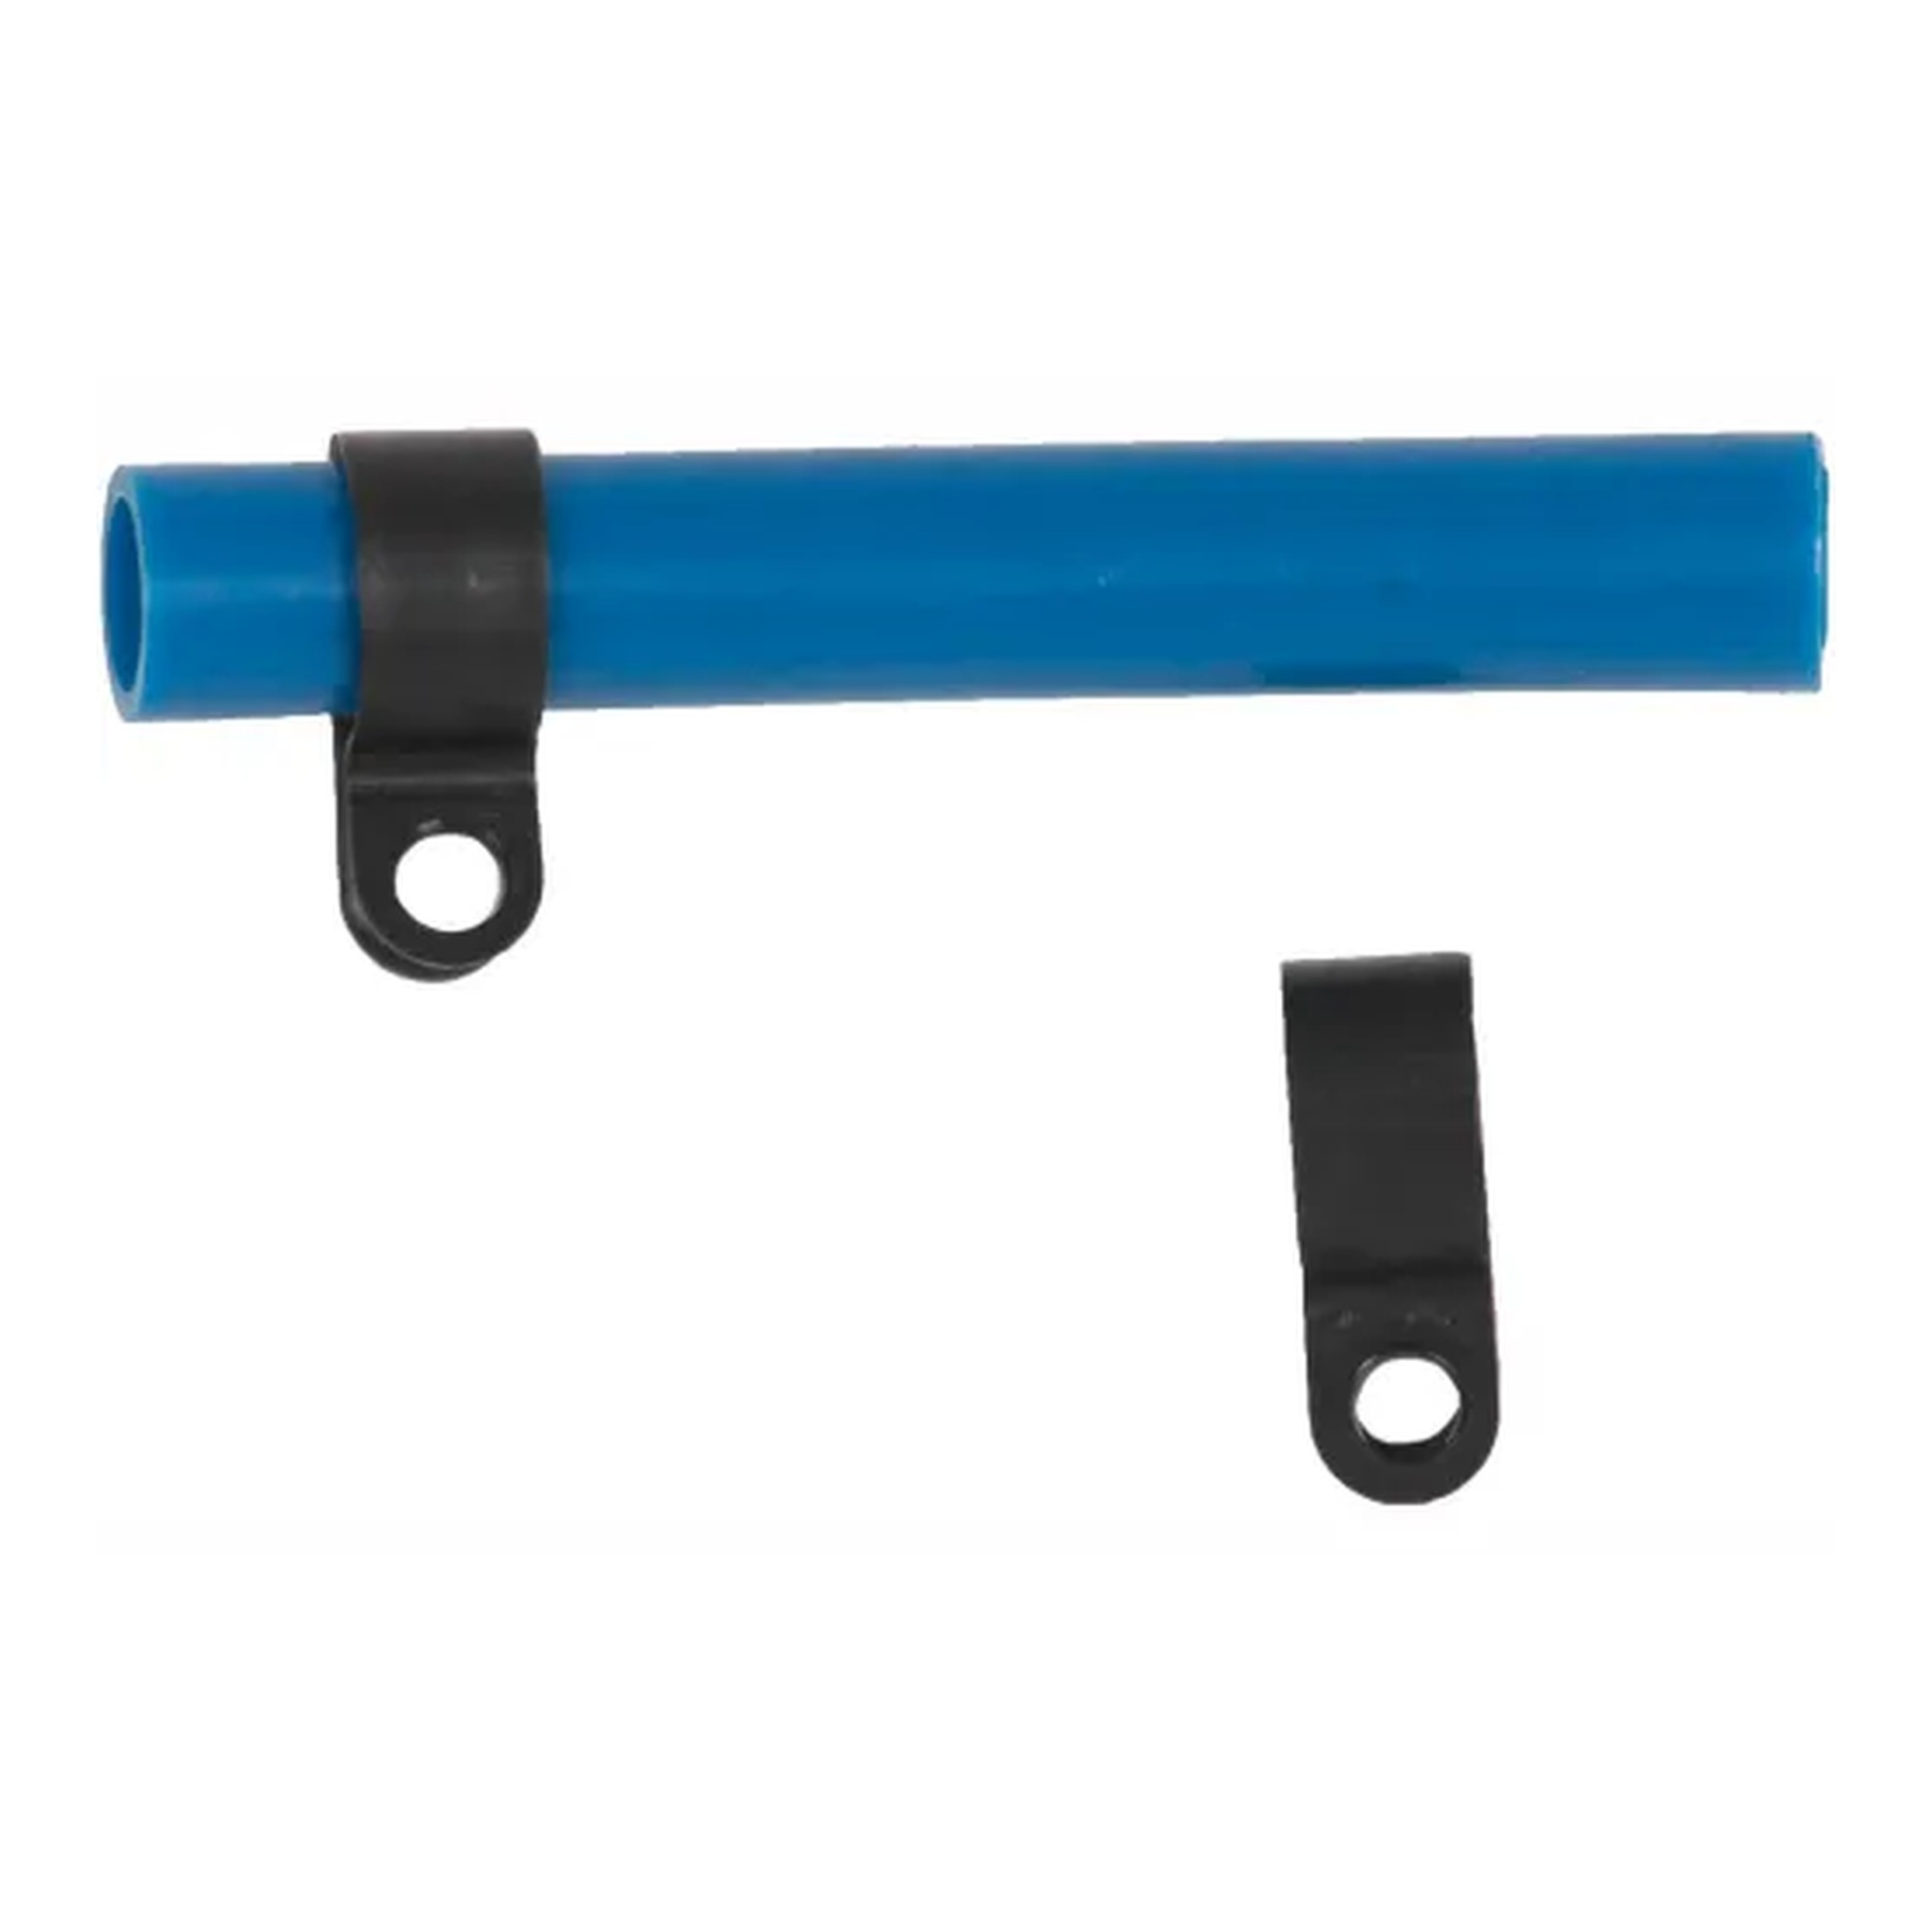
1/2-Inch Nylon Tubing Clamp
Our Price:$5.49This nylon tubing clamp is designed for installers securing 1/2-inch outside-diameter tubing in pneumatic piping setups. Its single mounting hole provides a straightforward attachment point for...
-
Maxline
3/4 in. Compressed Air Master Kit, 100 ft., 3 Outlets
Our Price:$279.94This compressed air master kit helps shop and facility teams set up air piping with three outlet locations. It provides a practical way to route compressed air while helping reduce clutter in work...
-
Maxline
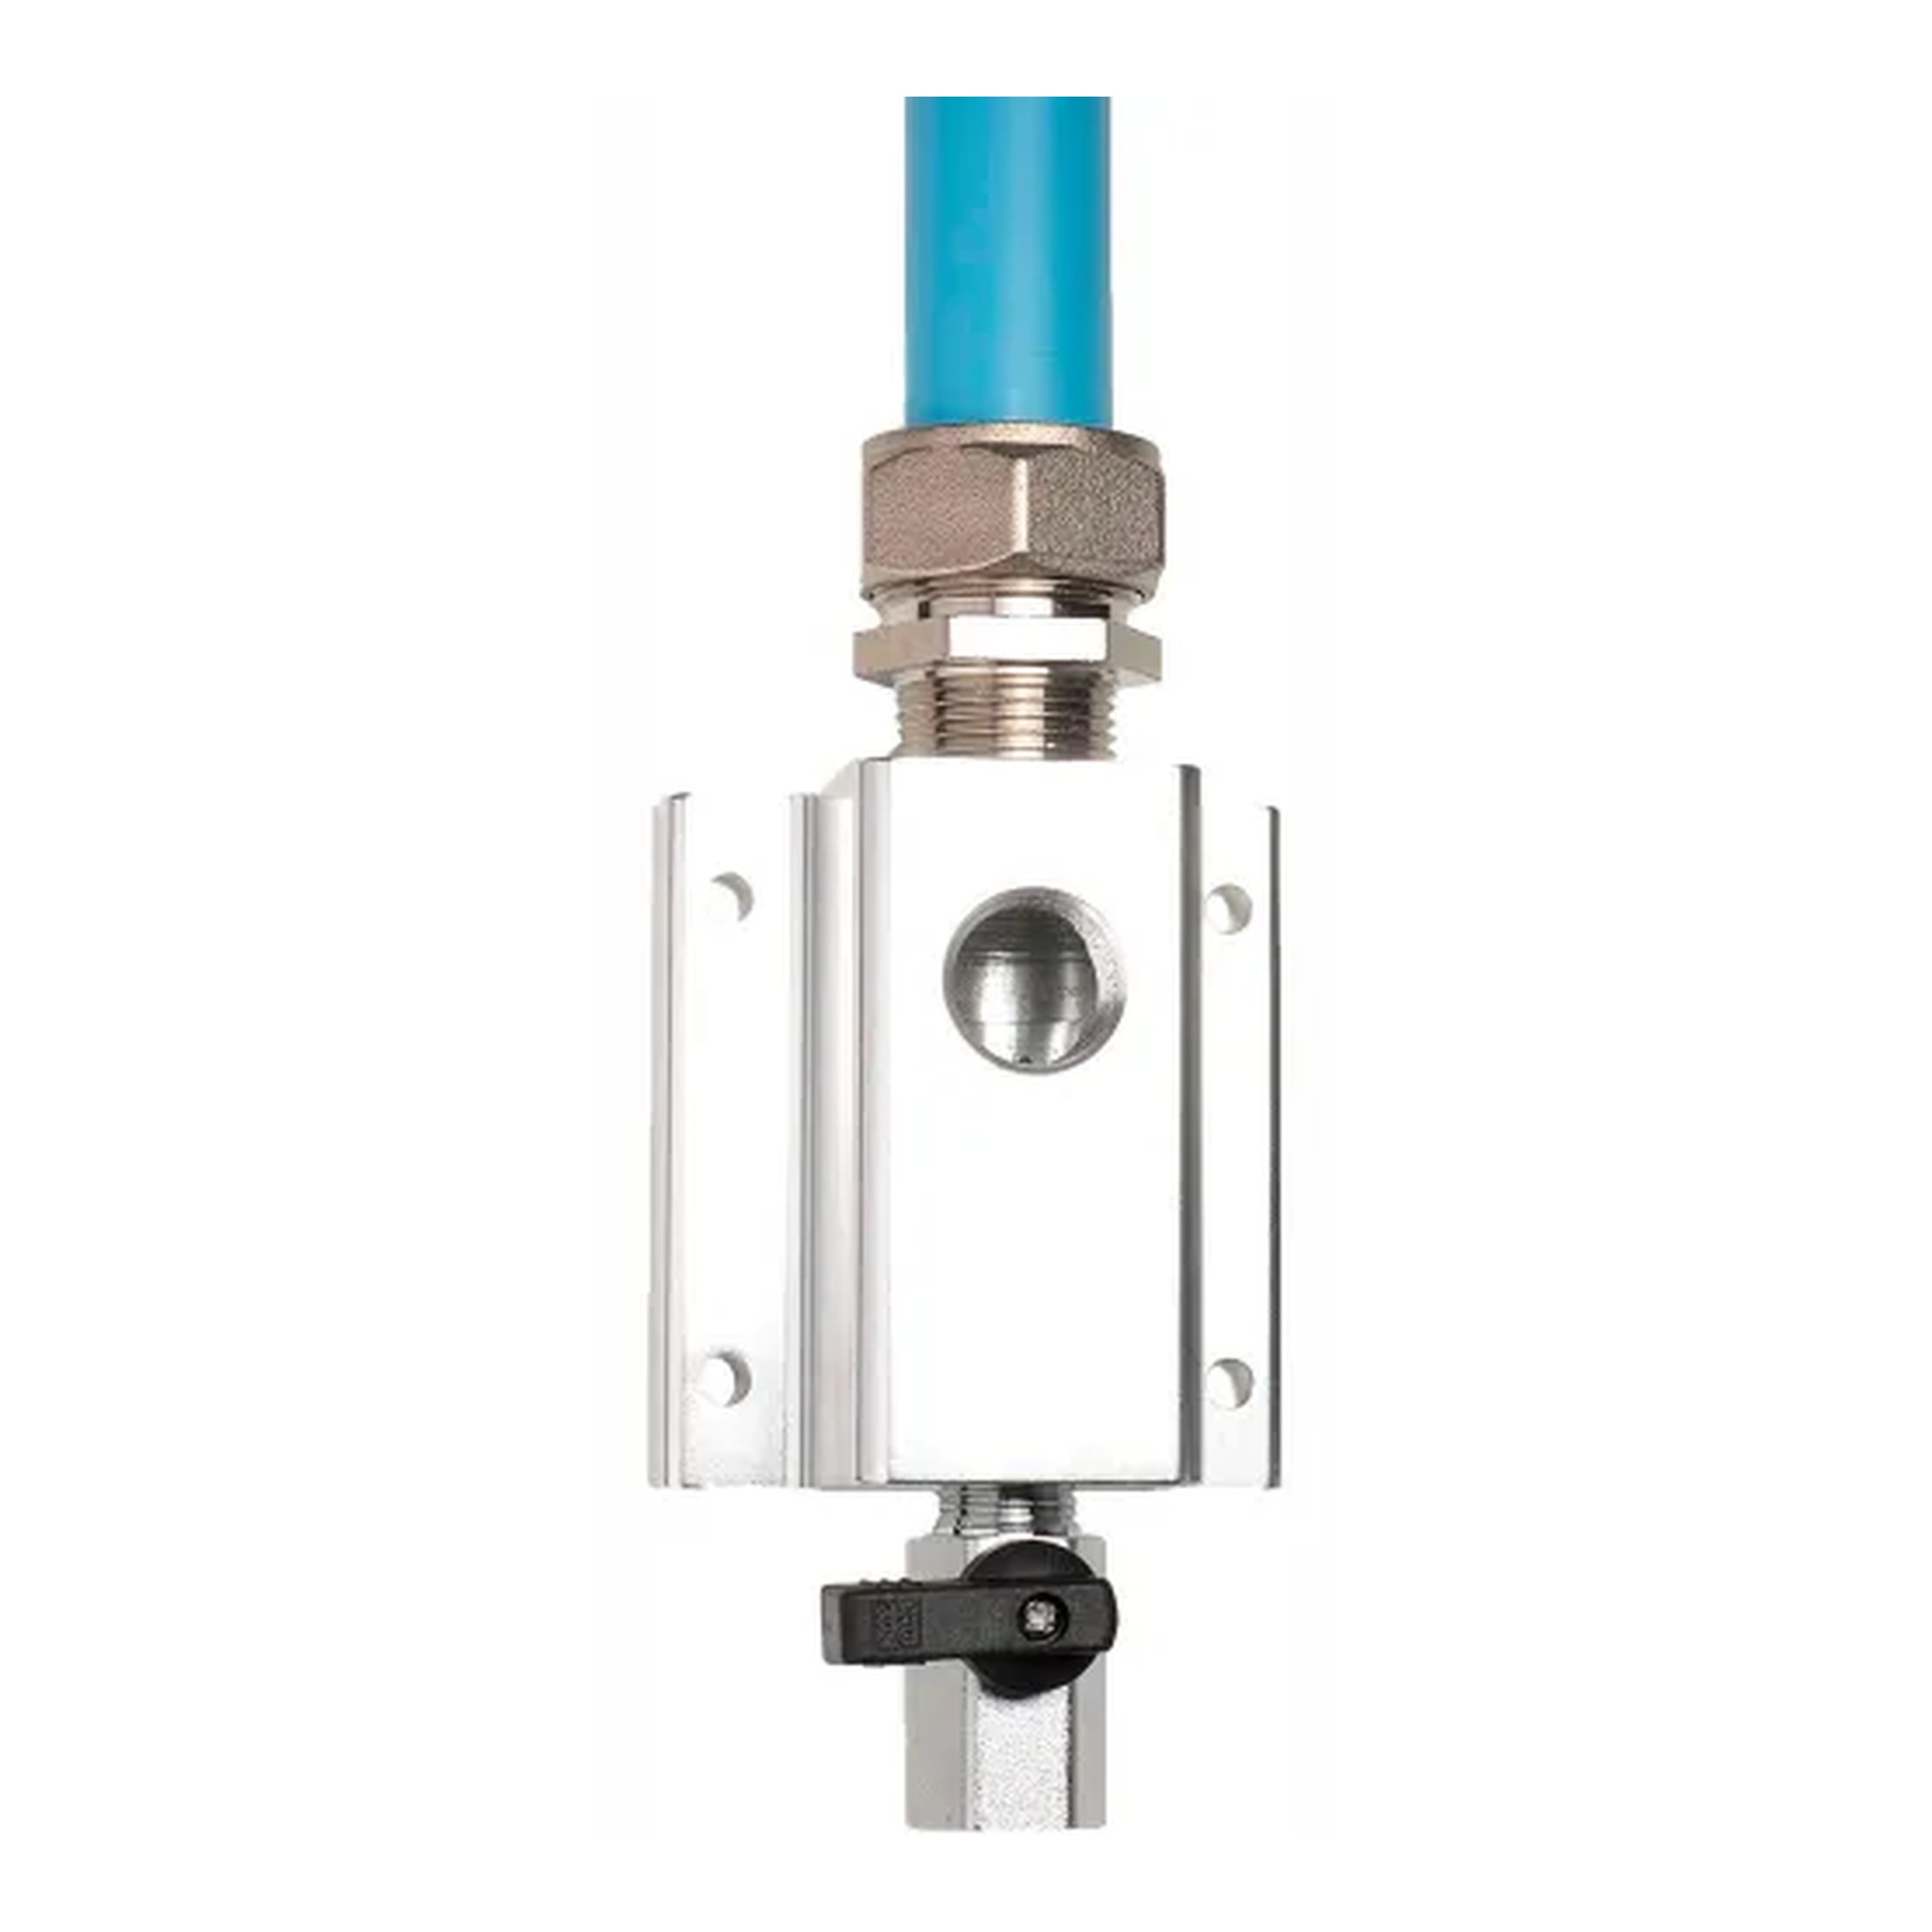
3/4 in. Outlet Kit with Moisture Drain
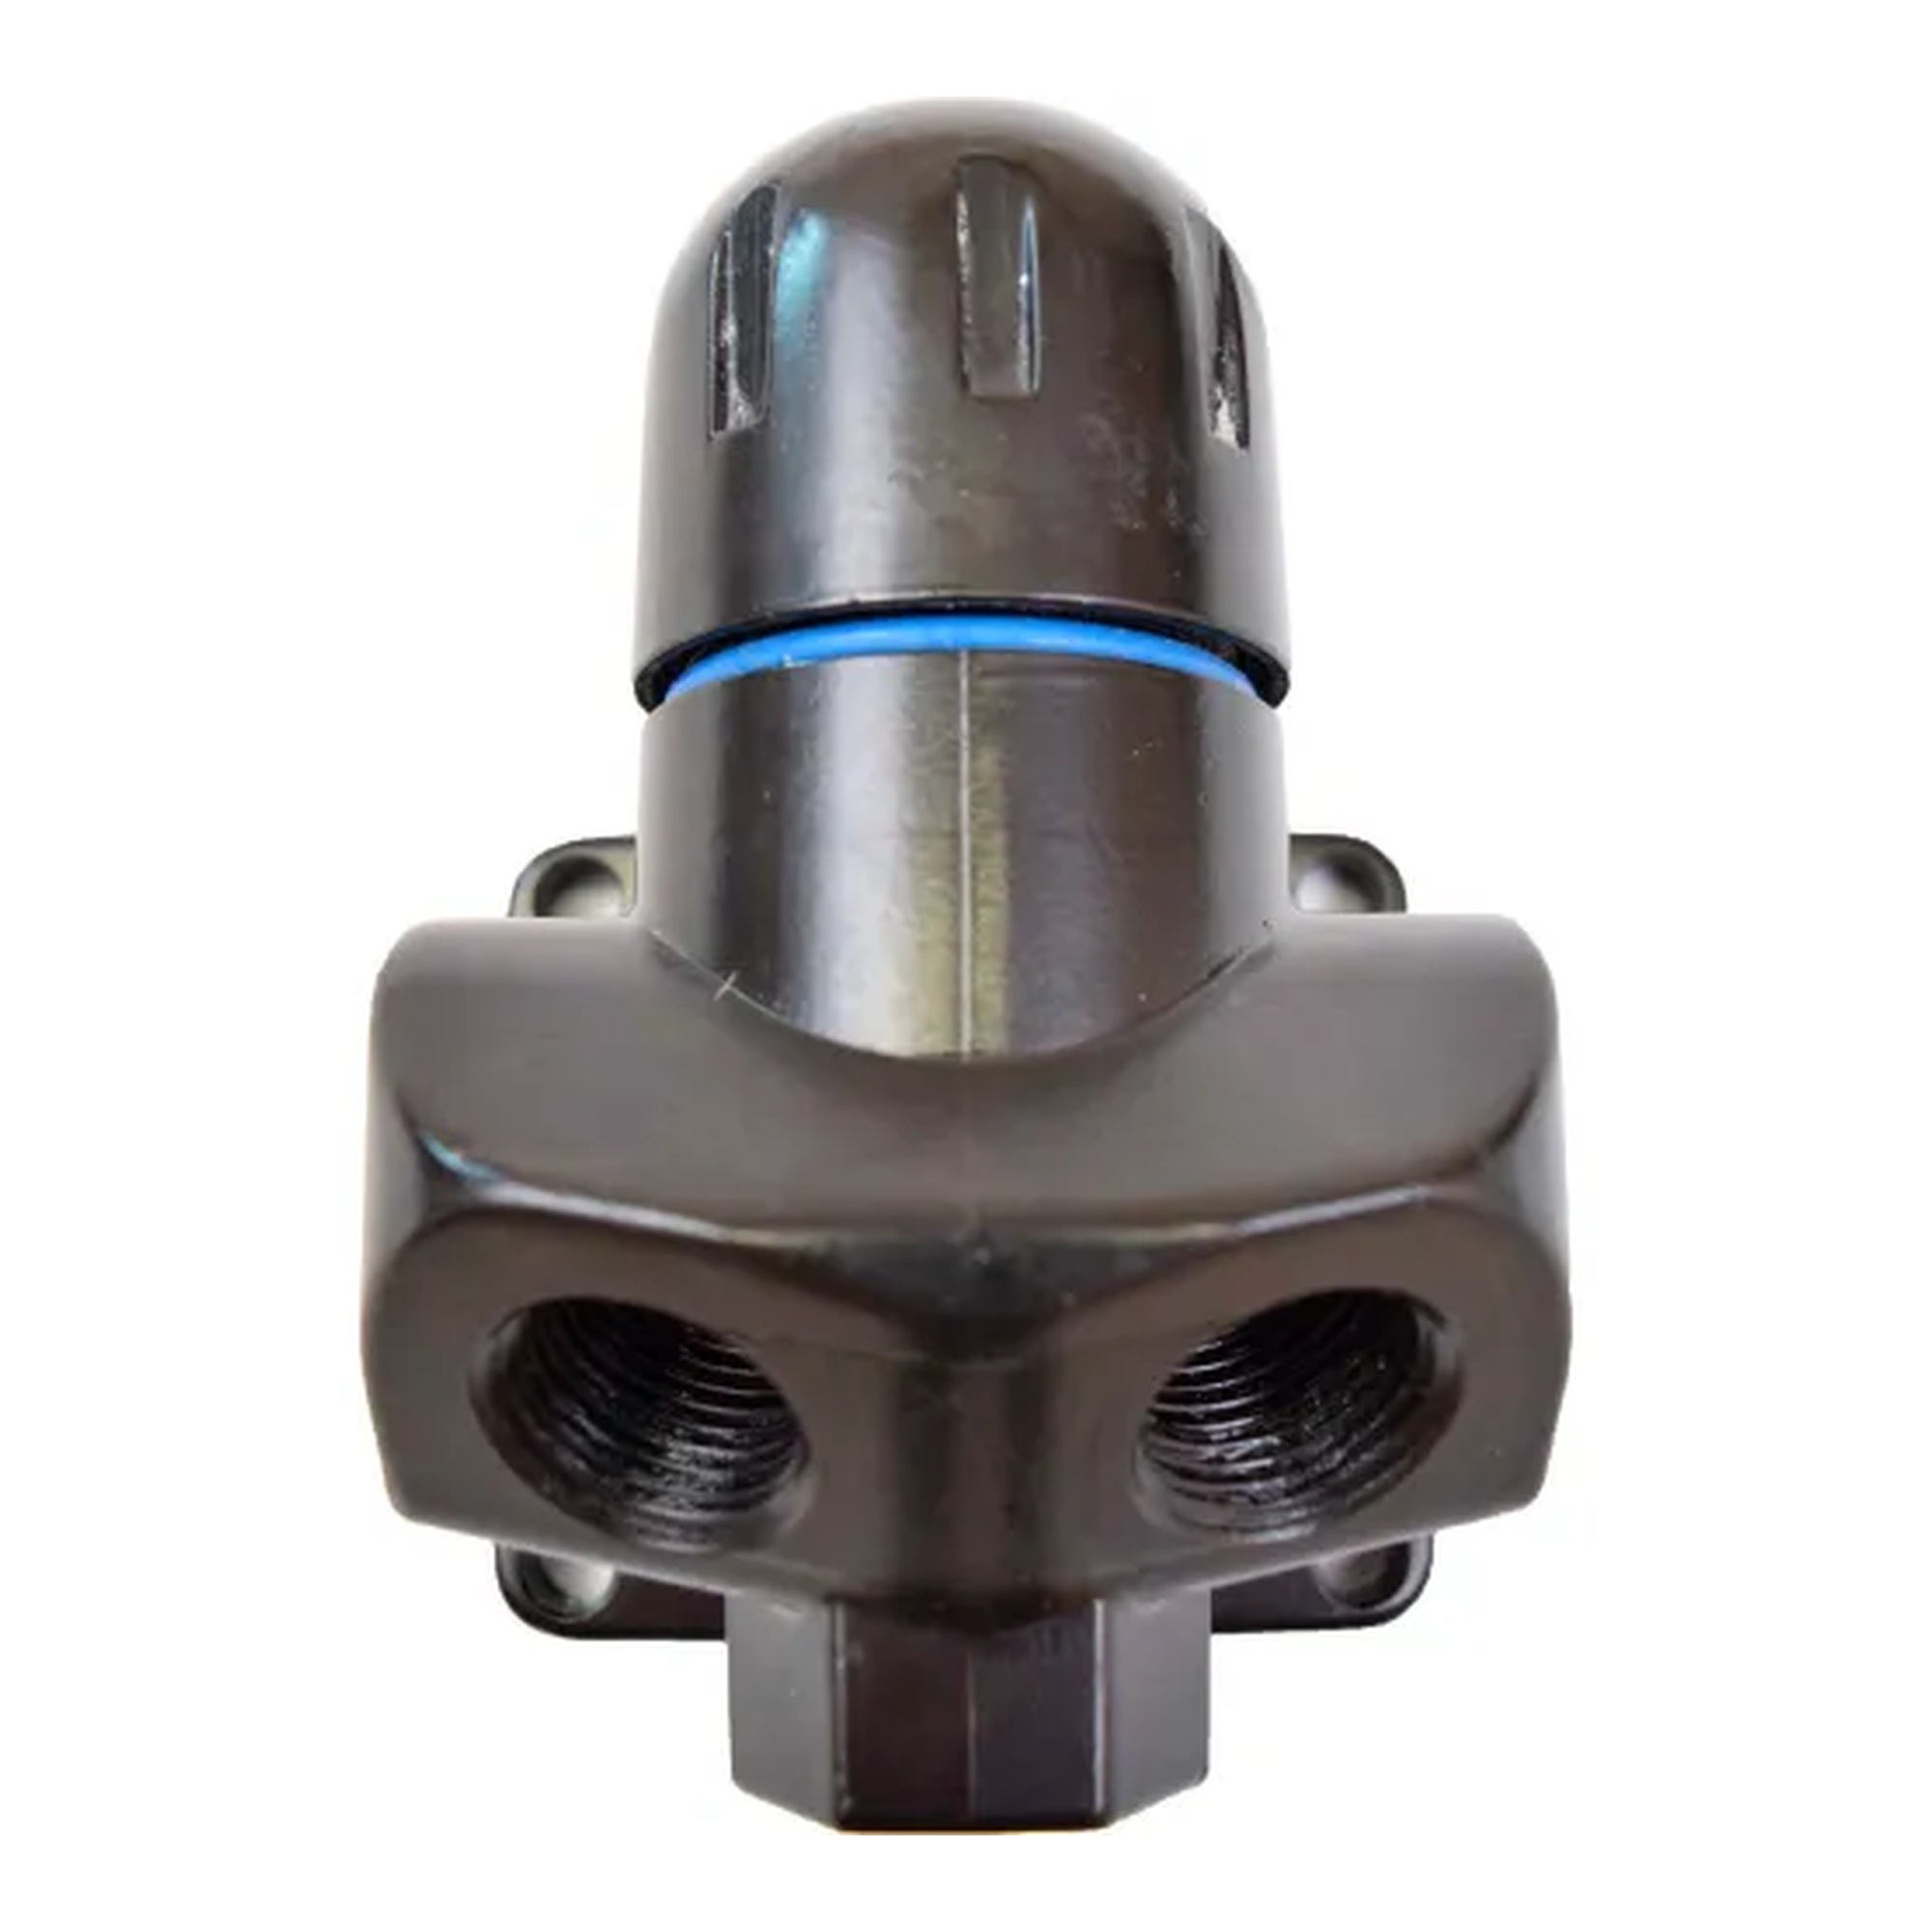
Our Price:$57.94This outlet kit supports wall- or ceiling-mounted compressed-air piping connections. It is designed for buyers setting up accessible outlet points in compatible tubing systems and includes a moisture...
-
Maxline
3/4 Inch Compression Tee Fitting
Our Price:$40.94This compression tee fitting is used to create a three-way connection in pneumatic piping layouts. It helps installers and maintenance teams assemble air-line runs with a branch connection using a...
-
Maxline
Blue Compressed Air Tubing, 3/4 in.
Our Price:$435.94This blue compressed air tubing is designed for commercial facilities and maintenance teams building or extending compressed-air distribution lines. It provides a durable routing option for...
-
Maxline
Compression Elbow Fitting
Our Price:$43.94This compression elbow fitting helps commercial maintenance and pneumatic system users route tubing around a change in direction. It provides a straightforward connection method for tubing...
-
Maxline
Nylon Tubing Mounting Clamp for 3/4-Inch Tubing
Our Price:$22.74This nylon tubing clamp helps installers and maintenance teams secure 3/4-inch tubing along a mounting surface. Its single screw hole supports straightforward routing and attachment of compatible...
-
Maxline
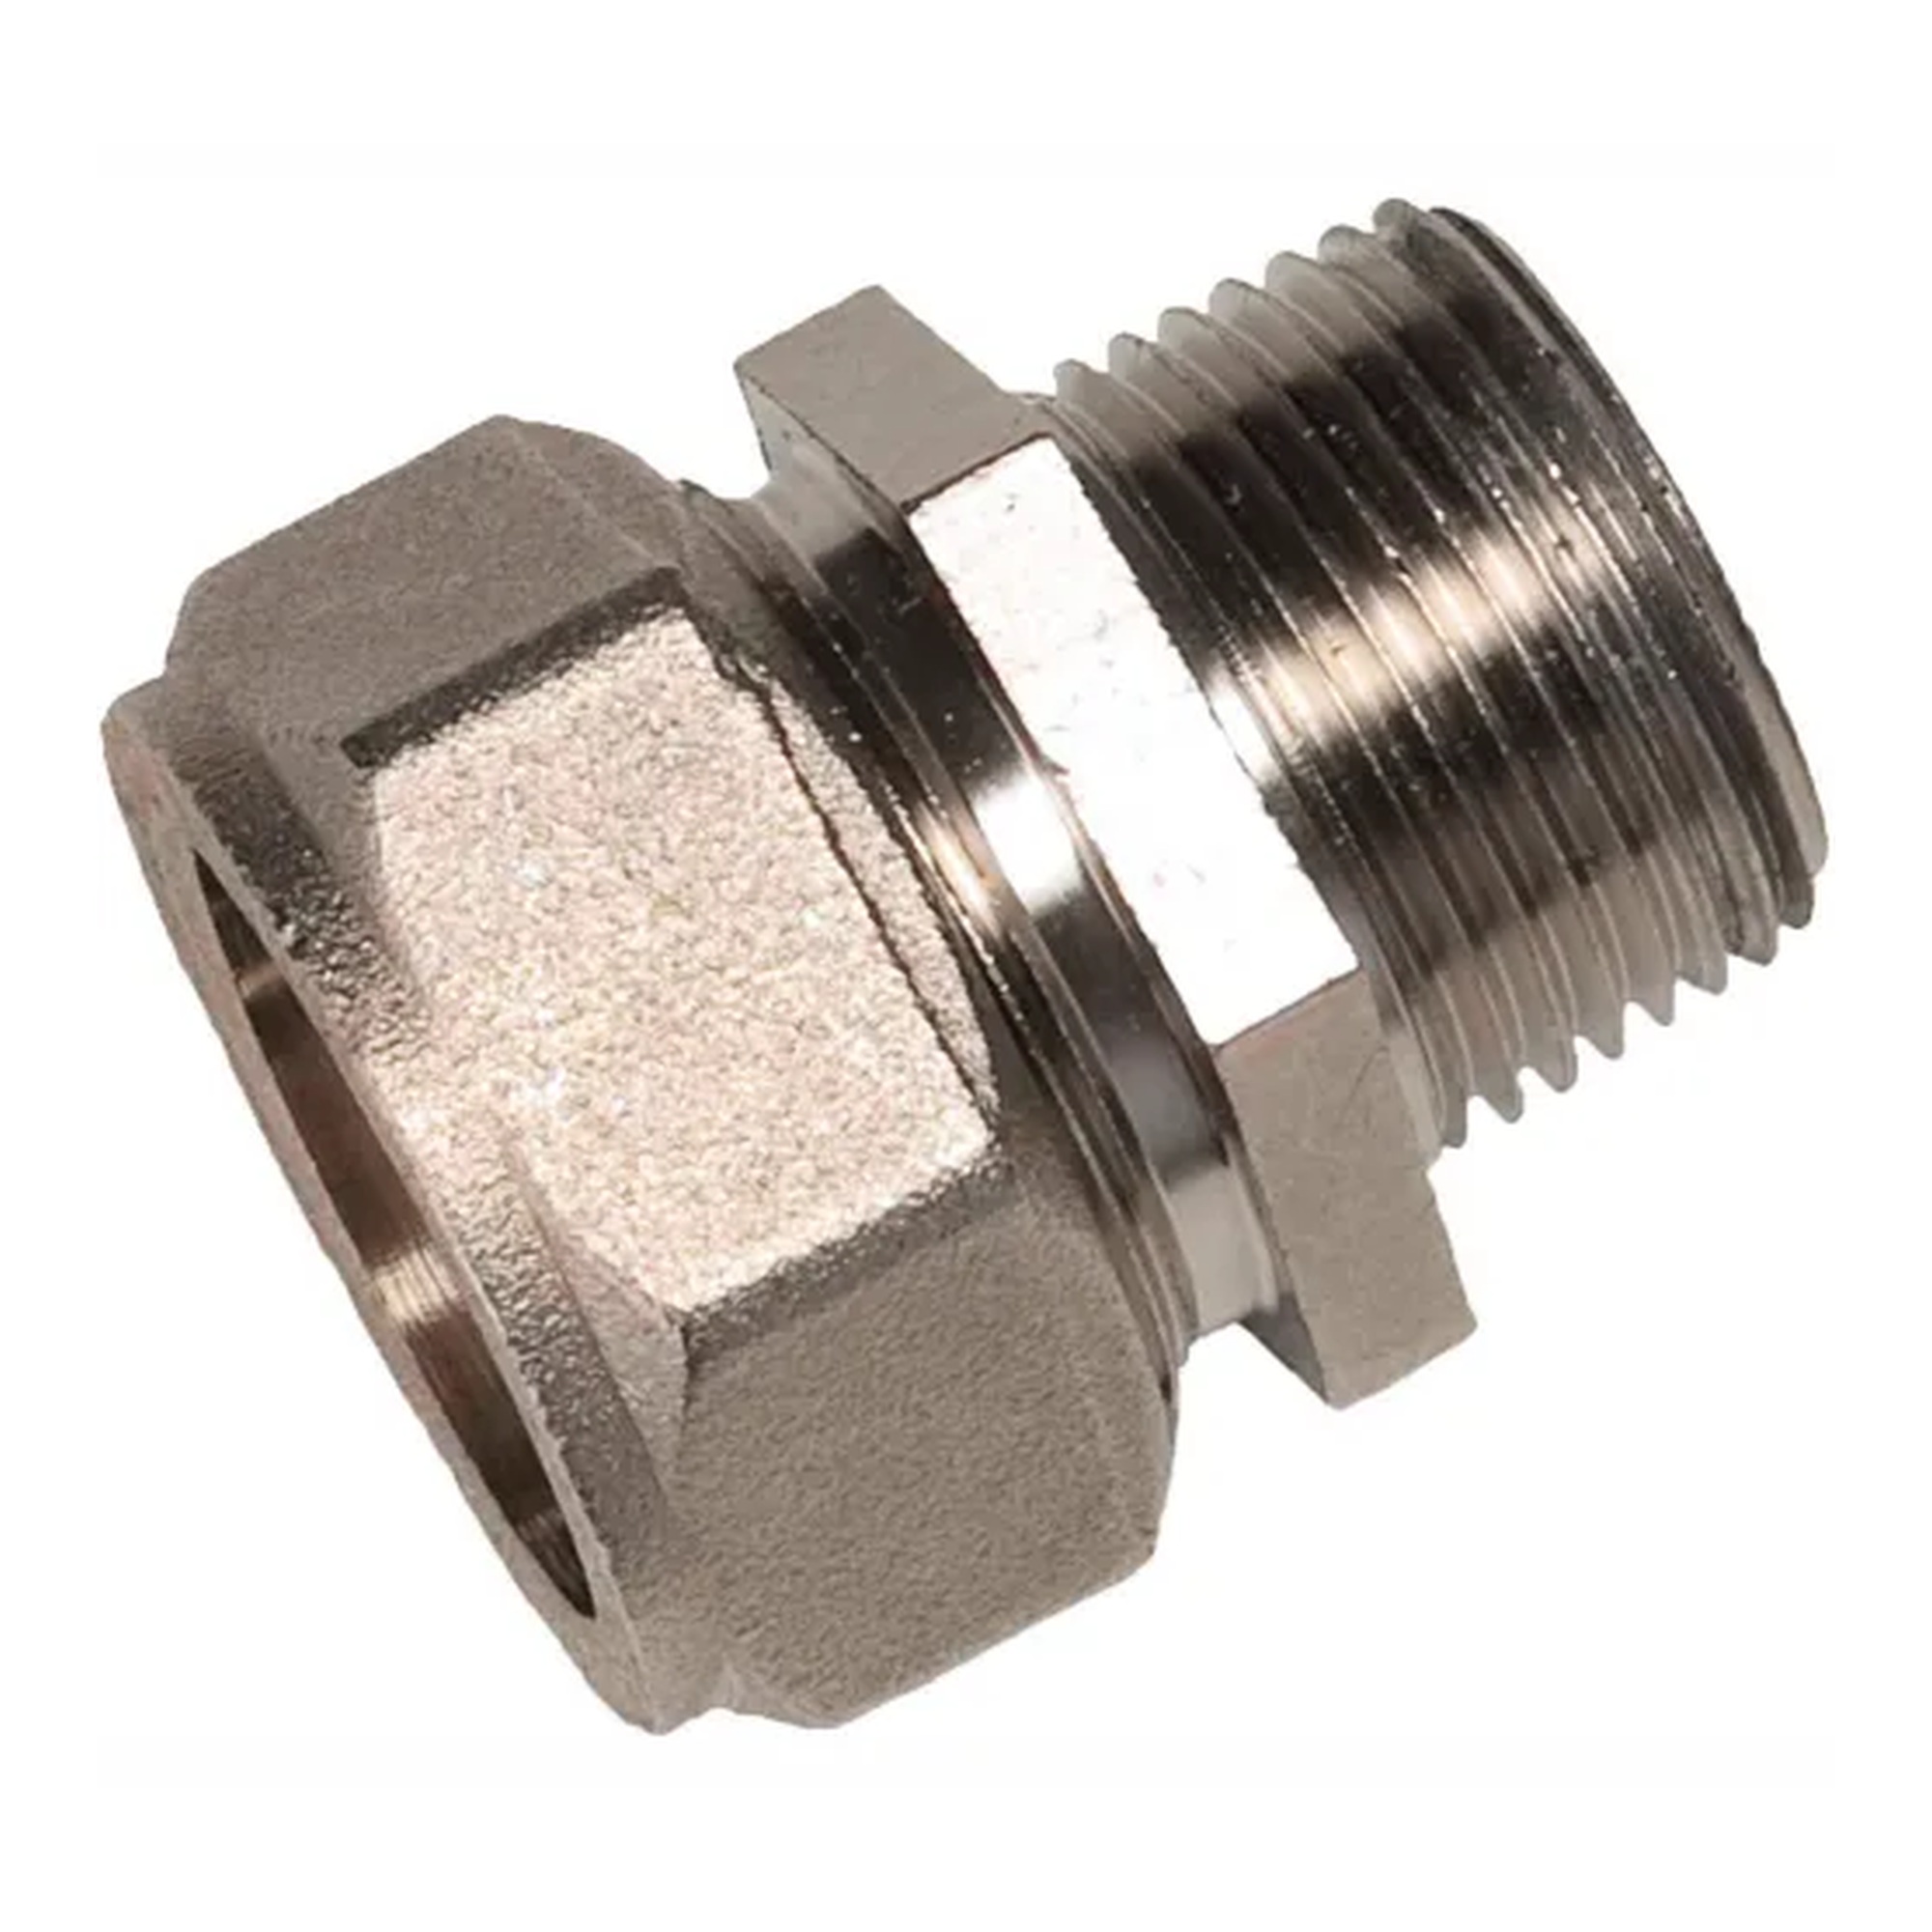
Straight Compression Adapter Fitting for Tubing and Male NPT Thread
Our Price:$9.69This straight compression adapter fitting connects tubing to a male NPT threaded connection. It is suited for buyers assembling or modifying compatible pneumatic piping runs where a straightforward...
-
Maxline
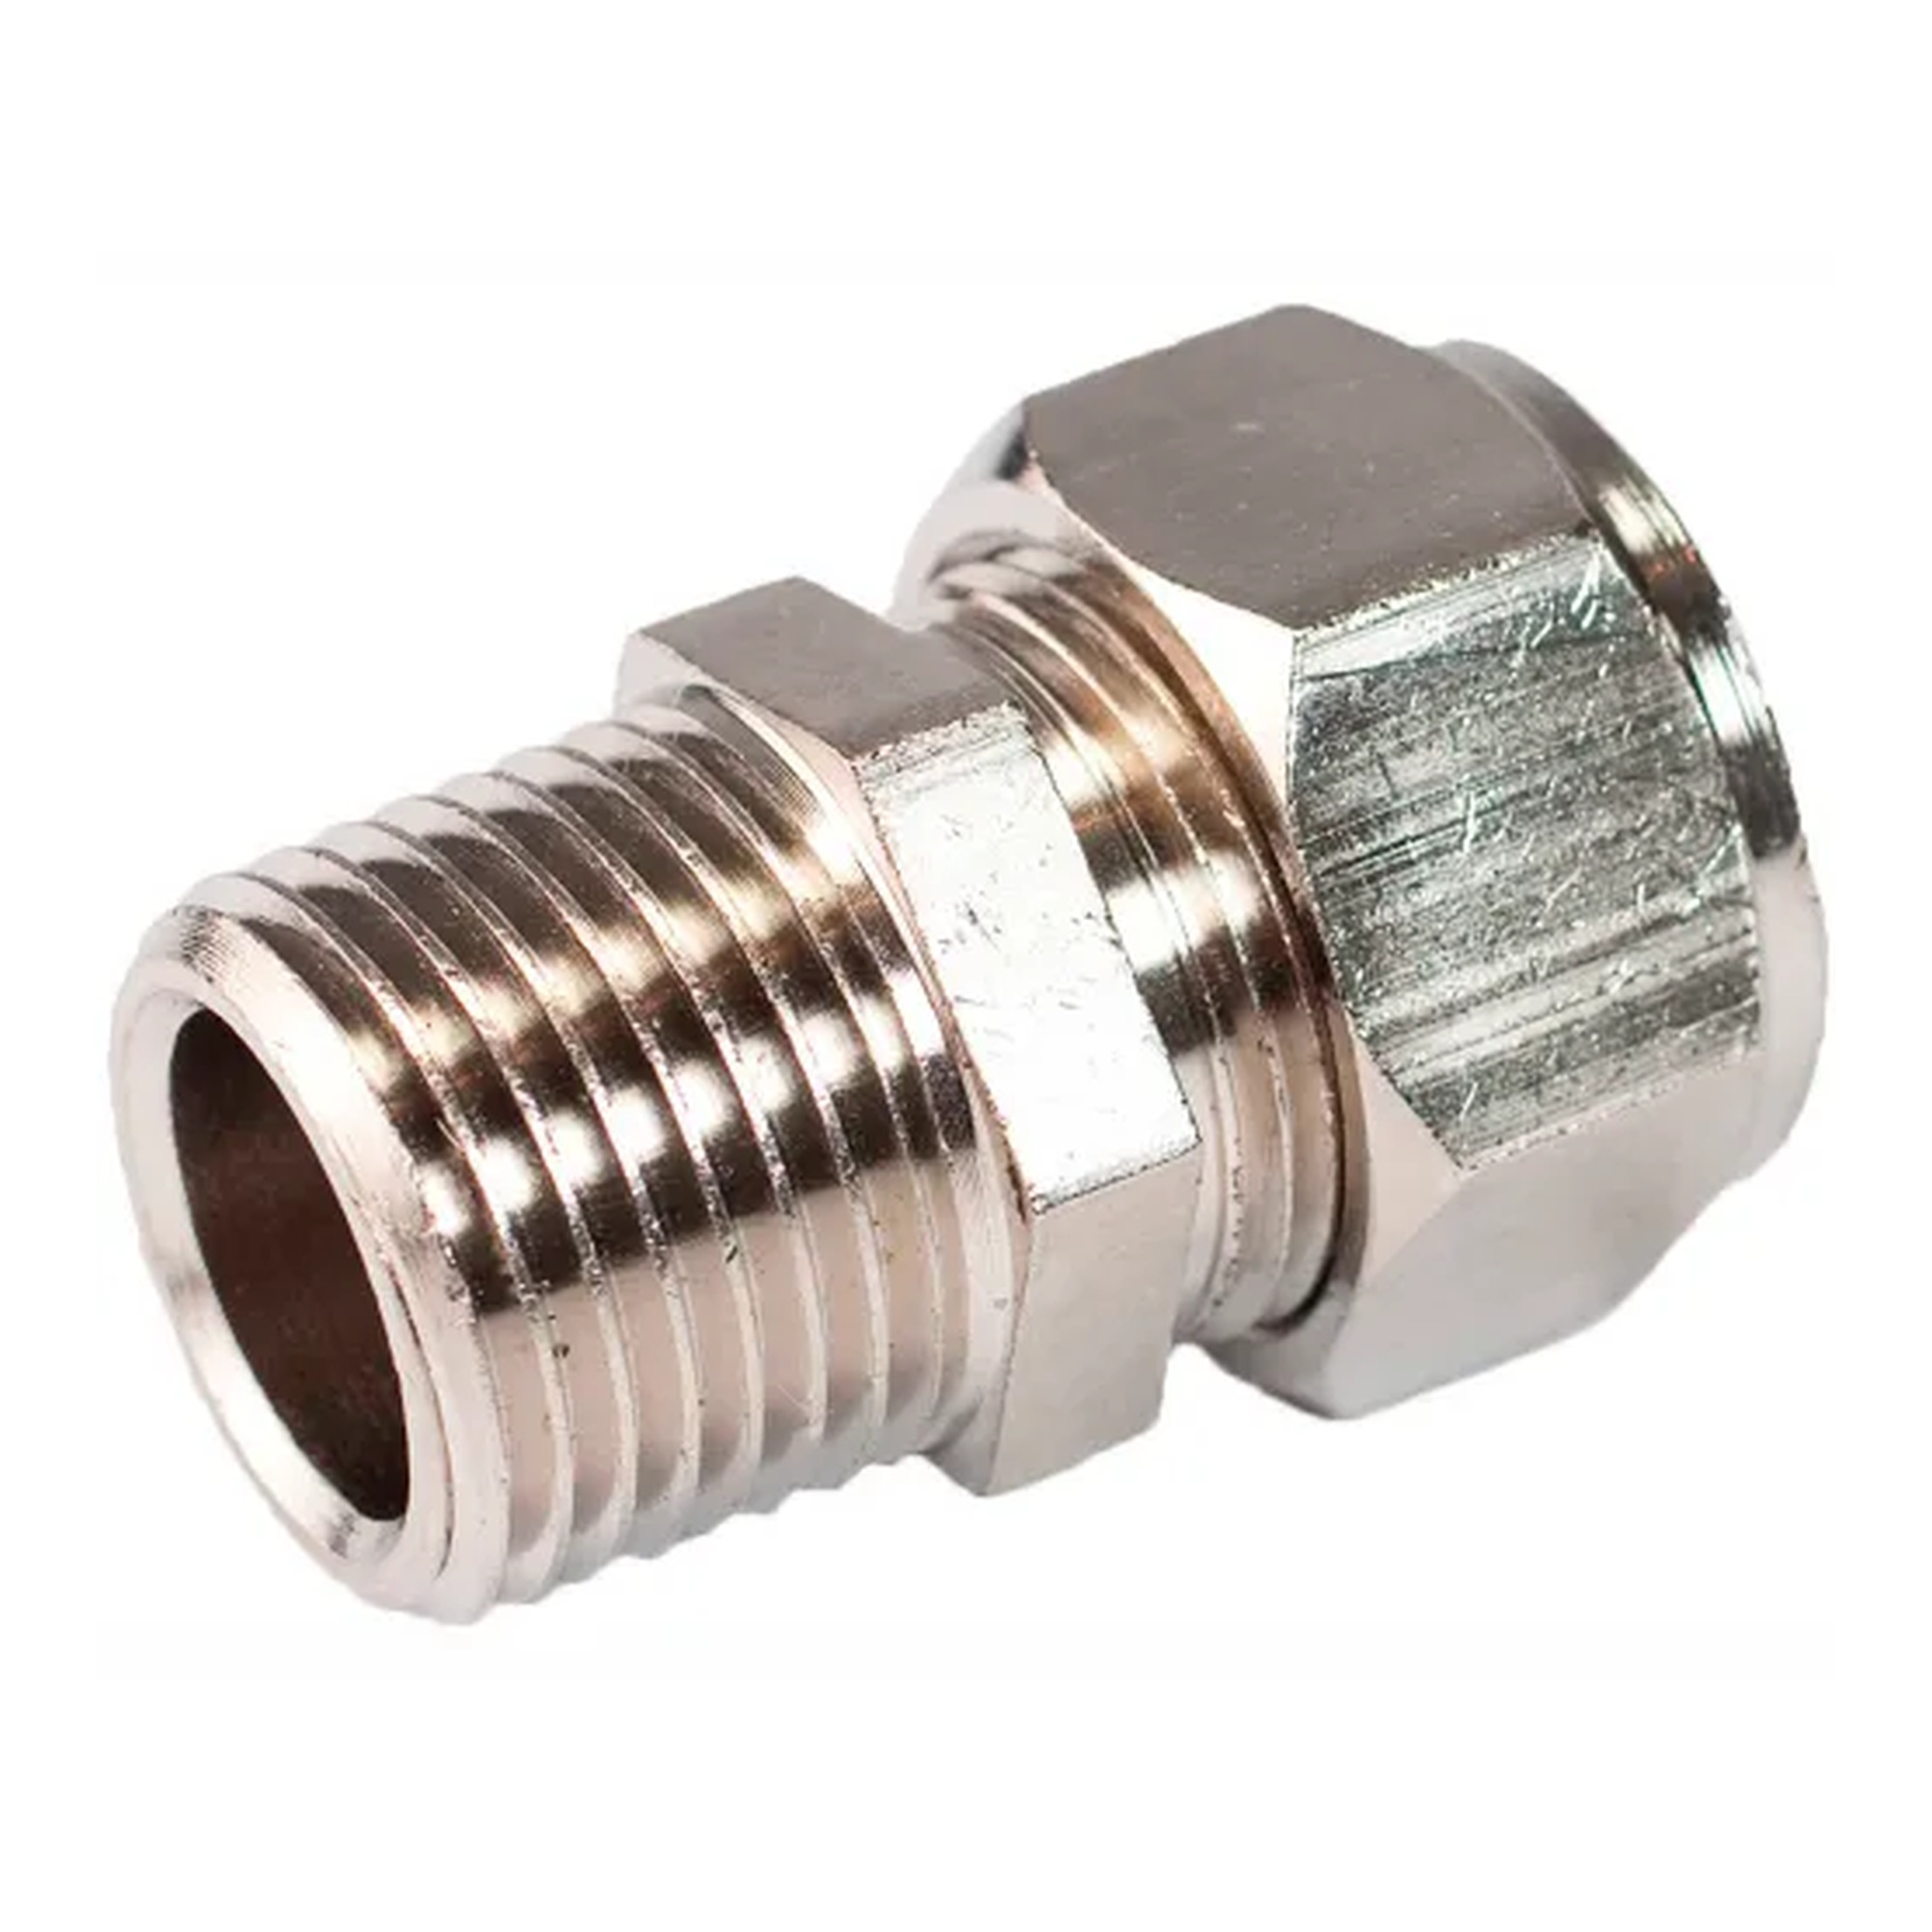
Tubing-to-Male NPT Compression Fitting
Our Price:$27.94This compression fitting connects tubing to a male NPT connection for installers and maintenance teams assembling or modifying compatible piping runs. Its tighten-to-connect design helps create...
Choose Piping Components for an Organized Compressed-Air Layout
A compatible compressed-air piping setup can include tubing, fittings, clamps, outlet components, and kits. Start with the route and connection points you need, then select components that match the tubing and system requirements stated for the individual product.
Popular examples in this category
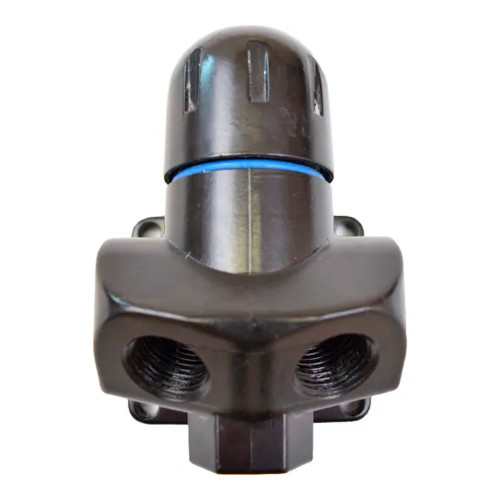
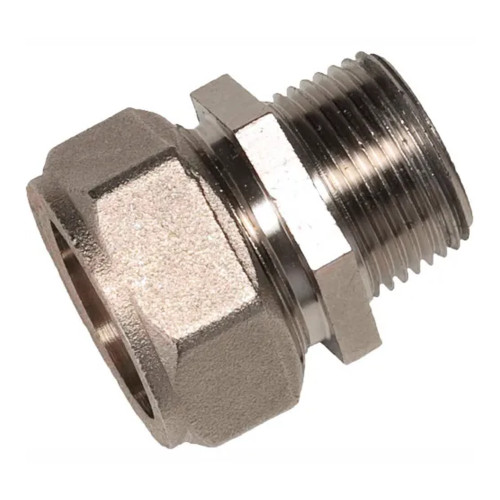 Tubing-to-Male NPT Compression FittingFS-GLO-M8003
 1/2-Inch Compressed Air Piping Master KitFS-GLO-90500
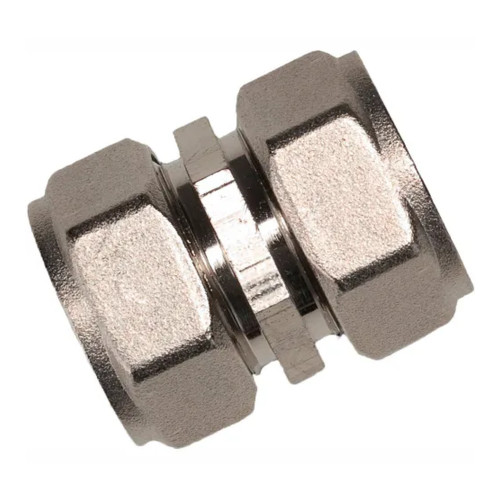 1/2 Inch Compression Union FittingFS-GLO-M8021
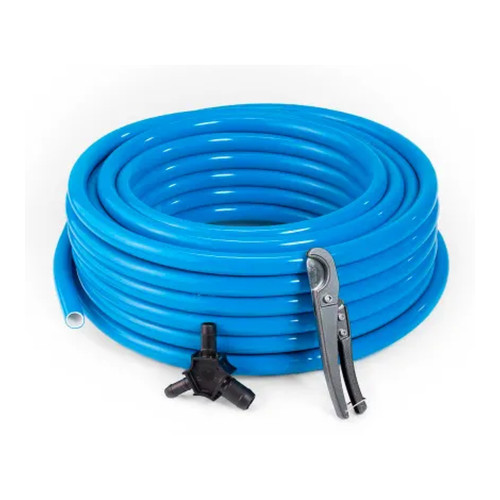 1/2 in Blue Compressed Air TubingFS-GLO-M6026
Build, modify, or repair air lines
Use tubing and fittings to assemble compressed-air runs, connect tubing sections, route around corners, create branches, transition to male NPT connections, or add designated outlet locations.
Match the connection and layout
Identify whether the run needs an in-line union, elbow, tee, tubing-to-threaded transition, outlet point, or mounting support. Confirm the listed tubing compatibility and pressure specification for each selected item.
Support shop and facility air distribution
These components are suited to pneumatic piping layouts used by installers, maintenance teams, facility operators, and commercial users. Certain tubing can be routed on walls, within walls, underground, or in concrete according to its listing.
Plan for future changes
Some connections use a compression tighten-to-connect method without glue, soldering, or crimping. A compressed-air master kit offers removable tubing connections and can be modified with additional outlet locations.
Several compression fittings and a compressed-air tubing option list a 200 psi rating.
One compressed-air piping master kit is designed with two outlet locations.
Listed nylon tubing clamps use a single mounting hole for fastening.
Compression connections are described without glue, soldering, or crimping.
Compare Common Piping Component Types
Use the component function to narrow choices, then verify the individual product listing for compatibility and specifications.
| Component type | Primary purpose | Selection consideration |
|---|---|---|
| Tubing | Routes compressed air through an installation | Check the listed outside diameter, routing options, and pressure rating. |
| Compression fitting | Connects tubing in a straight run, turn, branch, or threaded transition | Choose the needed configuration, tubing compatibility, and listed pressure rating. |
| Clamp or outlet component | Supports tubing or provides an accessible connection point | Match clamp size to tubing, or consider mounting location and moisture-drain needs for outlets. |
Plan the right fit before choosing
Map runs, turns, branches, and outlet locations
Consider where compressed air needs to travel and where users need access. Straight runs may require tubing and unions, while turns call for elbows and branch points call for tee fittings. Outlet kits support wall- or ceiling-mounted connection points, and a rear-entry port can provide another installation approach.
- Use elbows to route tubing through directional changes.
- Use tee fittings to create three-way branch connections.
- Use unions to join tubing sections in line.
- Choose outlet locations based on access and the piping layout.
Select the fitting style for the connection you need
Compression fittings connect tubing by inserting and tightening. Available fitting styles include elbows, tees, unions, and adapters for tubing-to-male-NPT transitions. Product listings for several compression fittings specify nickel-plated brass construction and a 200 psi rating.
- Select tubing-to-tubing fittings for in-line, corner, or branch connections.
- Select a tubing-to-male-NPT fitting where a threaded transition is needed.
- Check the listed pressure rating and tubing compatibility before installation.
- Compression connections avoid the need for glue, soldering, or crimping.
Keep tubing organized and account for moisture
Mounting clamps help secure compatible tubing along a surface. Clamp listings provide single mounting holes and recommended placement guidance that varies by product. For accessible air connections, an outlet kit with an integrated moisture drain allows collected moisture to be drained at the outlet point.
- Choose clamps for the stated tubing size.
- Use the product-specific recommended clamp spacing when planning supports.
- Consider wall- or ceiling-mounted outlet placement.
- Use an outlet with a moisture drain where that feature is needed.
Common questions before buying
What are compression fittings used for in pneumatic piping?
They connect tubing by inserting and tightening, without glue, soldering, or crimping.
When should I use an elbow fitting?
Use an elbow fitting when tubing needs to change direction in a pneumatic piping run.
What does a tee fitting do?
A tee fitting creates a three-way branch connection between tubing runs.
How can tubing be supported along a surface?
Use a compatible tubing mounting clamp. Check the individual clamp listing for tubing fit and recommended spacing guidance.
Choosing the right file folders
FilingSupplies.com carries end-tab folders for open-shelf systems, top-tab folders for drawer filing, and heavy-duty classification folders with dividers and fasteners for multi-section records. Pick letter or legal size, then choose material (11-pt, 14-pt, or 18-pt manila), optional reinforced tabs, color-coding, and expansion capacity to match your volume.
Folder FAQs
End-tab vs. top-tab — what’s the difference?
When should I choose classification folders?
Letter or legal size — how do I pick?
What tab and material options are available?
Can I add fasteners, pockets, or expansion?
Do you offer volume pricing or custom printing?
Outfitting classrooms that work all day
Build a durable, age-appropriate classroom with furniture, early-learning materials, storage bins, learning centers, and presentation tools. Choose adjustable pieces that grow with grades, label friendly bins for quick clean-up, and tech carts that secure, charge, and move easily.
Education FAQs
What safety labels should I look for on school and early-childhood items?
How do I pick classroom furniture across grade levels?
What’s the best way to organize supplies and centers?
How do I choose learning games and manipulatives by age?
What should I consider in a charging/tech cart?
Do you support school POs, bulk pricing, or custom printing?
Choosing the right labels
From color file labels to printable sheets, select the right size, adhesive, and print method to match your filing system and equipment. Decide on sheet vs. roll format, then pick permanent or removable adhesive and your color set.
Labels FAQs
Sheet vs. roll labels — what’s the difference?
Permanent or removable adhesive?
Will these labels work in my printer?
How do I match the label size to folder tabs or binder spines?
Can I get preprinted sequences or color bars?
Do you have templates?
Choosing the right tab dividers
Organize binders with preprinted or blank tabs. Select the number of tabs per set (5, 8, 10, or 12), choose paper with reinforced tabs or durable poly, and match letter or legal size for a clean fit.
Tab Dividers FAQs
What do 5-, 8-, 10-, or 12-tab sets mean?
Paper vs. poly — which should I choose?
Are the tabs printable?
Will they fit my binder?
Can I mix preprinted and blank tabs?
Do you make custom tab sets?
Choosing the right office supplies
From everyday paper and pens to binders, mailers, and desk organizers, pick durable, compatible options that match your equipment and team size. Start with the right paper and labeling, then add organizers that keep work moving.
Office Supplies FAQs
Which paper weight and brightness should I choose?
Round-ring vs. D-ring binders — what’s the difference?
What does “sheet capacity” mean on staplers and hole punches?
Will labels, envelopes, and mailers work with my printer?
How do I choose mailers and shipping boxes?
Do you offer eco-conscious options or bulk pricing?
Choosing the right sports & PE equipment
Equip classes, teams, and rec programs with durable balls, goals, cones, pinnies, storage, and safety gear. Match sizes and materials to age group and whether you play indoors or outdoors.
Sports & Athletics FAQs
What ball sizes should I choose for different ages?
- Basketball: Size 5 (27.5") youth, Size 6 (28.5") intermediate, Size 7 (29.5") official.
- Soccer: Size 3 up to ~8 years, Size 4 ~8–12, Size 5 ~12+.
- Volleyball: Regulation balls for teens/adults; lighter training balls for younger players.
Indoor vs. outdoor — which materials hold up best?
How many pinnies, cones, or markers do I need?
Tips for storage and care?
Are items latex‑free and school‑safe?
Do you support bulk orders or custom printing (team names)?
Choosing the right FireKing fireproof cabinet
FireKing fireproof file cabinets, safes, and storage cabinets are designed to protect important documents, records, and valuables from fire damage while keeping files organized and accessible. When choosing a FireKing cabinet, compare drawer configuration, storage type, fire rating, and overall capacity based on the records or materials you need to protect.
FireKing FAQs
What is the difference between FireKing vertical and lateral file cabinets?
What can I store in a FireKing fireproof file cabinet?
Are FireKing cabinets only for paper records?
How do I choose between a FireKing safe, file cabinet, or storage cabinet?
What sizes are available in FireKing cabinets?
Are FireKing cabinets used in offices, medical facilities, and government records storage?
Can I buy FireKing cabinets in bulk or get help choosing the right model?
Shipping & Policies
Do you offer free shipping?
What are your shipping rates?
- $6.95 for labels-only orders under $40
- $14.95 flat rate for everything else