
-
Incom Manufacturing
Blue L-Shaped Floor Marking Tape Marker
Our Price:$62.94This blue L-shaped floor marking tape marker helps Lean and 5S teams define floor layouts, organize work areas, and guide workflow. It is suited for marking clean, dry, smooth floor surfaces in...
-
Incom Manufacturing
Green L-Shaped Floor Marking Marker
Our Price:$62.94This green L-shaped floor marking marker helps facility teams create visual layouts for Lean and 5S workplace organization. Use it to define corners, sorting areas, and workflow zones on suitable...
-
Incom Manufacturing
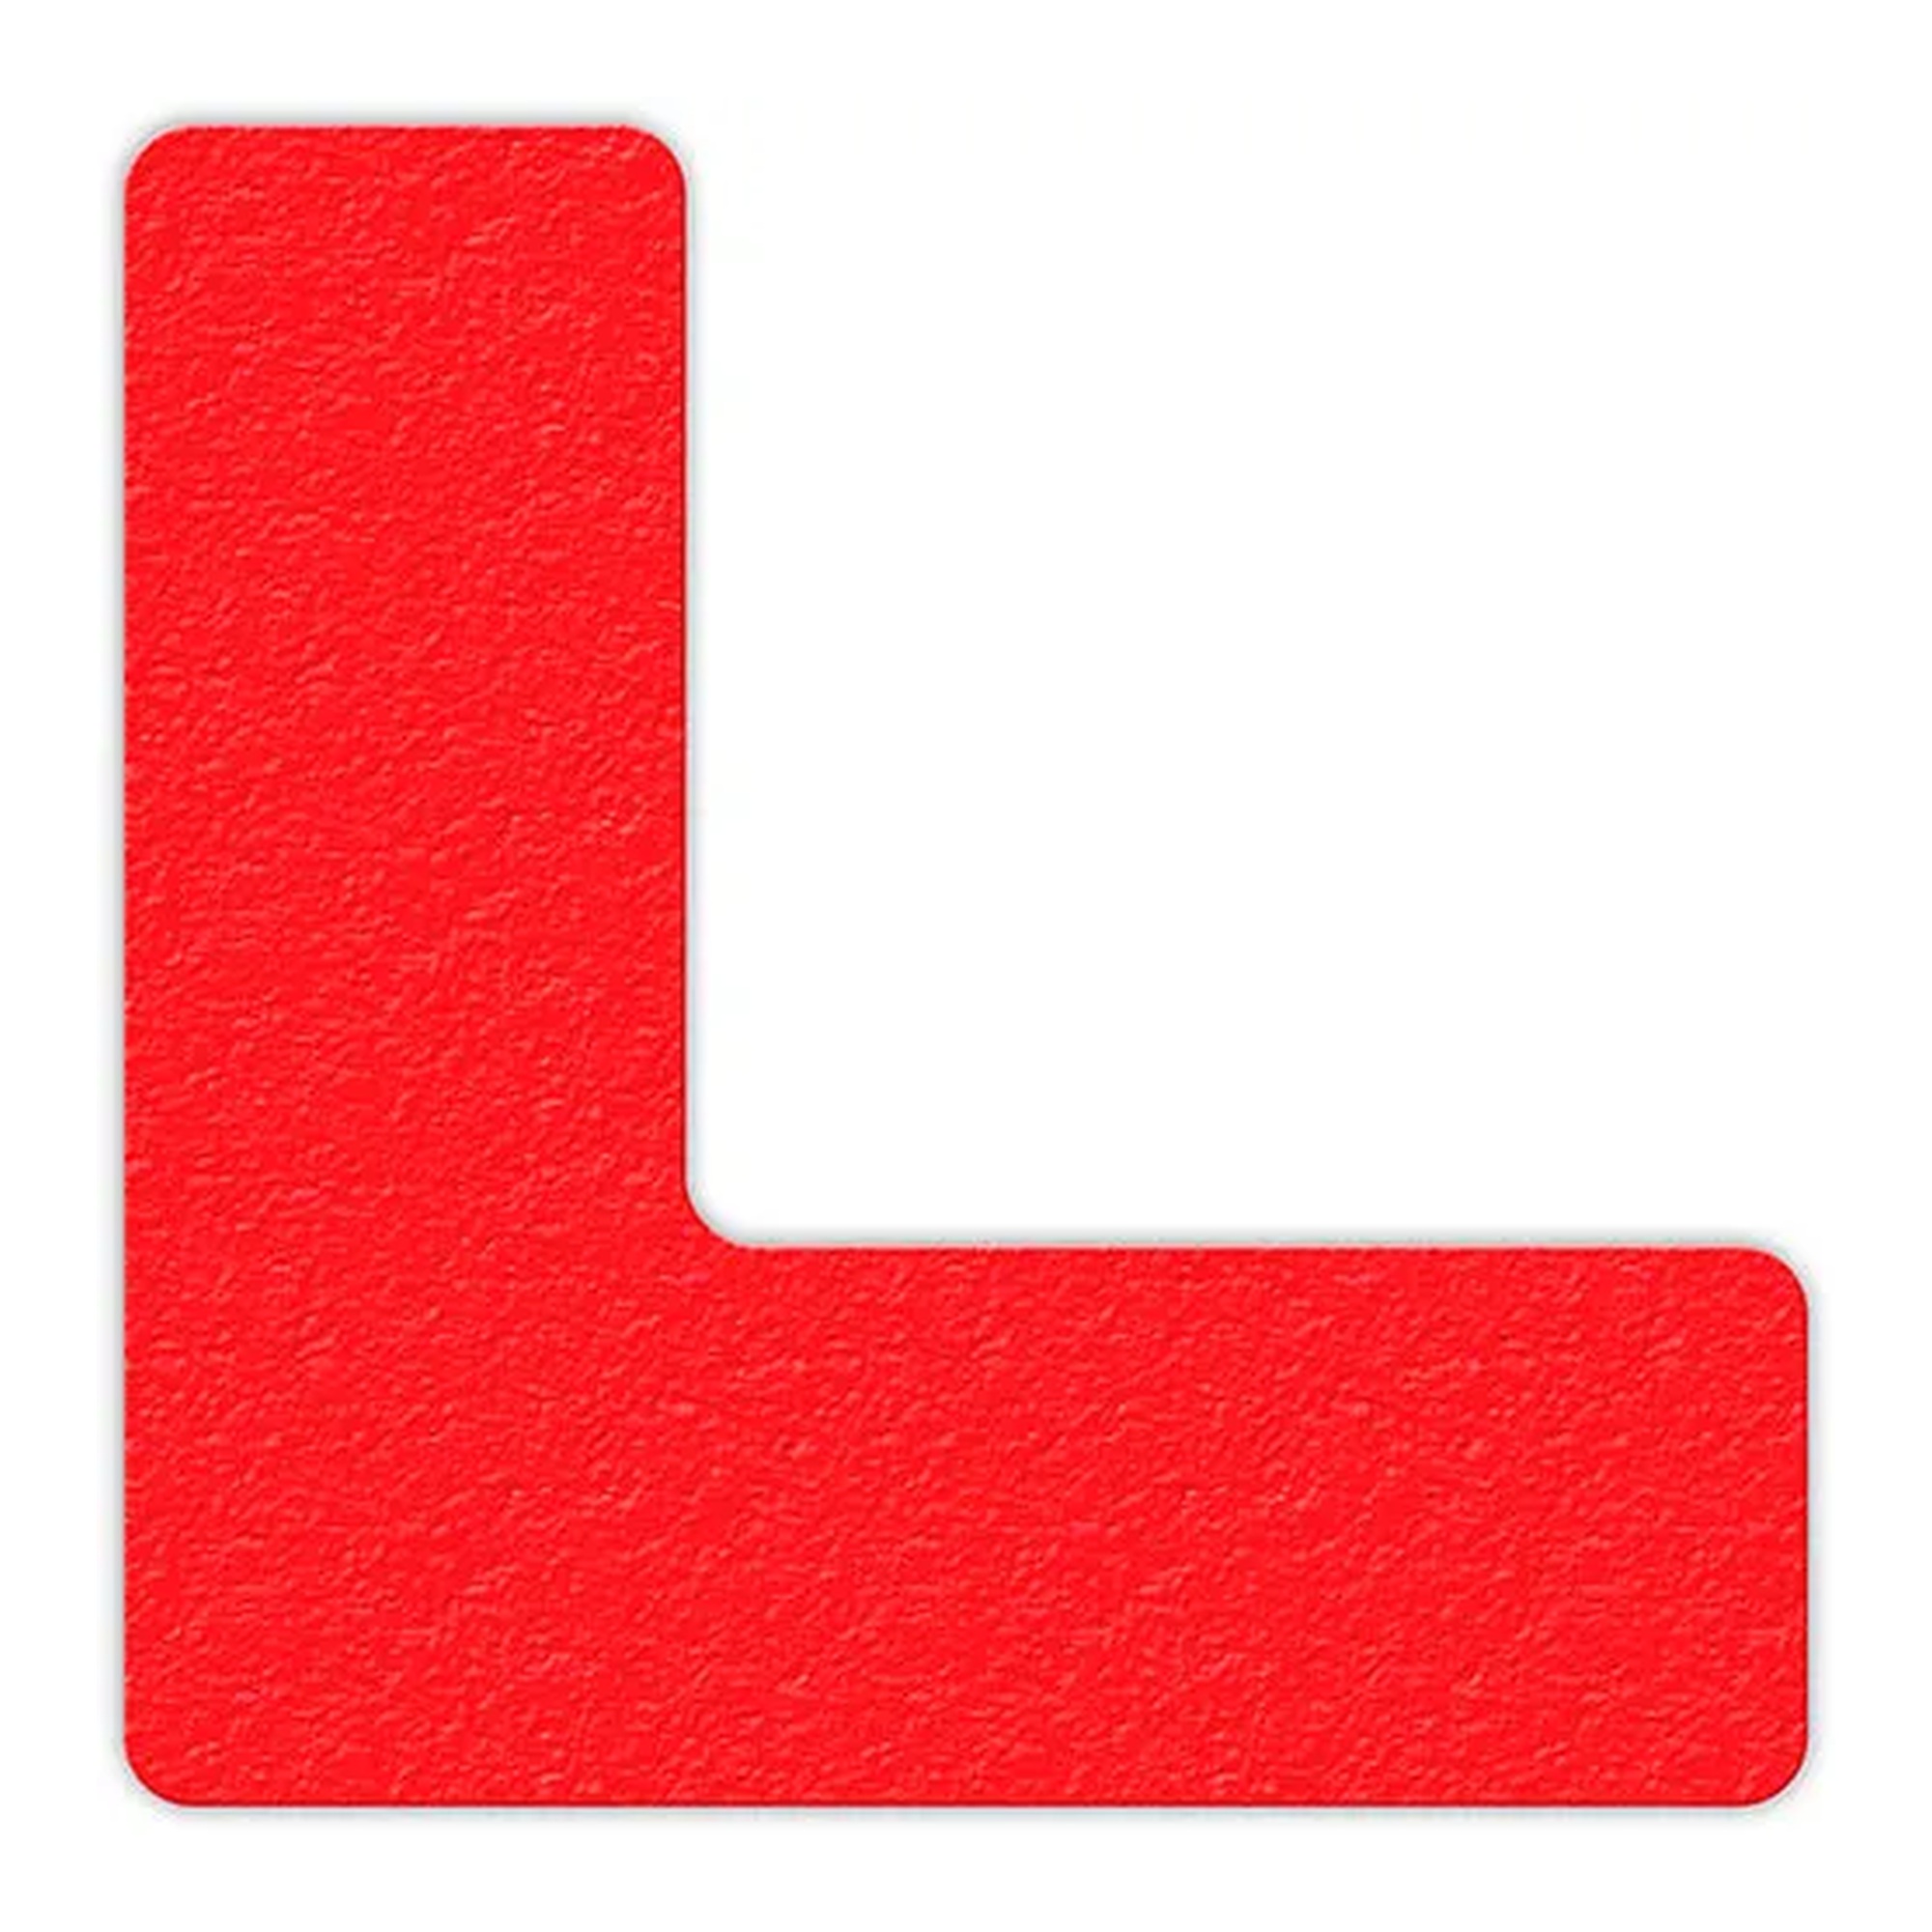
Red L-Shaped Floor Marking Tape
Our Price:$62.94This red L-shaped floor marking tape helps workplace teams organize floor layouts, sorting areas, and workflow zones. It is designed for Lean and 5S visual-management applications where clear floor...
-
Top Tape & Label
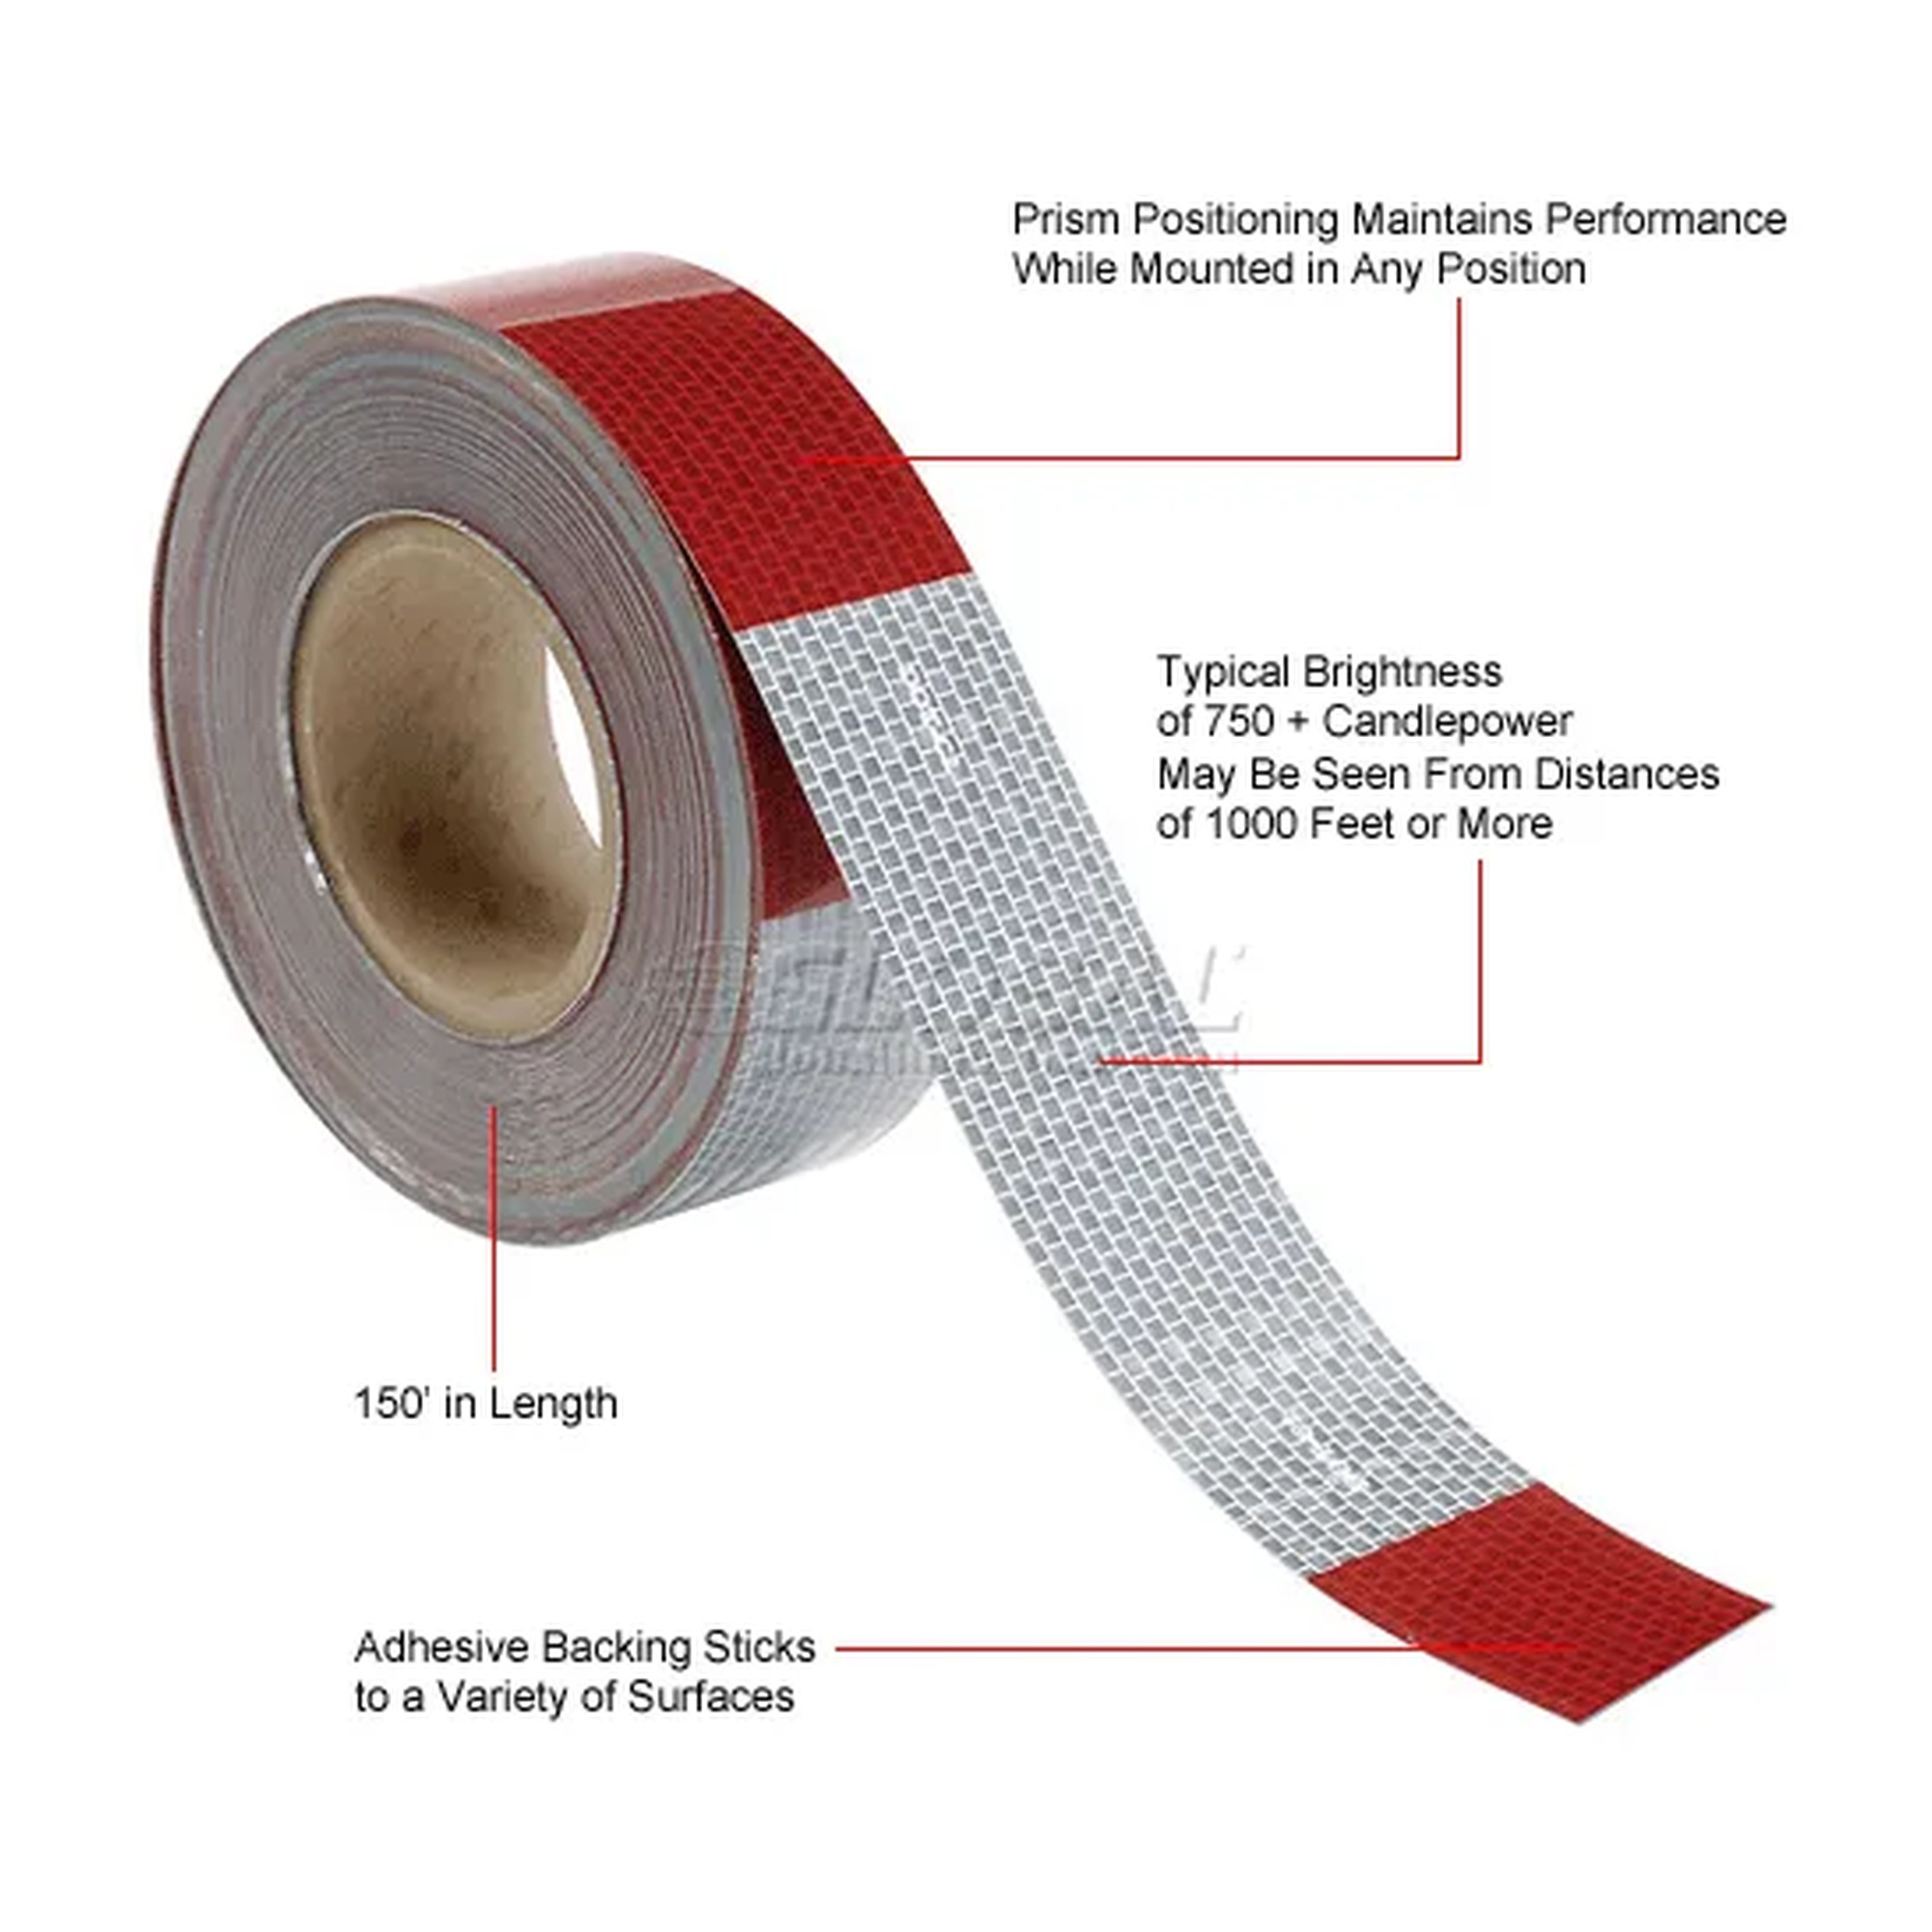
Red/White DOT-C2 Conspicuity Reflective Tape, 150 ft x 2 in
Our Price:$179.94This red and white conspicuity reflective tape helps maintenance and safety teams add high-visibility markings where reflective identification is needed. Its alternating striped pattern is designed...
-
Accuform
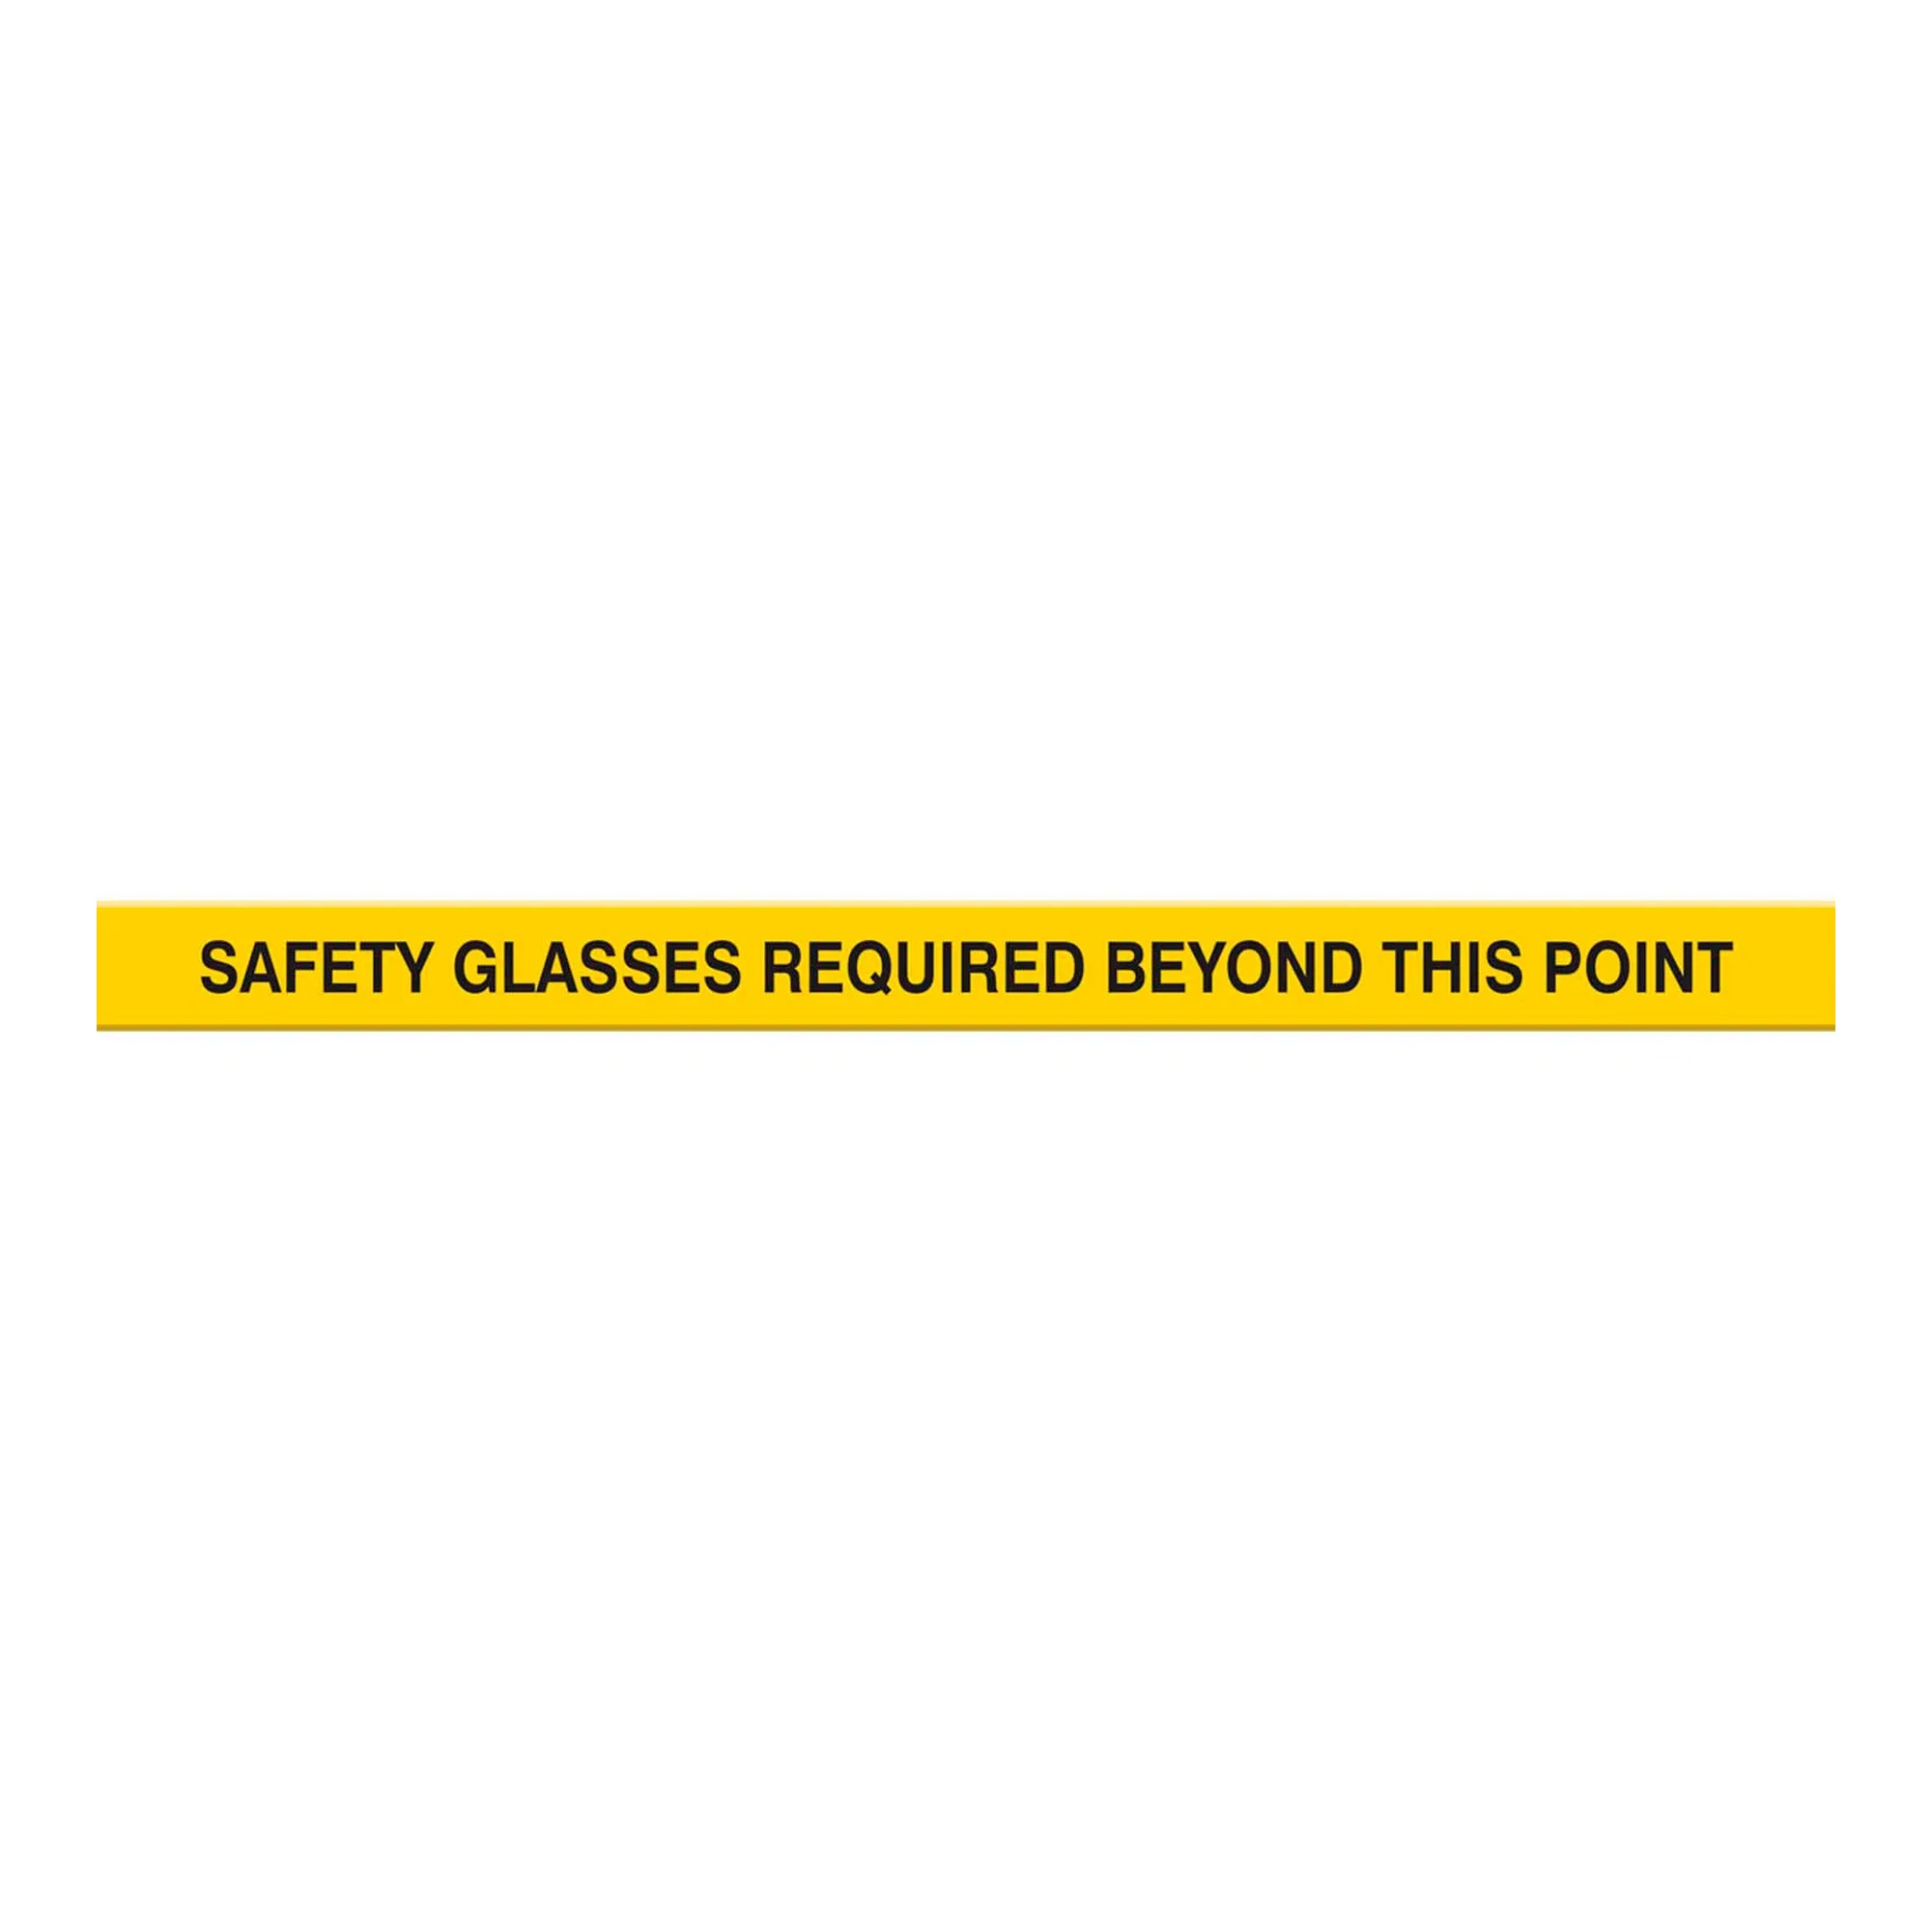
Safety Glasses Required Heavy-Duty Floor Marking Strip, 4 x 48 in, Yellow
Our Price:$18.24This yellow safety message strip helps facility teams remind personnel and visitors to wear safety glasses in walkways, work areas, and entrances. Its repeated message and bold contrasting graphics...
-
Global Industrial
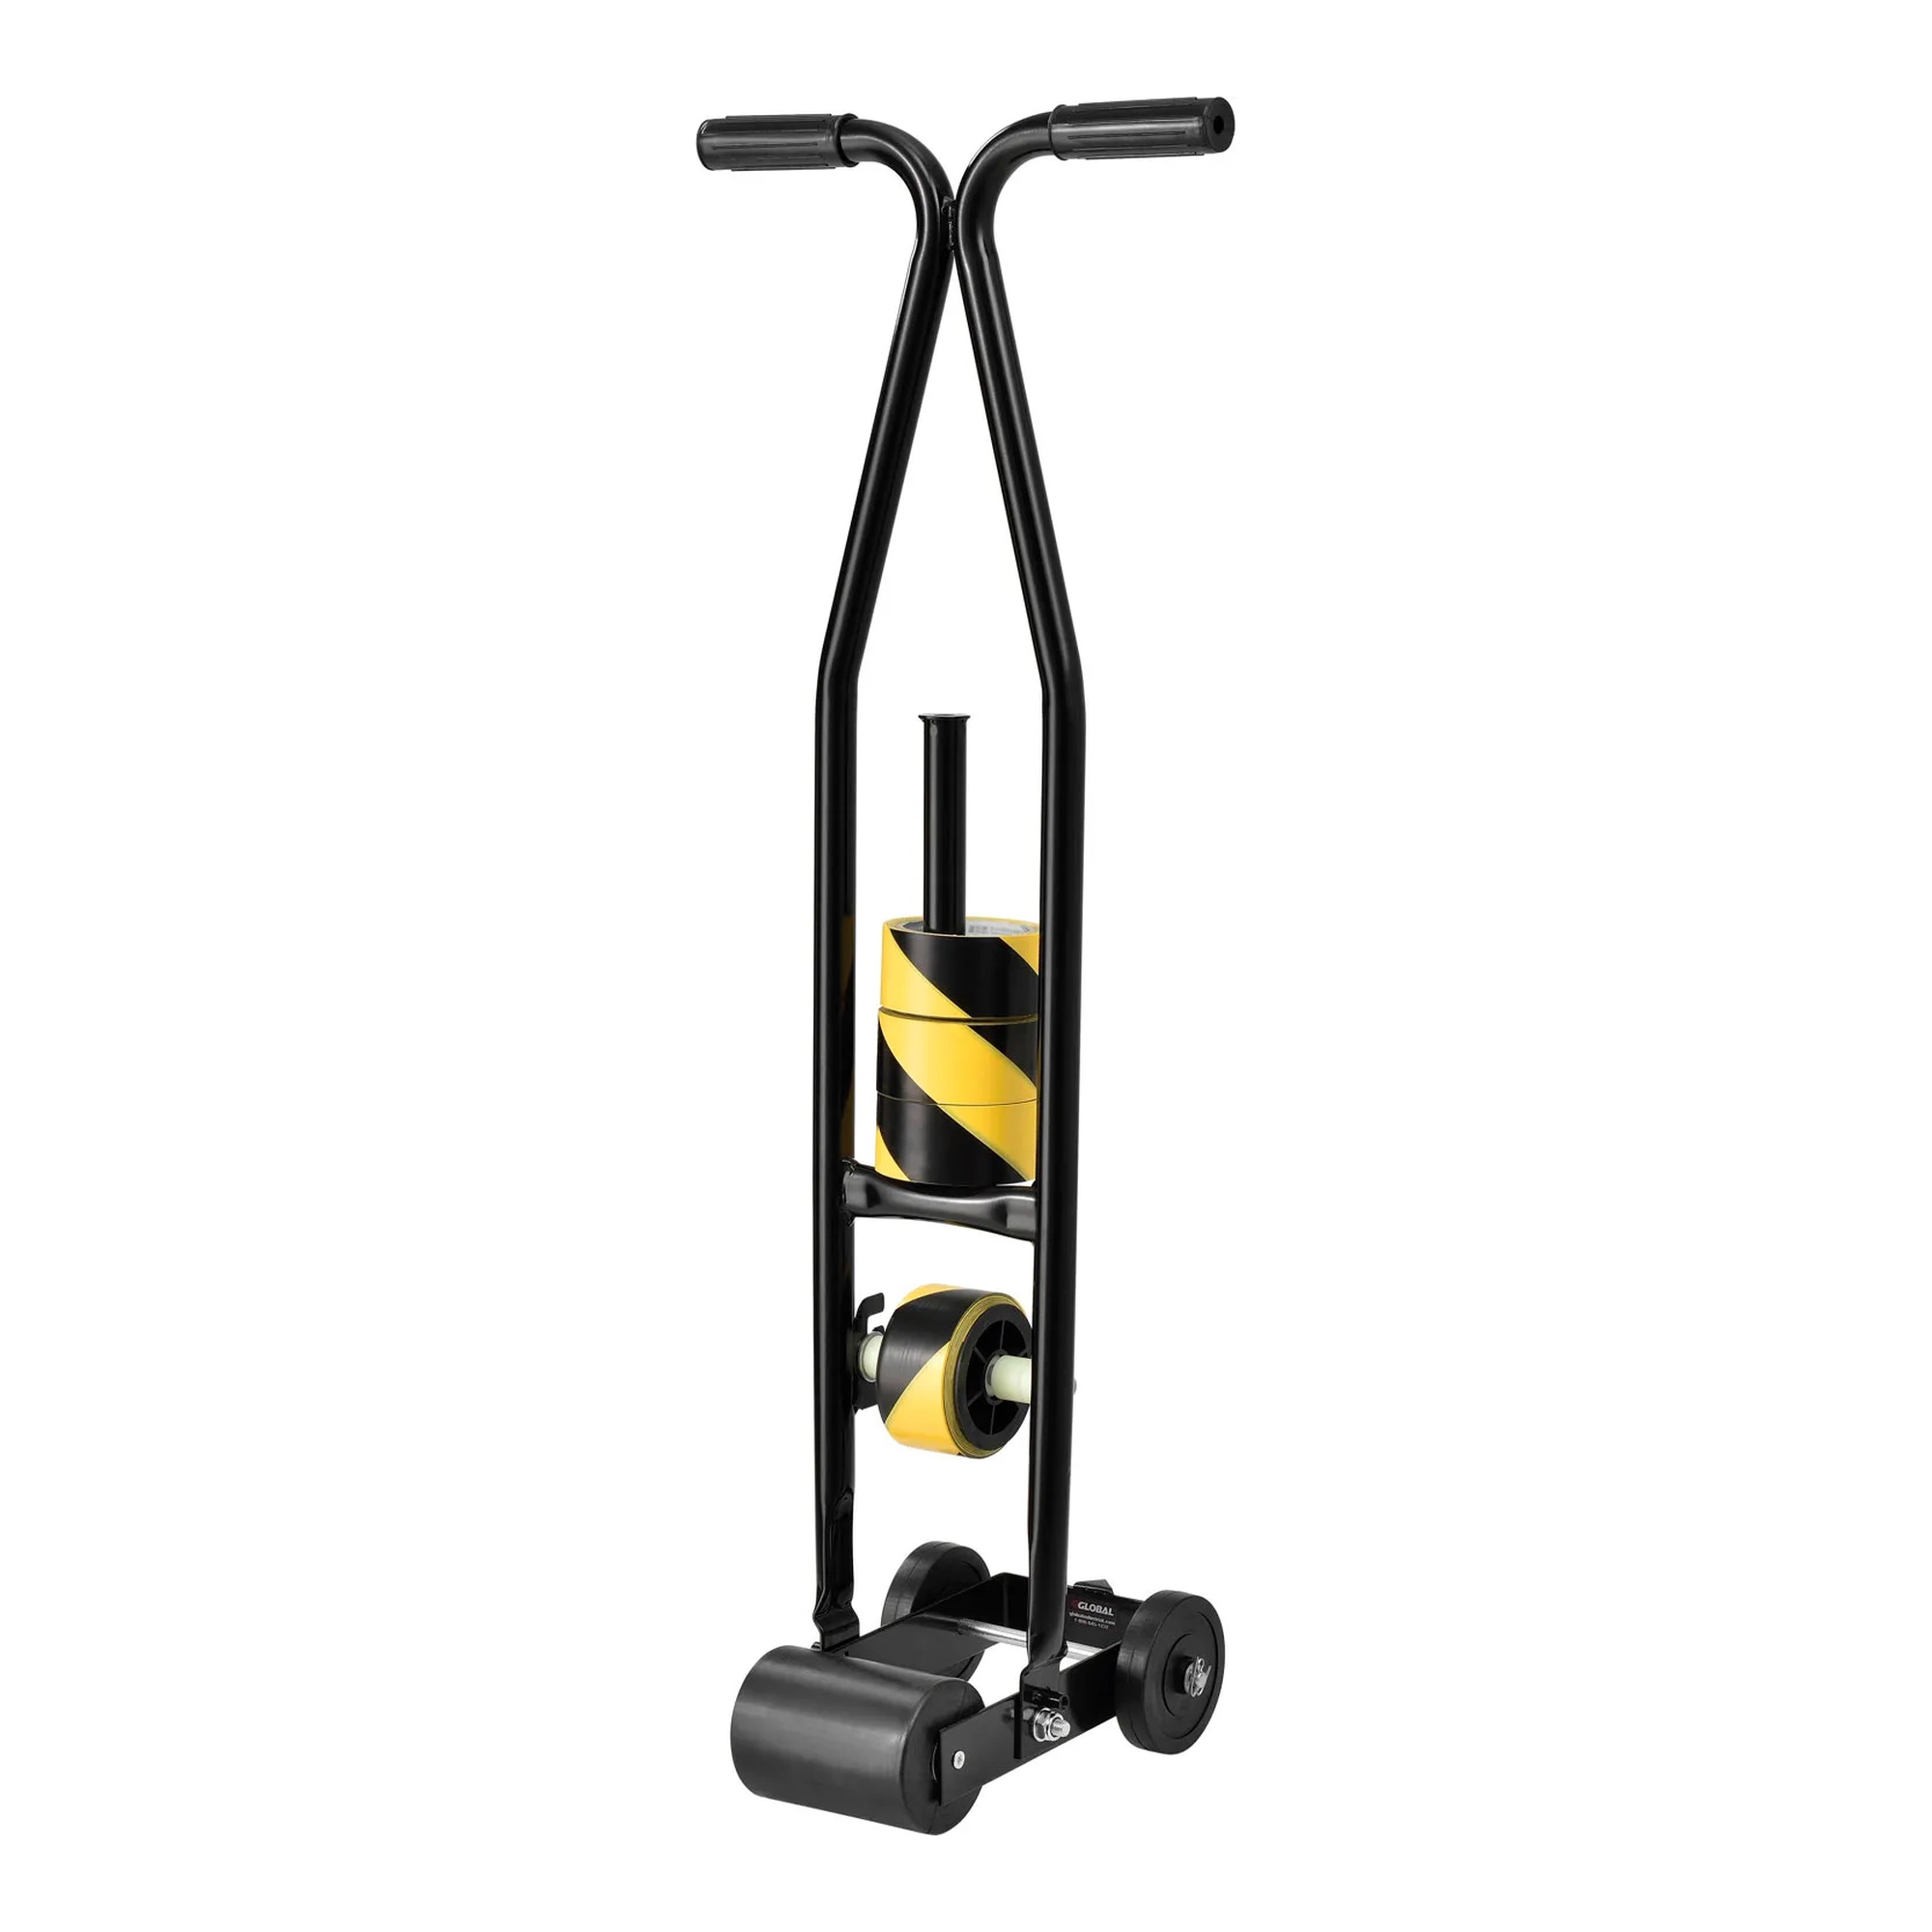
Steel Floor Tape Applicator for Tape Up to 4-1/2 in Wide
Our Price:$135.94This floor tape applicator helps warehouse, commercial property, and parking garage teams apply floor marking tape with controlled placement. It supports faster installation of tape lines on a range...
-
Incom Manufacturing
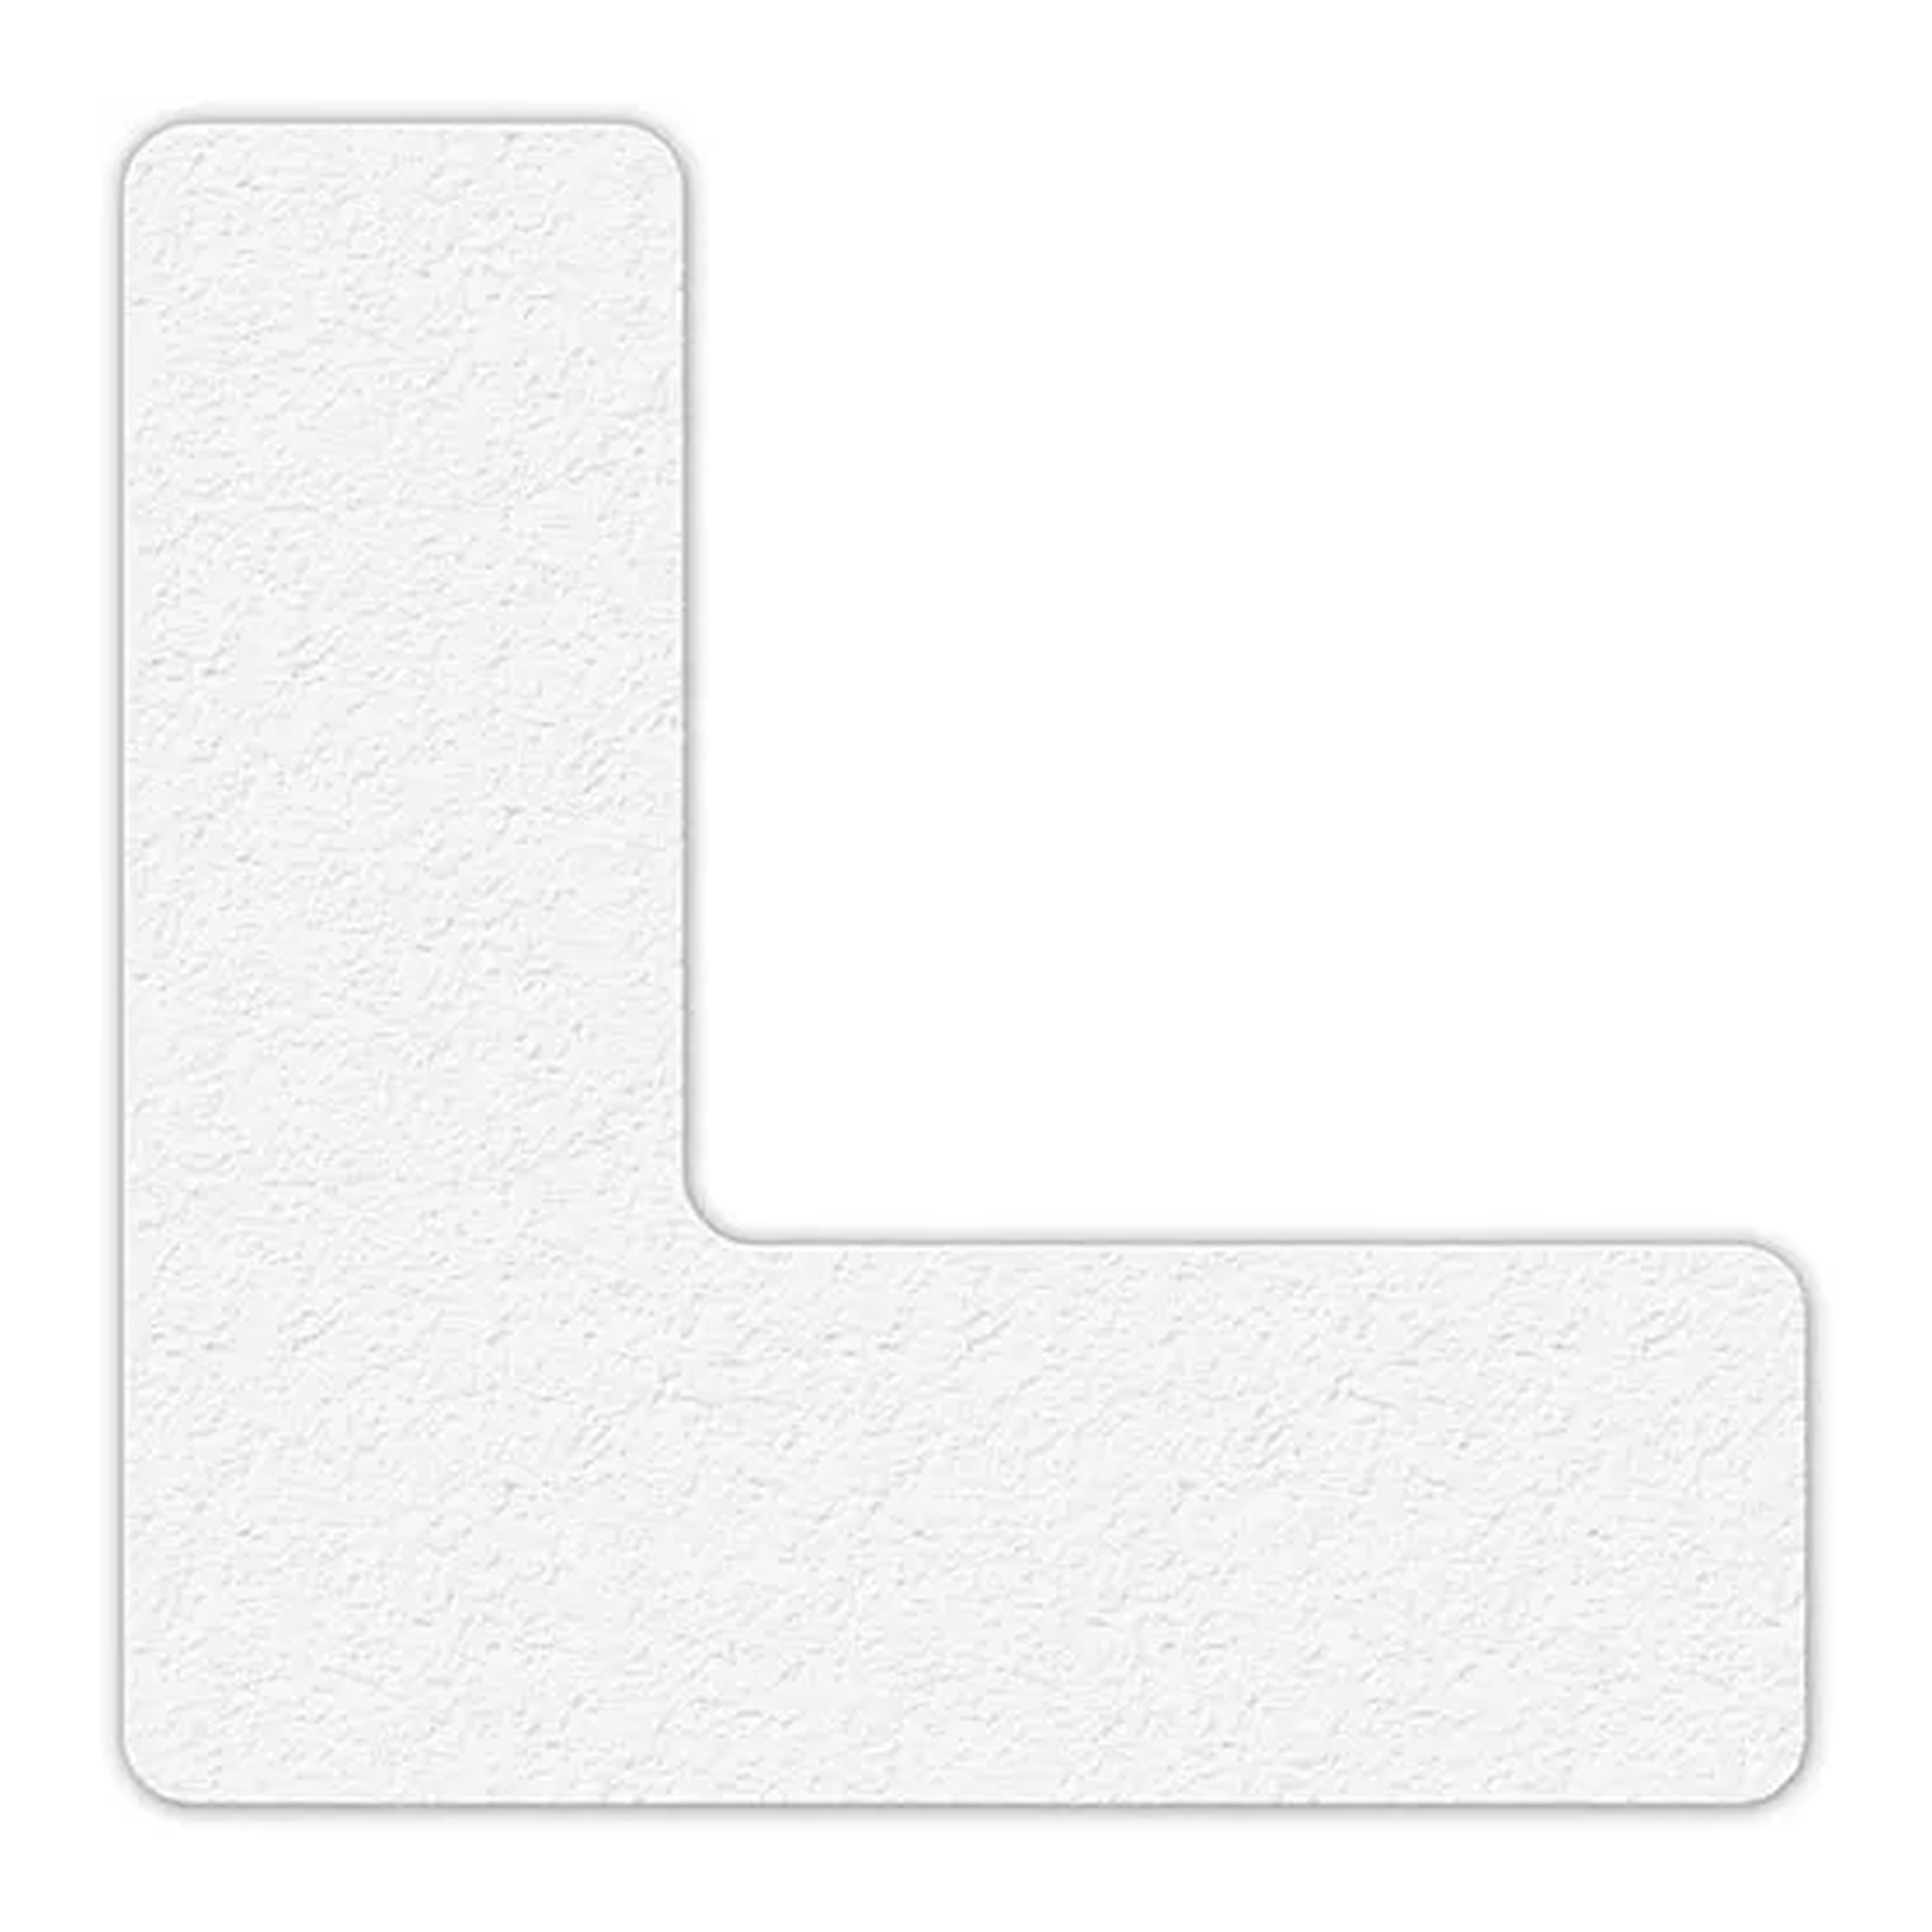
White L-Shaped Floor Marking Tape
Our Price:$62.94This white L-shaped floor marking tape helps facility and operations teams define layout zones, sorting areas, and workflow boundaries in Lean and 5S workplaces. Its corner-shaped format provides a...
-
Incom Manufacturing
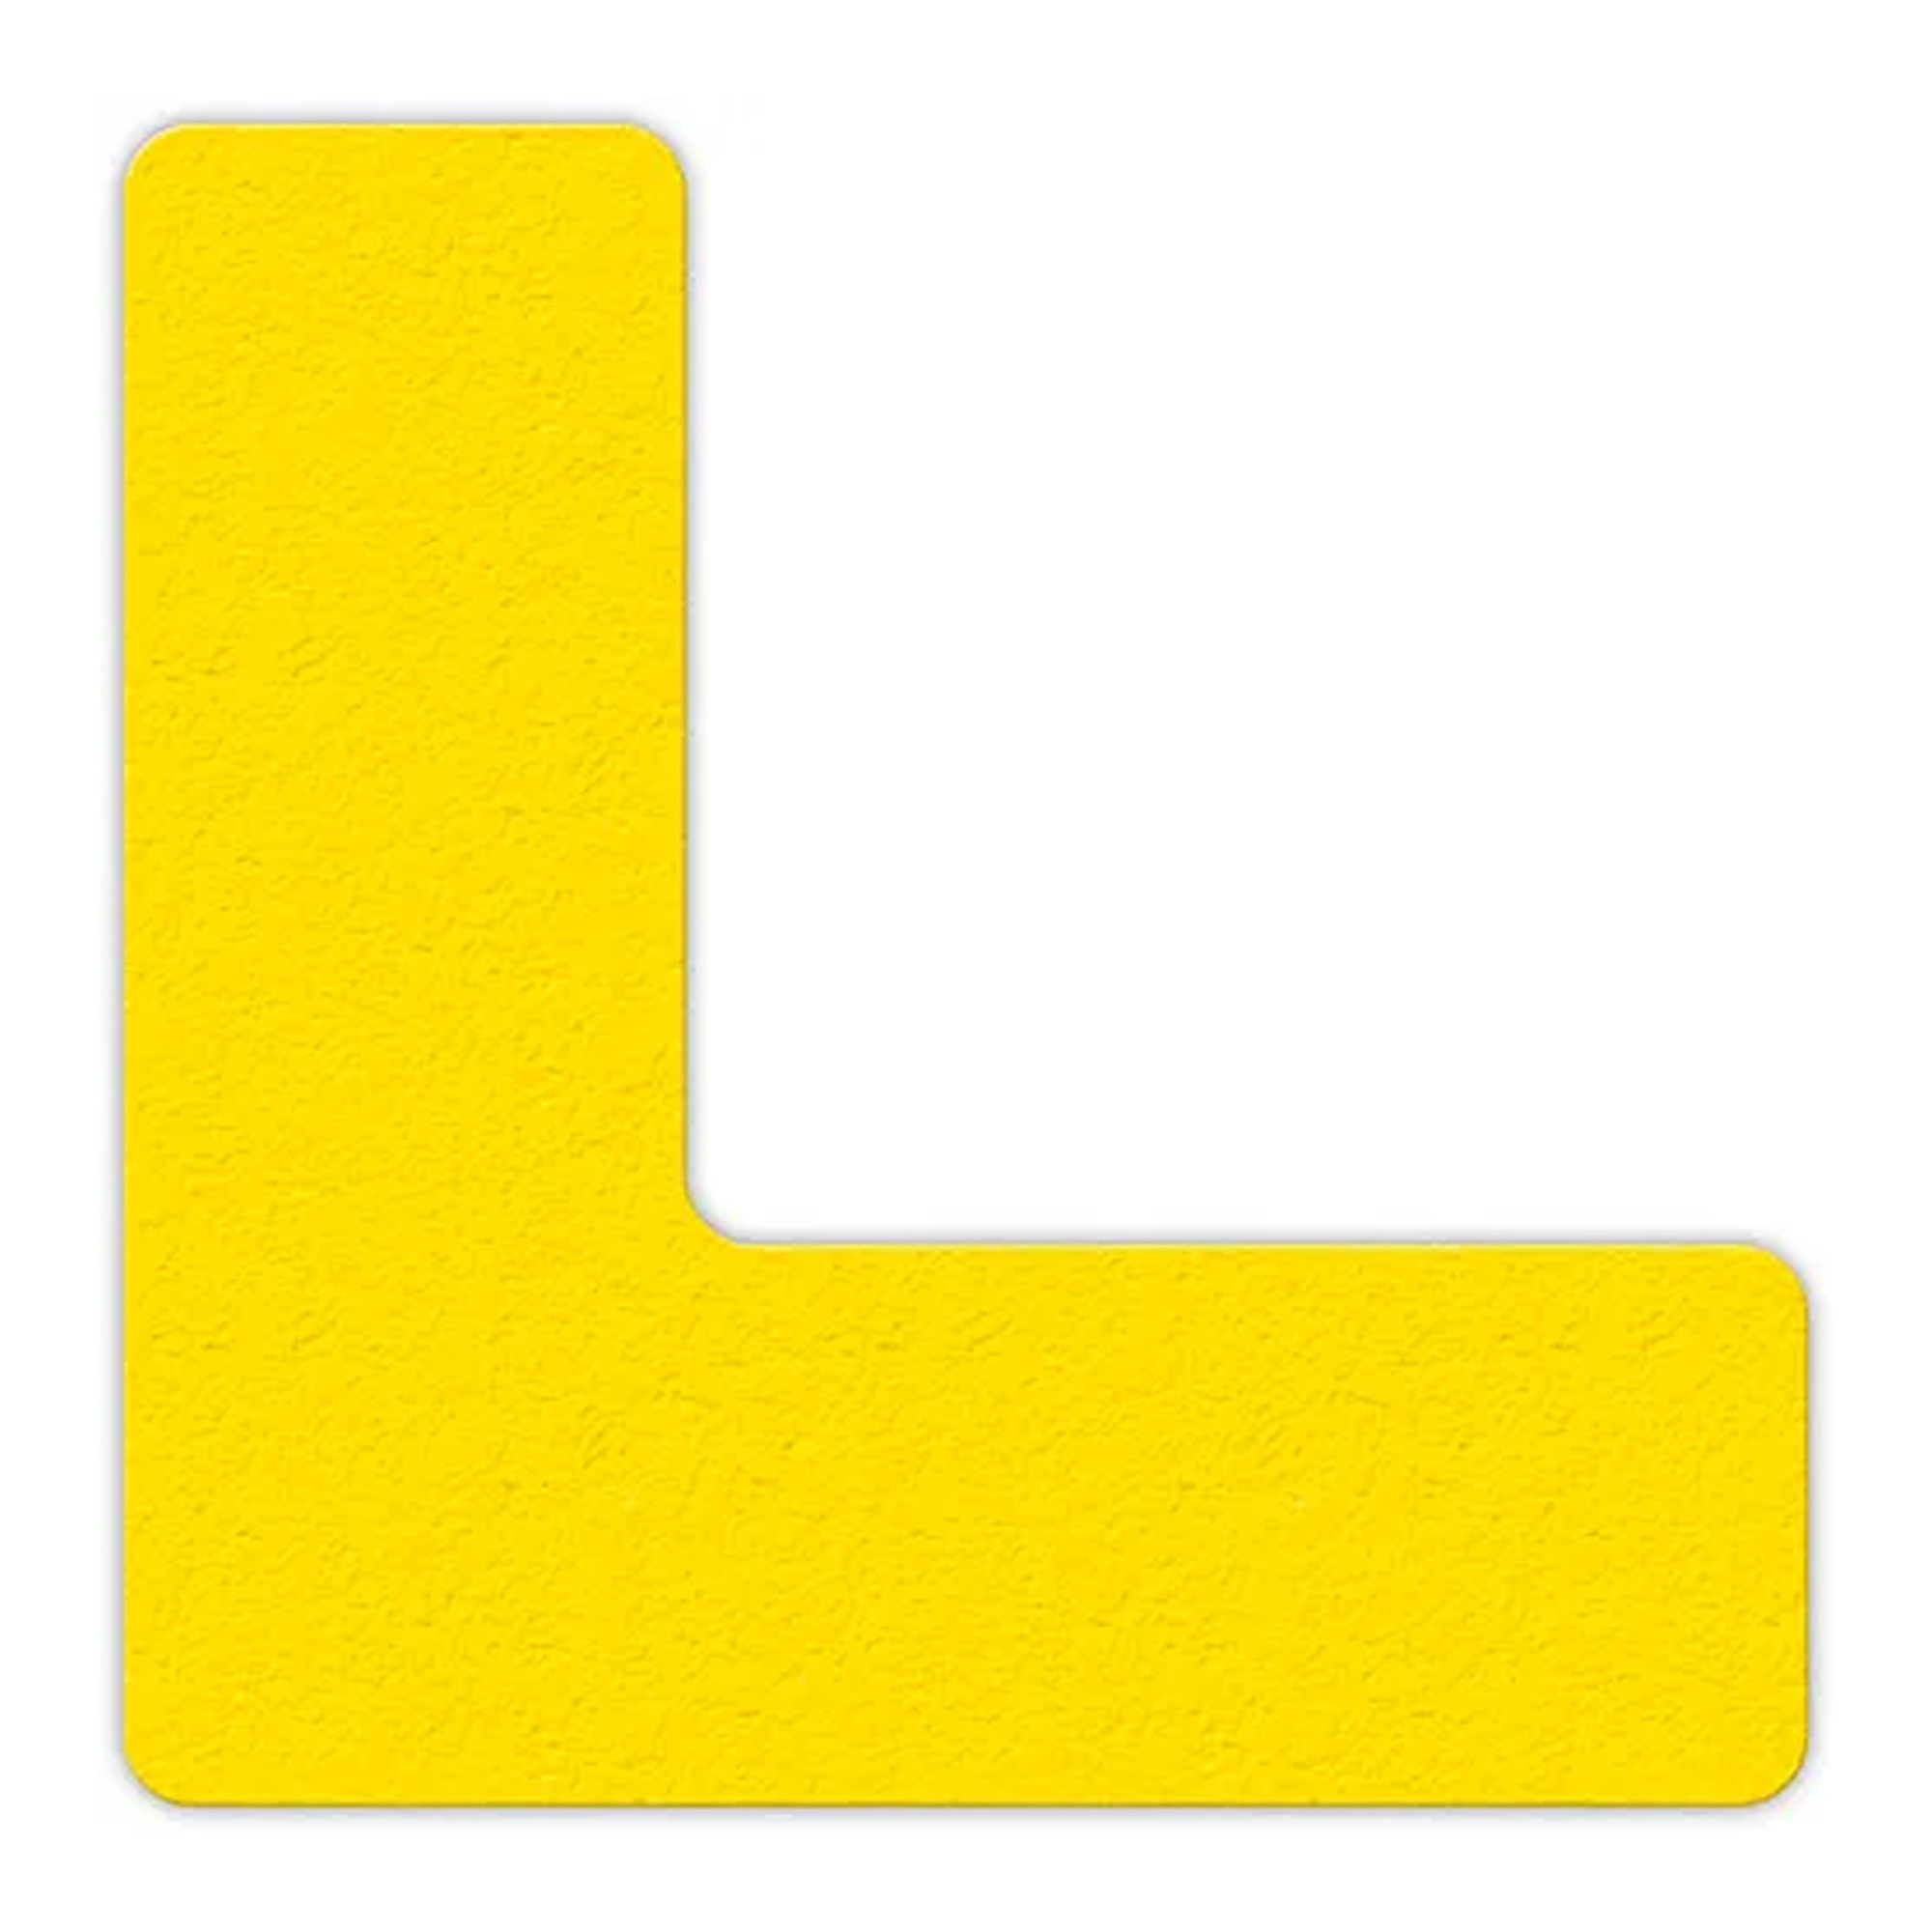
Yellow L-Shaped Floor Marking Tape
Our Price:$62.94This yellow L-shaped floor marking tape helps facilities teams create visual layout boundaries in Lean and 5S work areas. It is designed for organizing floor spaces, supporting sorting activities,...


Choose marking tape for clearer, better-organized work areas
The right marking or warning tape begins with the job you need it to do. Select message strips for visible reminders, L-shaped markers for defined corners and zones, reflective tape for conspicuity marking, and application equipment when controlled placement is important. Review the intended surface and installation needs before choosing.
Popular examples in this category
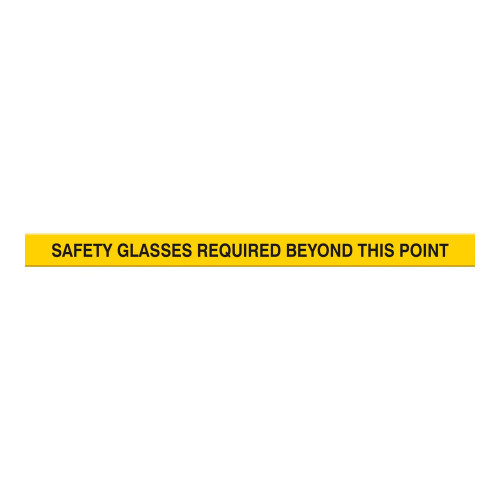 Safety Glasses Required Heavy-Duty Floor Marking Strip, 4 x 48 in, YellowFS-GLO-PTP232
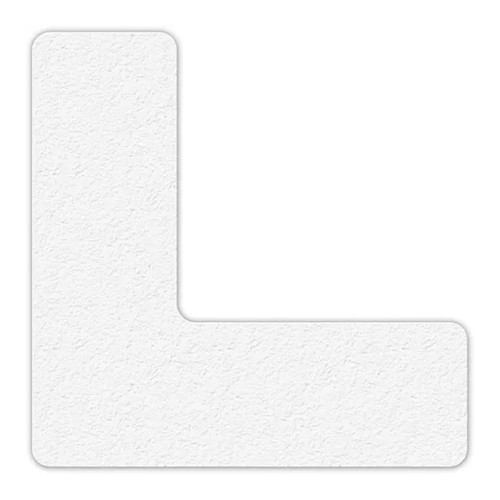 White L-Shaped Floor Marking TapeFS-GLO-LM110W
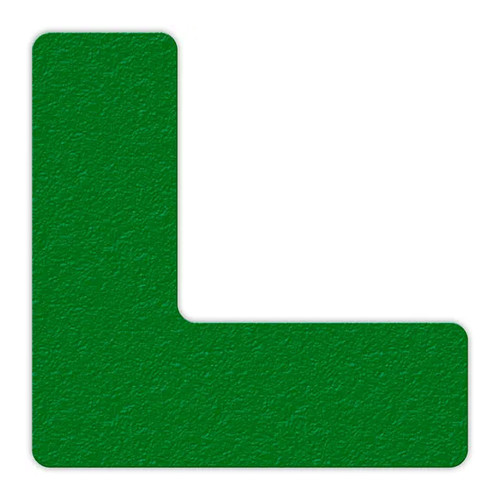 Green L-Shaped Floor Marking MarkerFS-GLO-LM110G
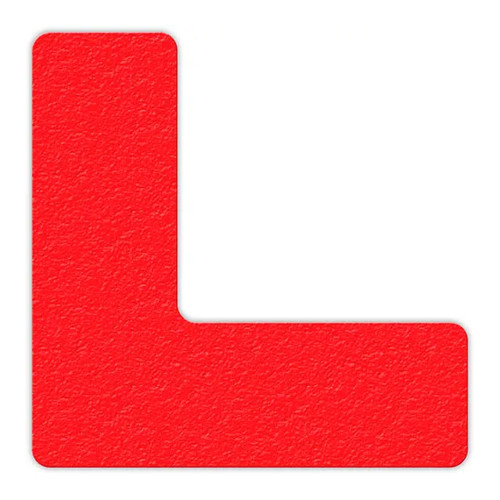 Red L-Shaped Floor Marking TapeFS-GLO-LM110R
Support visible workplace guidance
Use marking tape to identify corners, define workflow zones, organize sorting areas, reinforce eye-protection reminders, and create visual references in pedestrian workspaces.
Match tape to the marking task
Consider whether you need a repeated message, a solid-color corner marker, a striped reflective format, or a tool for applying tape lines. Also check the intended surface condition and tape width requirements.
Fit common commercial environments
These products support facility, warehouse, commercial property, parking garage, Lean, and 5S applications where visual organization or safety communication is needed.
Plan for surface preparation and placement
Several floor-marking options are intended for clean, dry, smooth floors, while the safety message strip is intended for compatible clean, sealed, non-coated surfaces. Position markings carefully for clear visibility and suitable adhesion.
Create defined corner and boundary references for organized floor plans.
Available on selected floor markers for added pedestrian traction.
Red-and-white tape provides conspicuity-oriented visual identification.
The steel applicator handles floor tape within this width.
Compare common marking and warning tape formats
Use the visual purpose, placement area, and installation approach to narrow your selection.
| Format | Best suited for | Key considerations |
|---|---|---|
| Safety message strip | Reinforcing safety-glasses requirements in walkways, work areas, and entrances | Repeated message, self-adhesive backing, beveled edges, and trim-to-fit placement on compatible surfaces |
| L-shaped floor marker | Defining corners, sorting areas, layout zones, and workflow boundaries | Solid-color visual cues, aggressive adhesive backing, and textured anti-slip surfaces on selected options |
| Reflective tape or applicator | Reflective identification or controlled floor-tape placement | Reflective red-and-white striped format for identification; applicator handles tape up to 4-1/2 inches wide |
Plan the right fit before choosing
Select the format that communicates the right cue
Different tape formats support different visual-management needs. Repeated-message strips provide a direct safety reminder, while L-shaped markers make it easier to define corners and boundaries. Red-and-white reflective tape provides a distinct striped conspicuity appearance, and a tape applicator can help guide line placement.
- Choose safety message strips for eye-protection reminders.
- Choose L-shaped markers for corners, layout zones, and sorting areas.
- Choose reflective striped tape where reflective identification is needed.
- Choose an applicator for controlled installation of compatible floor tape.
Match the adhesive product to site conditions
For floor organization, review whether the area is clean, dry, and smooth before applying adhesive-backed markers. The safety message strip is designed for compatible clean, sealed, non-coated surfaces. Textured anti-slip surfaces on selected L-shaped markers can provide added traction in pedestrian areas.
- Prepare suitable surfaces before application.
- Use floor markers on appropriate clean, dry, smooth flooring.
- Consider textured anti-slip markers in pedestrian traffic areas.
- Use beveled-edge message strips where pallet dragging may affect tape edges.
Account for layout details and application method
Plan marker locations, corner references, and workflow boundaries before installation. A trim-to-fit safety strip can be cut to needed lengths or arranged around corners. For tape-line projects, an applicator handles tape up to 4-1/2 inches wide and uses rubber wheels to roll over rough and uneven floor surfaces.
- Lay out zones and corner points before applying markers.
- Use color as a clear visual cue for designated areas.
- Trim compatible message strips to fit the marked area.
- Confirm tape width compatibility before choosing an applicator.
Common questions before buying
What are L-shaped floor marking markers used for?
They help define corners, sorting areas, workflow zones, and layout boundaries in Lean and 5S workspaces.
What surfaces are adhesive floor markers intended for?
Selected floor markers are intended for appropriate clean, dry, smooth floors. The safety message strip is intended for compatible clean, sealed, non-coated surfaces.
Do any floor markers provide added traction?
Selected L-shaped floor markers have a textured anti-slip surface for added traction in pedestrian traffic areas.
When should I use a floor tape applicator?
Use an applicator when you want controlled placement of compatible floor tape lines. The available applicator handles tape up to 4-1/2 inches wide.
Choosing the right file folders
FilingSupplies.com carries end-tab folders for open-shelf systems, top-tab folders for drawer filing, and heavy-duty classification folders with dividers and fasteners for multi-section records. Pick letter or legal size, then choose material (11-pt, 14-pt, or 18-pt manila), optional reinforced tabs, color-coding, and expansion capacity to match your volume.
Folder FAQs
End-tab vs. top-tab — what’s the difference?
When should I choose classification folders?
Letter or legal size — how do I pick?
What tab and material options are available?
Can I add fasteners, pockets, or expansion?
Do you offer volume pricing or custom printing?
Outfitting classrooms that work all day
Build a durable, age-appropriate classroom with furniture, early-learning materials, storage bins, learning centers, and presentation tools. Choose adjustable pieces that grow with grades, label friendly bins for quick clean-up, and tech carts that secure, charge, and move easily.
Education FAQs
What safety labels should I look for on school and early-childhood items?
How do I pick classroom furniture across grade levels?
What’s the best way to organize supplies and centers?
How do I choose learning games and manipulatives by age?
What should I consider in a charging/tech cart?
Do you support school POs, bulk pricing, or custom printing?
Choosing the right labels
From color file labels to printable sheets, select the right size, adhesive, and print method to match your filing system and equipment. Decide on sheet vs. roll format, then pick permanent or removable adhesive and your color set.
Labels FAQs
Sheet vs. roll labels — what’s the difference?
Permanent or removable adhesive?
Will these labels work in my printer?
How do I match the label size to folder tabs or binder spines?
Can I get preprinted sequences or color bars?
Do you have templates?
Choosing the right tab dividers
Organize binders with preprinted or blank tabs. Select the number of tabs per set (5, 8, 10, or 12), choose paper with reinforced tabs or durable poly, and match letter or legal size for a clean fit.
Tab Dividers FAQs
What do 5-, 8-, 10-, or 12-tab sets mean?
Paper vs. poly — which should I choose?
Are the tabs printable?
Will they fit my binder?
Can I mix preprinted and blank tabs?
Do you make custom tab sets?
Choosing the right office supplies
From everyday paper and pens to binders, mailers, and desk organizers, pick durable, compatible options that match your equipment and team size. Start with the right paper and labeling, then add organizers that keep work moving.
Office Supplies FAQs
Which paper weight and brightness should I choose?
Round-ring vs. D-ring binders — what’s the difference?
What does “sheet capacity” mean on staplers and hole punches?
Will labels, envelopes, and mailers work with my printer?
How do I choose mailers and shipping boxes?
Do you offer eco-conscious options or bulk pricing?
Choosing the right sports & PE equipment
Equip classes, teams, and rec programs with durable balls, goals, cones, pinnies, storage, and safety gear. Match sizes and materials to age group and whether you play indoors or outdoors.
Sports & Athletics FAQs
What ball sizes should I choose for different ages?
- Basketball: Size 5 (27.5") youth, Size 6 (28.5") intermediate, Size 7 (29.5") official.
- Soccer: Size 3 up to ~8 years, Size 4 ~8–12, Size 5 ~12+.
- Volleyball: Regulation balls for teens/adults; lighter training balls for younger players.
Indoor vs. outdoor — which materials hold up best?
How many pinnies, cones, or markers do I need?
Tips for storage and care?
Are items latex‑free and school‑safe?
Do you support bulk orders or custom printing (team names)?
Choosing the right FireKing fireproof cabinet
FireKing fireproof file cabinets, safes, and storage cabinets are designed to protect important documents, records, and valuables from fire damage while keeping files organized and accessible. When choosing a FireKing cabinet, compare drawer configuration, storage type, fire rating, and overall capacity based on the records or materials you need to protect.
FireKing FAQs
What is the difference between FireKing vertical and lateral file cabinets?
What can I store in a FireKing fireproof file cabinet?
Are FireKing cabinets only for paper records?
How do I choose between a FireKing safe, file cabinet, or storage cabinet?
What sizes are available in FireKing cabinets?
Are FireKing cabinets used in offices, medical facilities, and government records storage?
Can I buy FireKing cabinets in bulk or get help choosing the right model?
Shipping & Policies
Do you offer free shipping?
What are your shipping rates?
- $6.95 for labels-only orders under $40
- $14.95 flat rate for everything else